Publised on 19/10/2023. Last Updated on 23/07/2024 by Richard
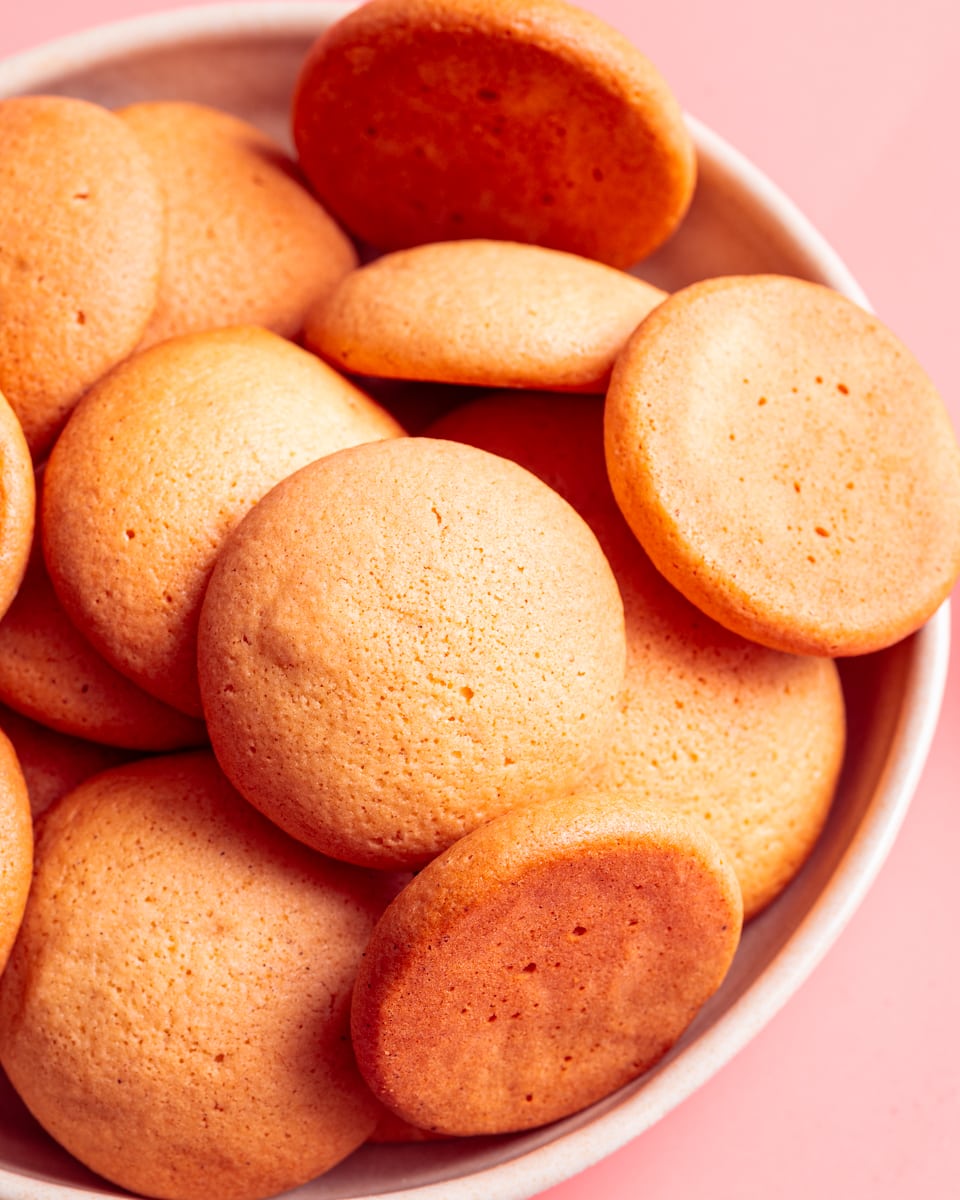
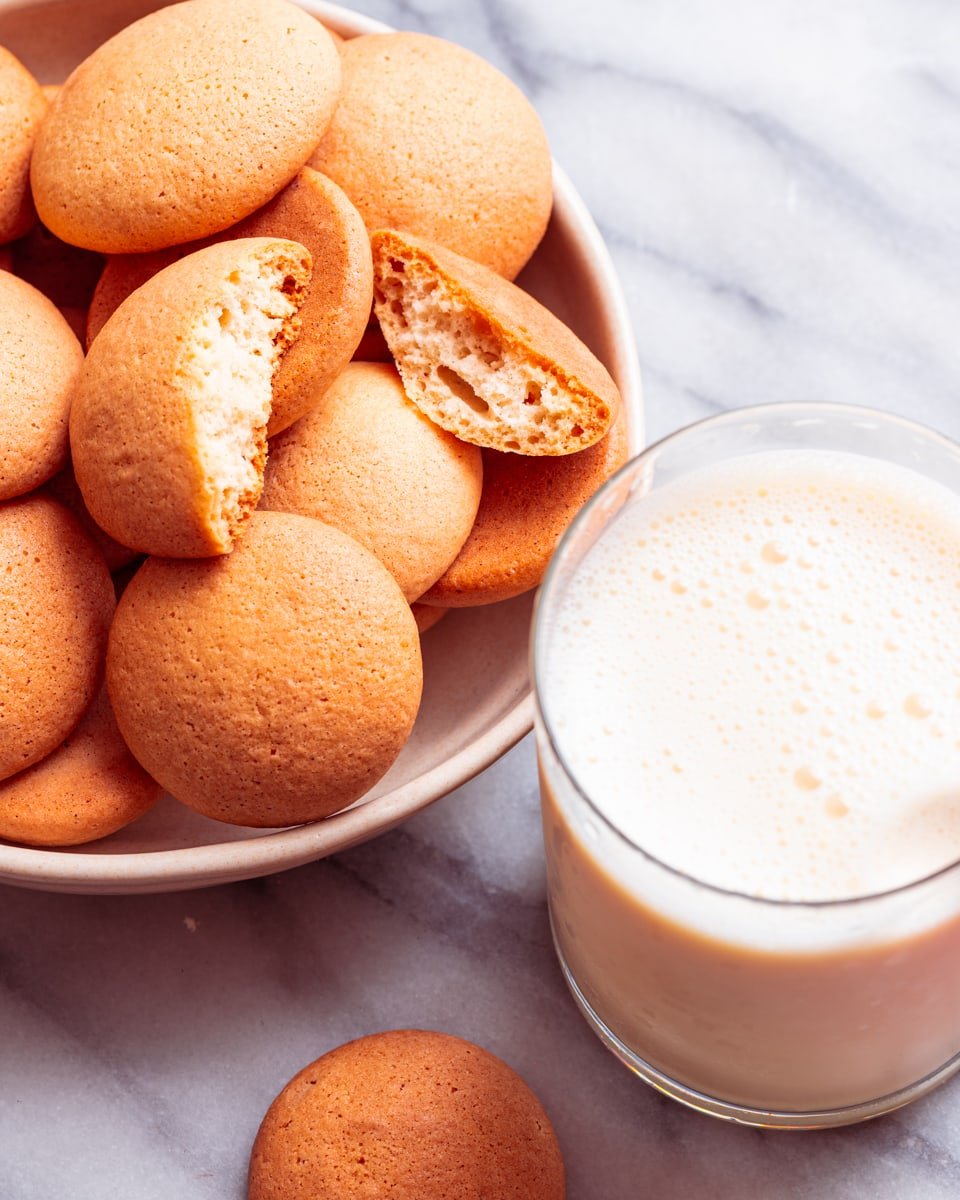
Homemade vegan vanilla wafers that are crispy, buttery and bursting with vanilla. A vegan alternative to Nilla wafers that are ideal solo or in vegan banana pudding.
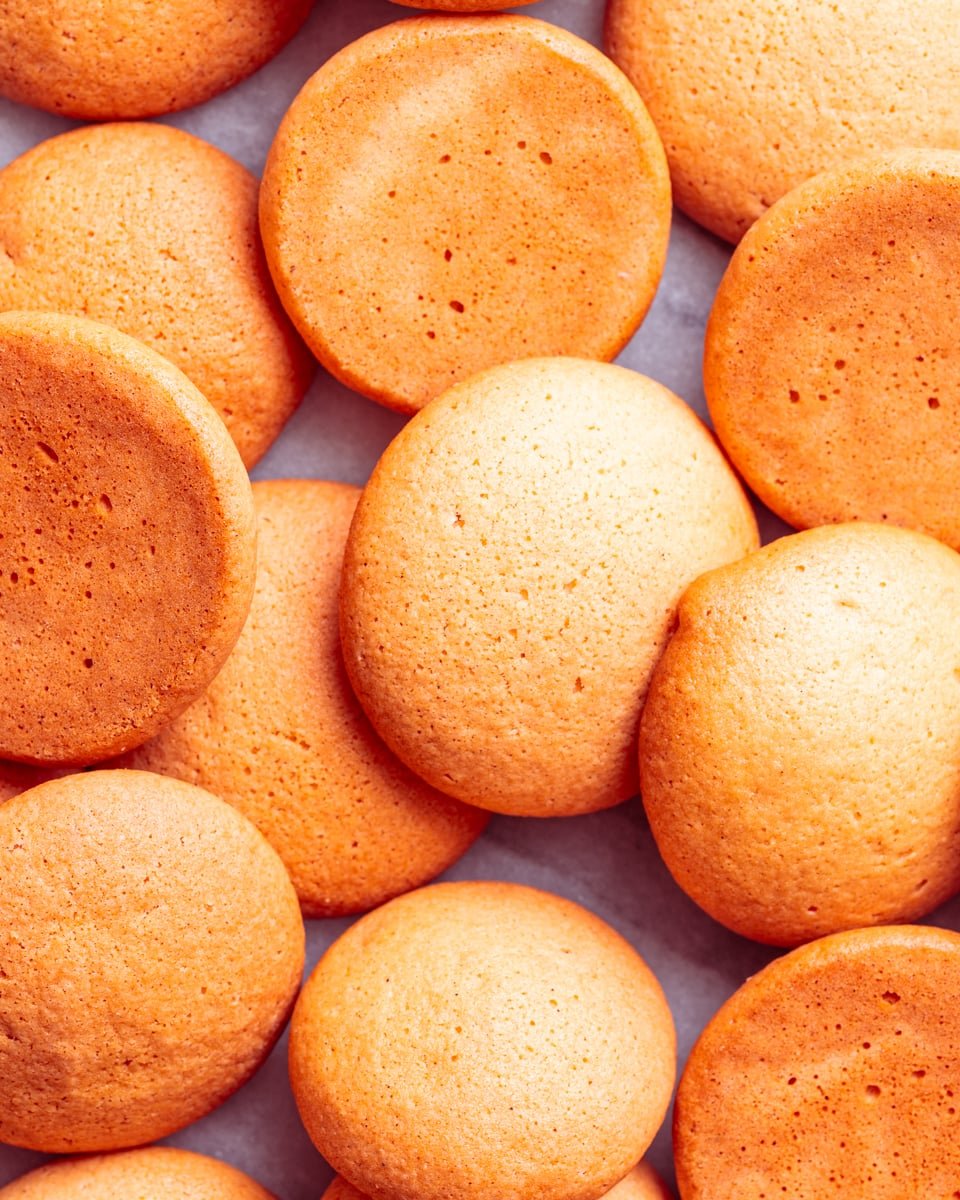
These vegan vanilla wafers are the perfect plant-based and dairy free alternative to Nilla wafers. They're easy to make, super simple and incredibly delicious with only 8 ingredients. Now you've unlocked a vegan version of all your favourite desserts including vegan banana pudding and trifle! You can even use them in my vegan tiramisu recipe or my vegan matcha tiramisu.
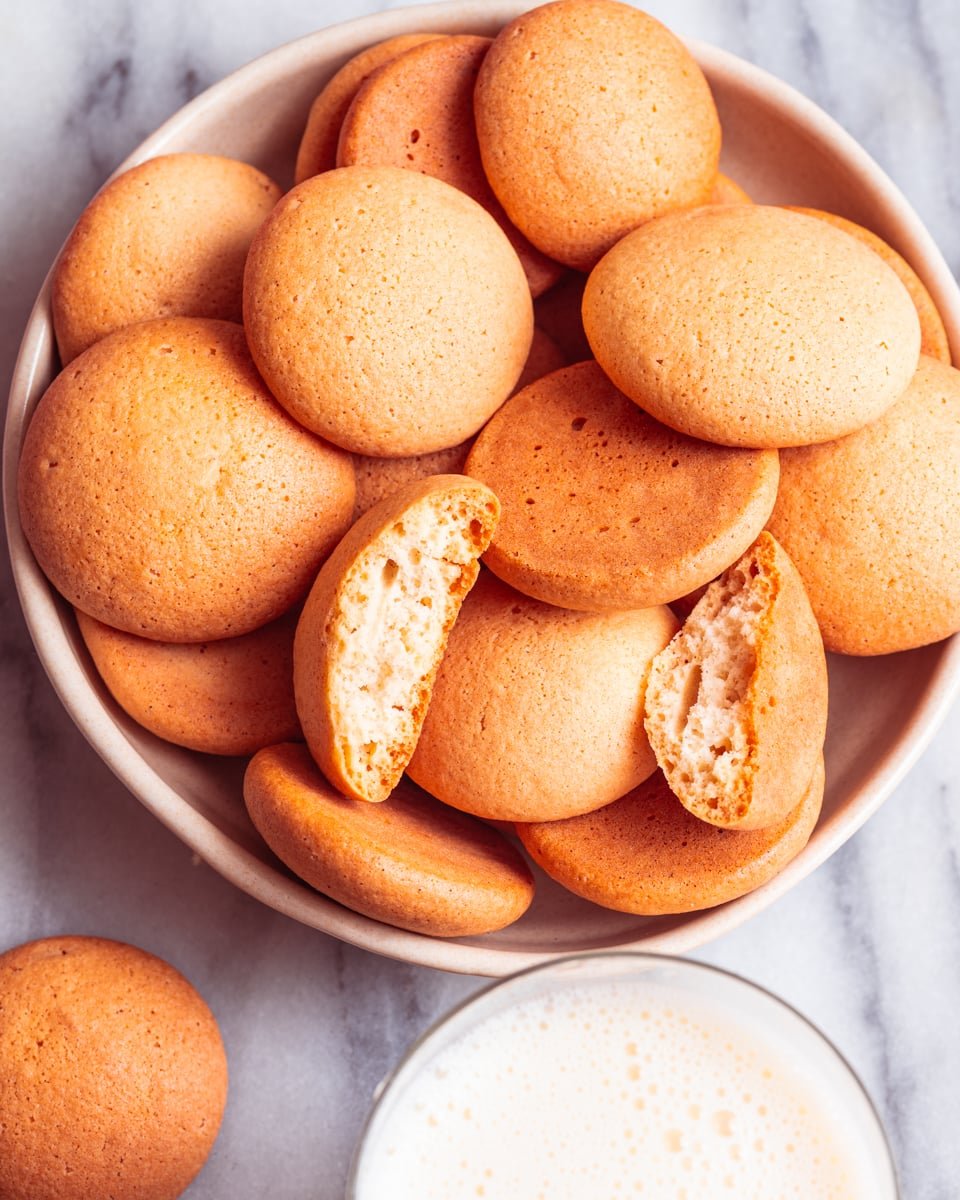
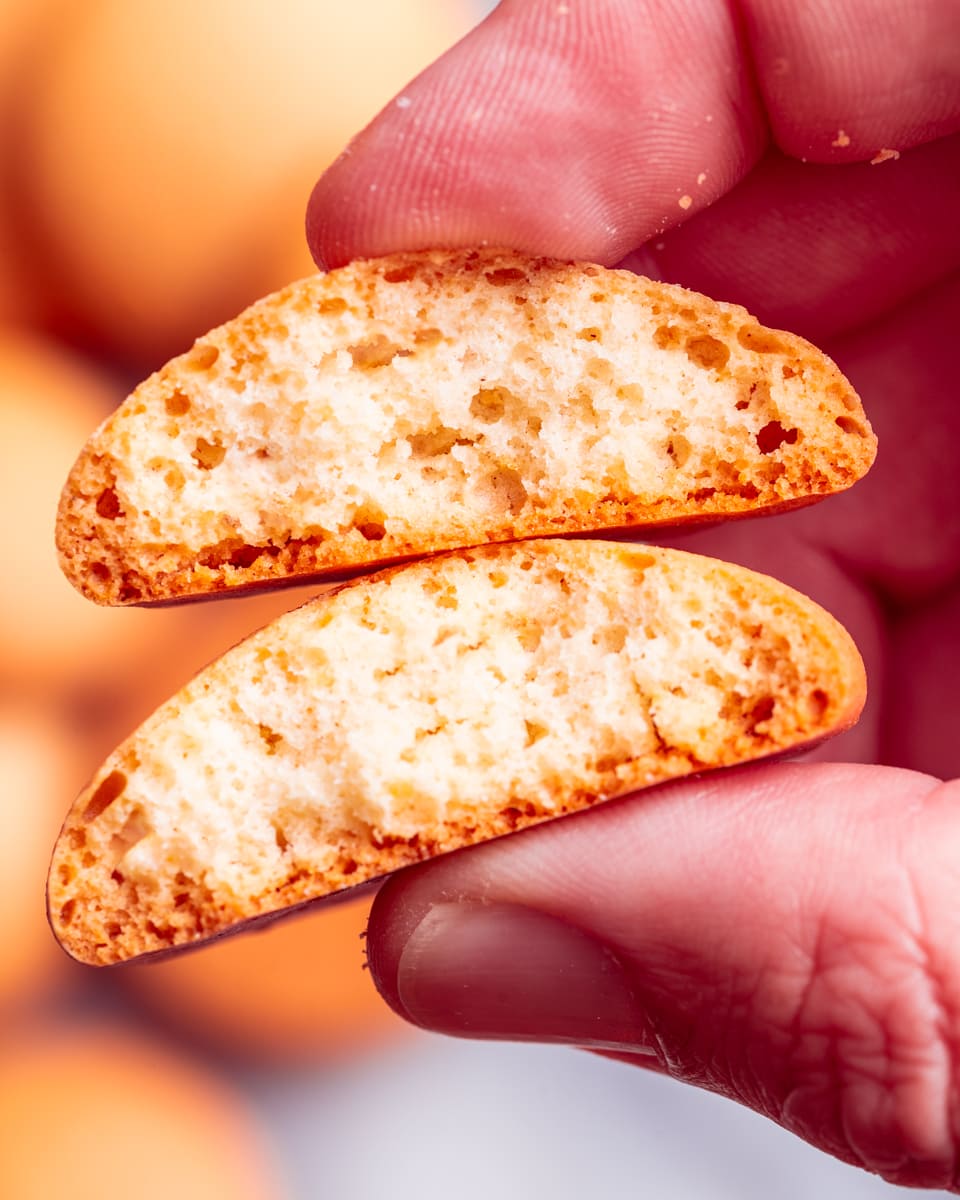
Most vegan vanilla wafer recipes are rough and grainy but not this recipe! They're smooth with a nice snap and a deliciously crispy texture, identical to store-bought Nilla wafers! What's more, if you're gluten free, this recipe can easily be adapted to make perfect gluten-free vanilla wafers! Just head to the swaps and substitutions section below!
Jump to:
🧈 Vegan Vanilla Wafers Ingredients
Here's everything you'll need to make the perfect batch of vegan vanilla wafers. Remember, the full recipe is at the bottom of the page, so just scroll down there for all the detailed bits!
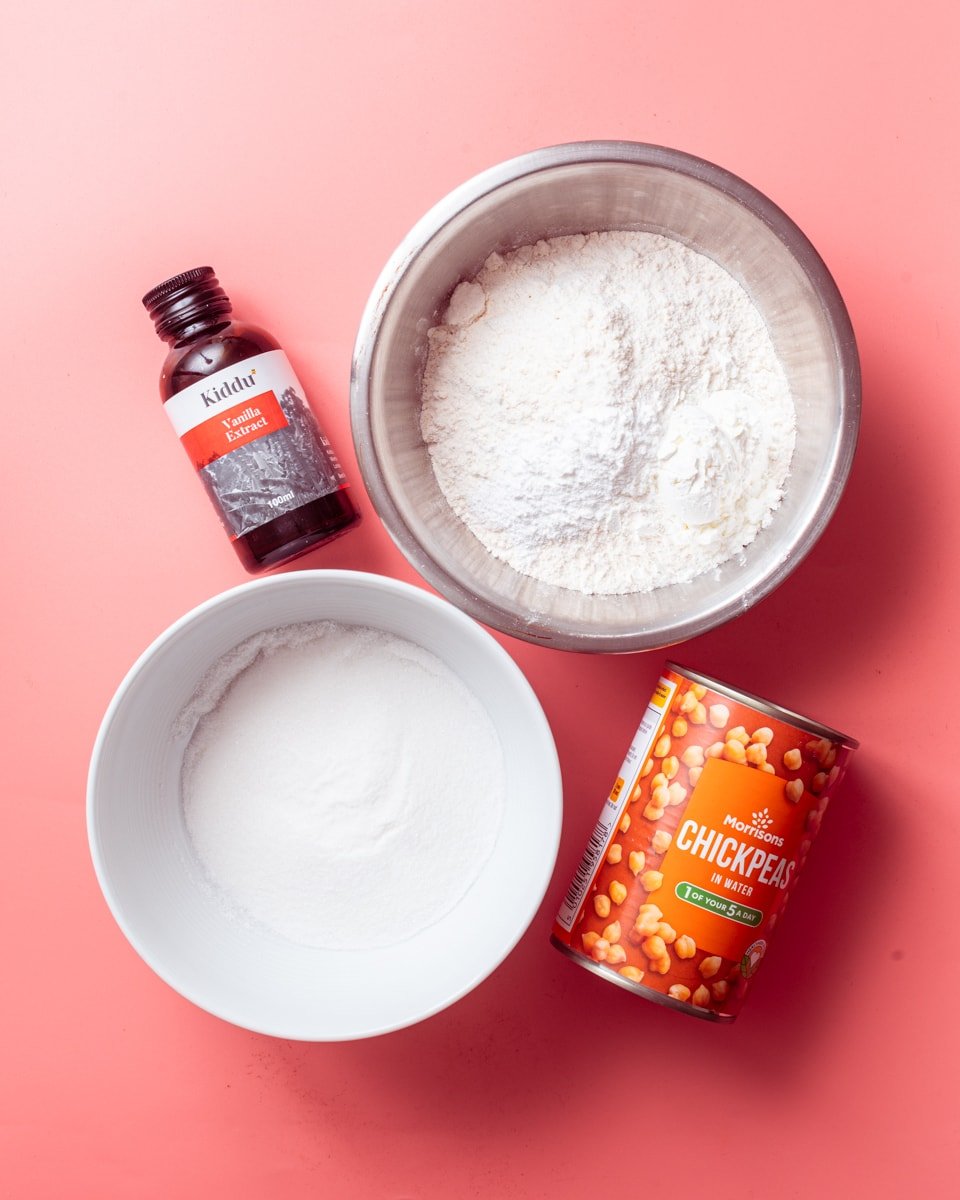
- Plain white flour (aka all purpose flour)
- Cornstarch (aka cornflour in the UK)
- Fine sea salt
- Baking powder
- Aquafaba (the liquid from a can of unsalted chickpeas)
- Caster sugar (aka superfine sugar in the USA)
- Vanilla extract
- Vegetable oil
🎂 Tips for Perfect Baking!
These vegan vanilla wafers are super easy, but here are my top tips for guaranteeing a perfect batch every time:
- Preheat your oven! I know recipes always say this but it's for a reason. If your oven is too cold at first, you won't get a satisfactory rise from your vegan vanilla wafers batter.
- Use a piping bag. When portioning out your batter onto the baking tray, you'll want to be rather precise about where each wafer sits to avoid overlapping. I use a piping bag but if you'd prefer you can use two teaspoons.
- Don't open the oven. Let the vegan vanilla wafers bake for the full time without opening the door. You may cause them to lose their cute domed surface or even stop them from browning properly.
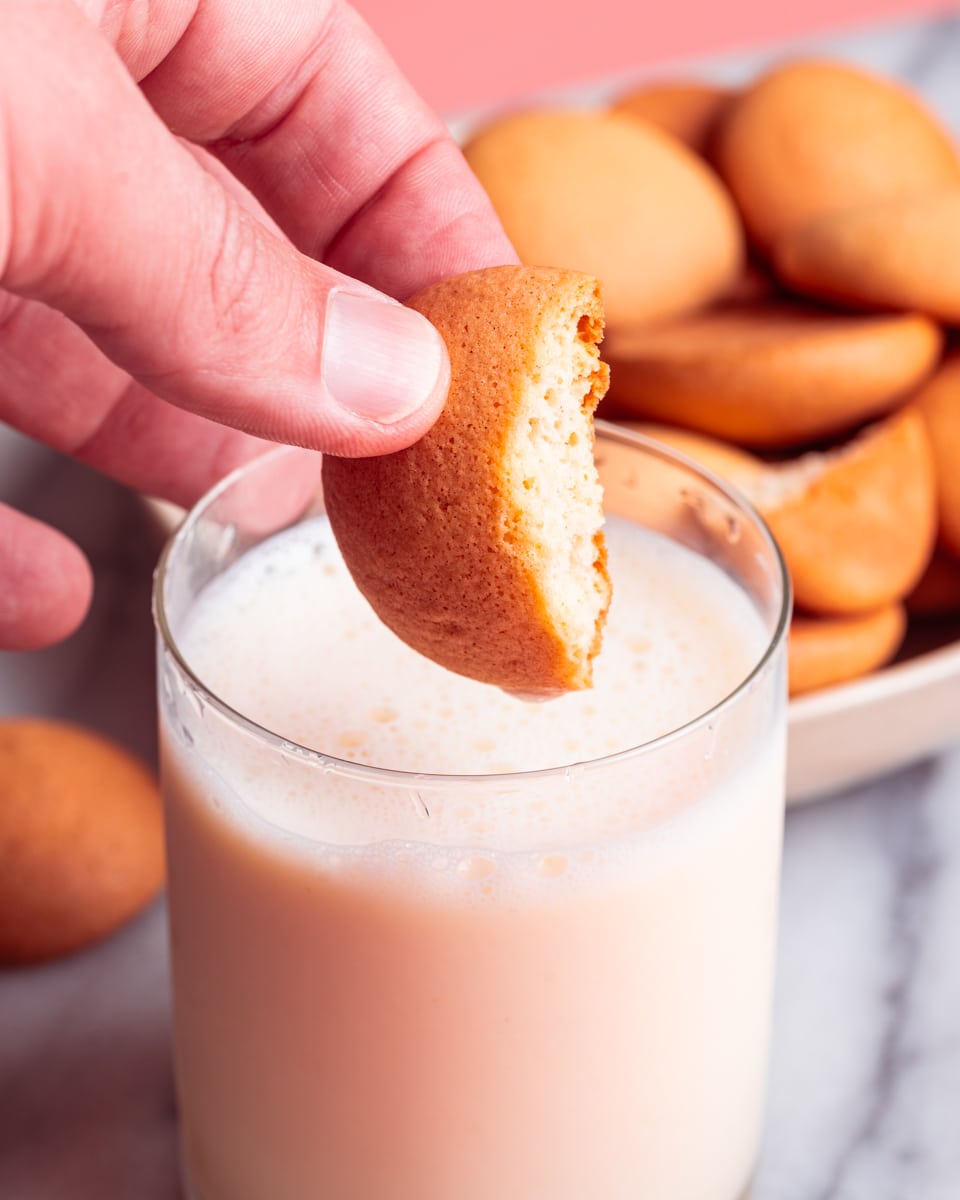
- Allow to cool fully! The vegan vanilla wafers will be soft when just baked. Allow them to cool fully before using/eating and they'll be deliciously crisp.
🔀 Ingredient Substitutions
Sometimes you gotta make some swaps, and thats fine! Here are my suggestions for things you can swap without affecting the recipe!
For Gluten Free Vegan Vanilla Wafers - If you avoid gluten, this recipe works well with both plain flour or gluten free flour. I like to use Bob's Red Mill blend, which I find can be uses as a 1-1 substitution.
Cornstarch - The cornstarch is in this recipe to help with texture, to stop the batter from splitting and to help the wafers to brown. I wouldn't recommend omitting this ingredient but if you'd like to replace it with rice starch or potato starch, feel free!
Vegetable Oil - This is the only source of fat in this recipe and can easily be replaced with either melted vegan butter or any neutral oil!
🍰 Making Vegan Vanilla Wafers
Now for the method behind the delicious madness! Here's the process behind making my vegan vanilla wafers. It's essentially the same method as my vegan sponge fingers, by the way, which is why this recipe may seem familiar!
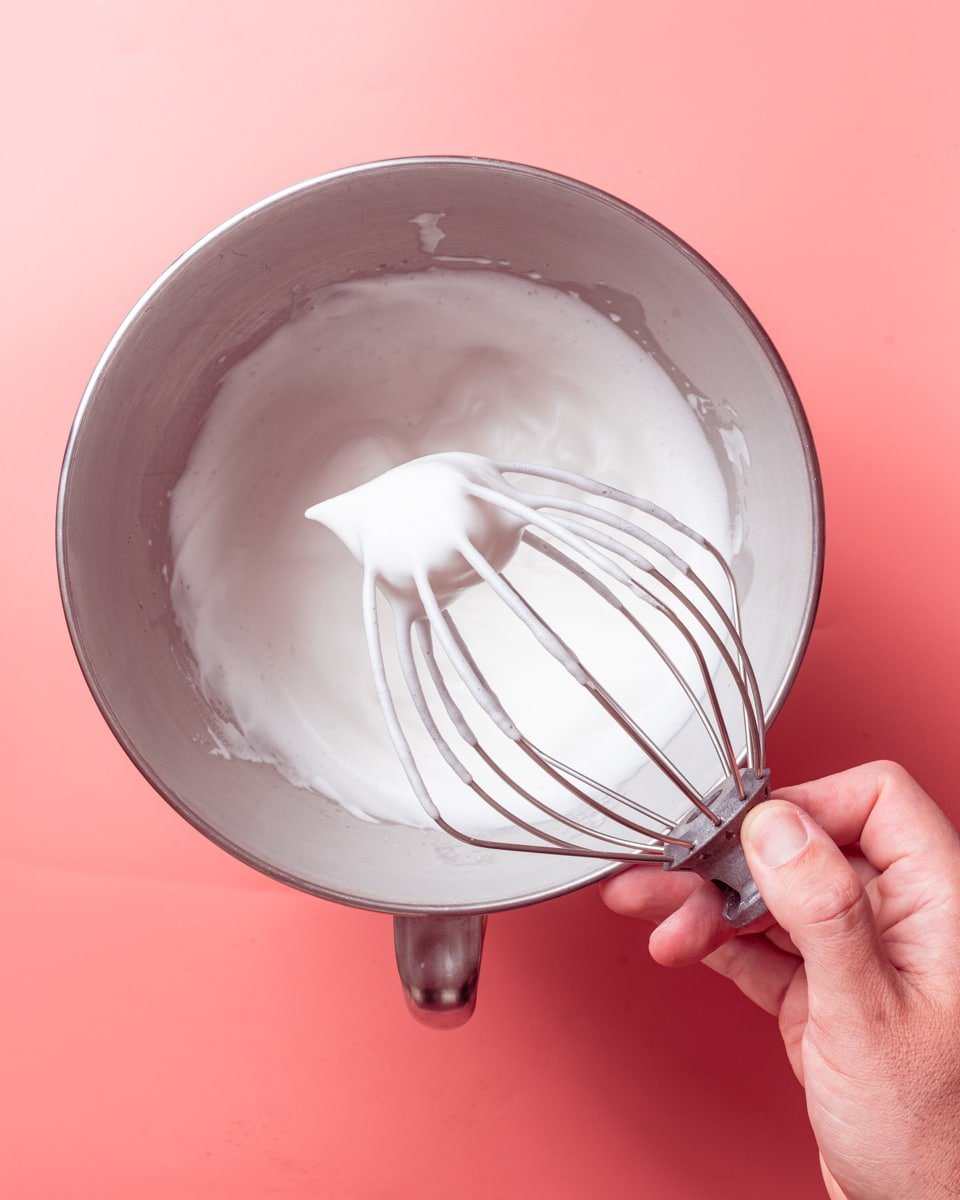
1. Whip the aquafaba. This is where most of the air comes from so be sure to whip until you have stiff peaks. Gradually you'll add the sugar, vanilla and vegetable oil to the mix, which will change the texture slightly, but don't worry! You're still on the track to vegan vanilla wafer glory!
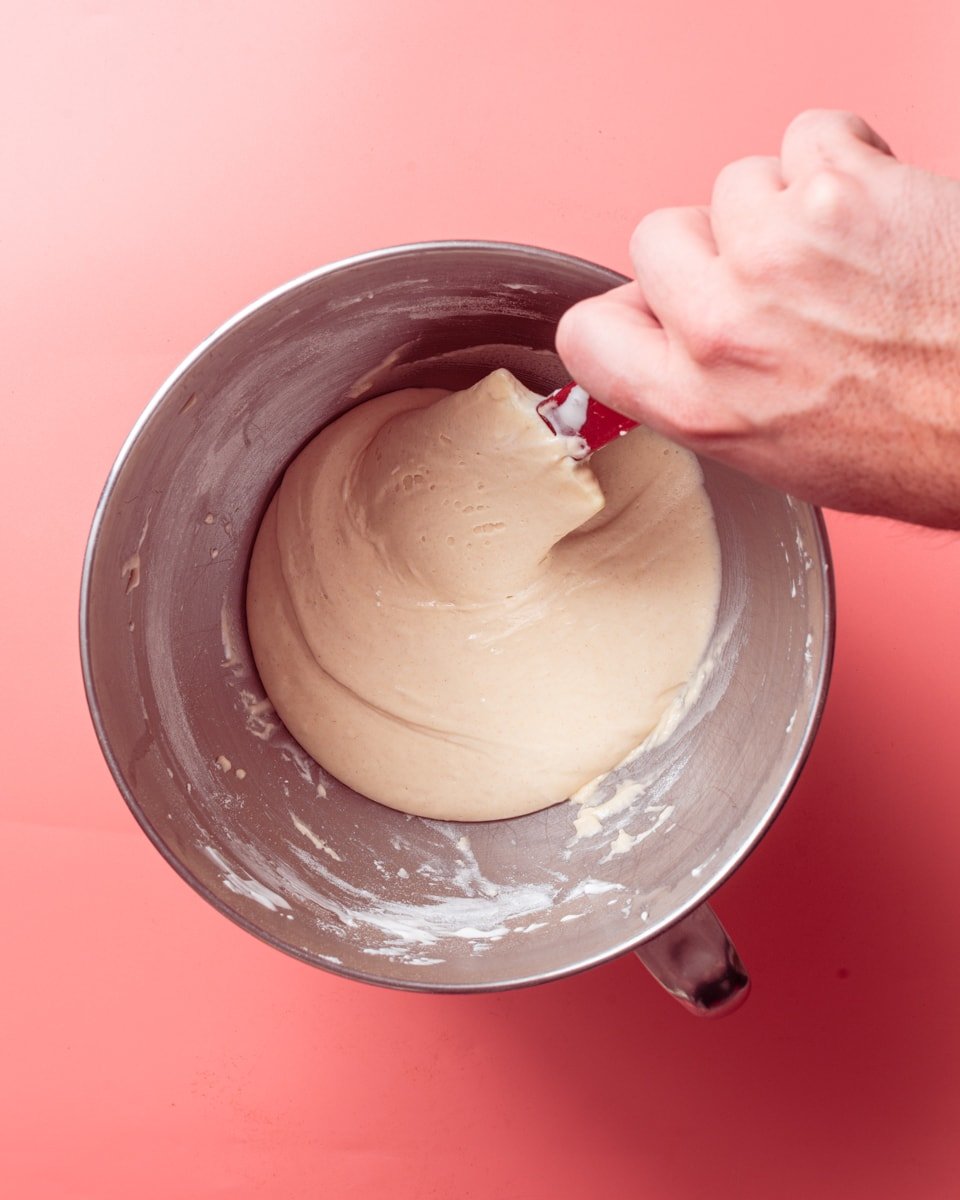
2. Adding the dry ingredients is a little tricky because you need to be sure to avoid overmixing. Overmixing will beat out the air bubbles and activate the gluten, making your vegan vanilla wafers tough! Just fold in the dry ingredients until fully mixed.
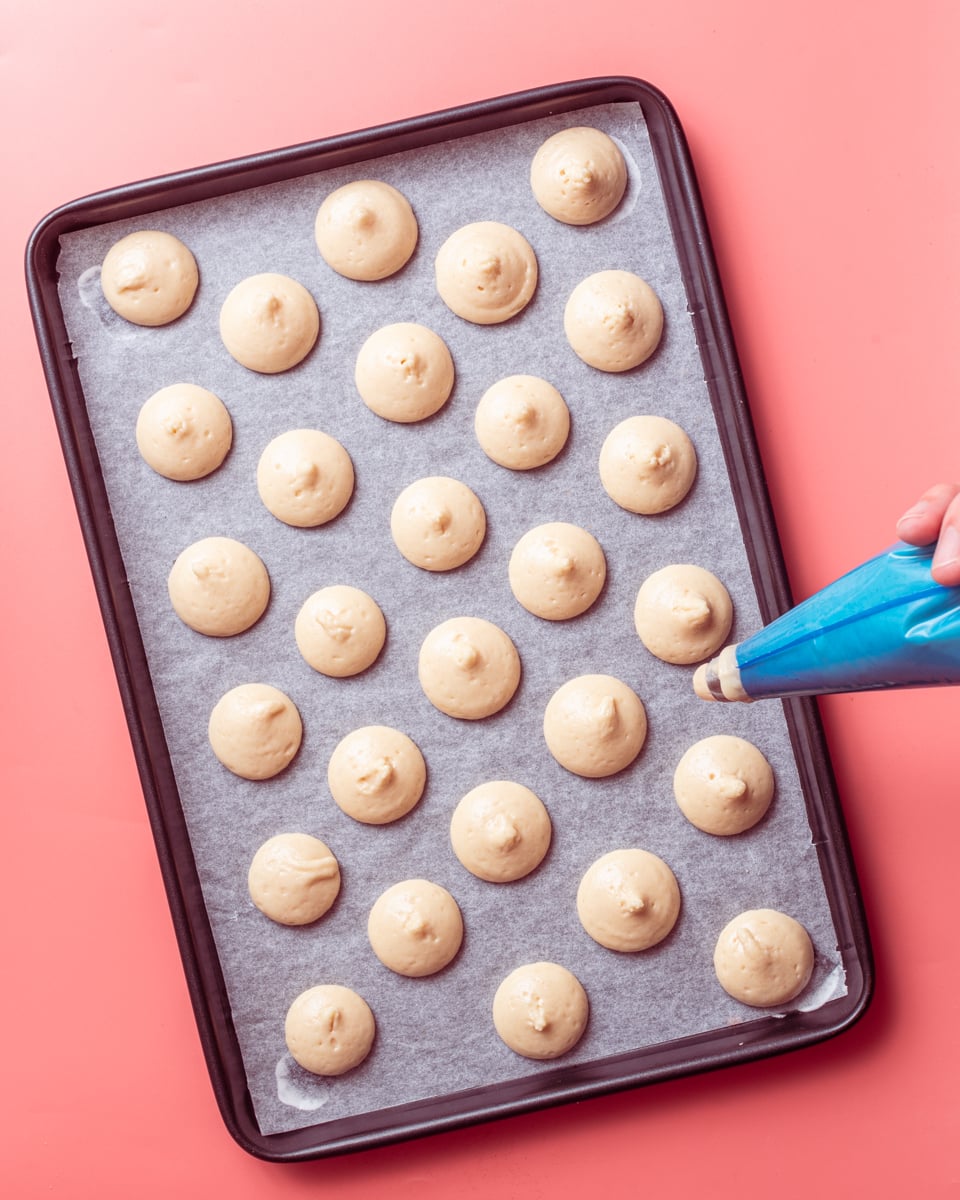
3. Pipe or spoon the batter into even blobs onto a lined baking tray. It doesn't matter if they're not perfect, but try to aim for roughly even sized wafers. Use a wet finger to flatten any peaks on top.
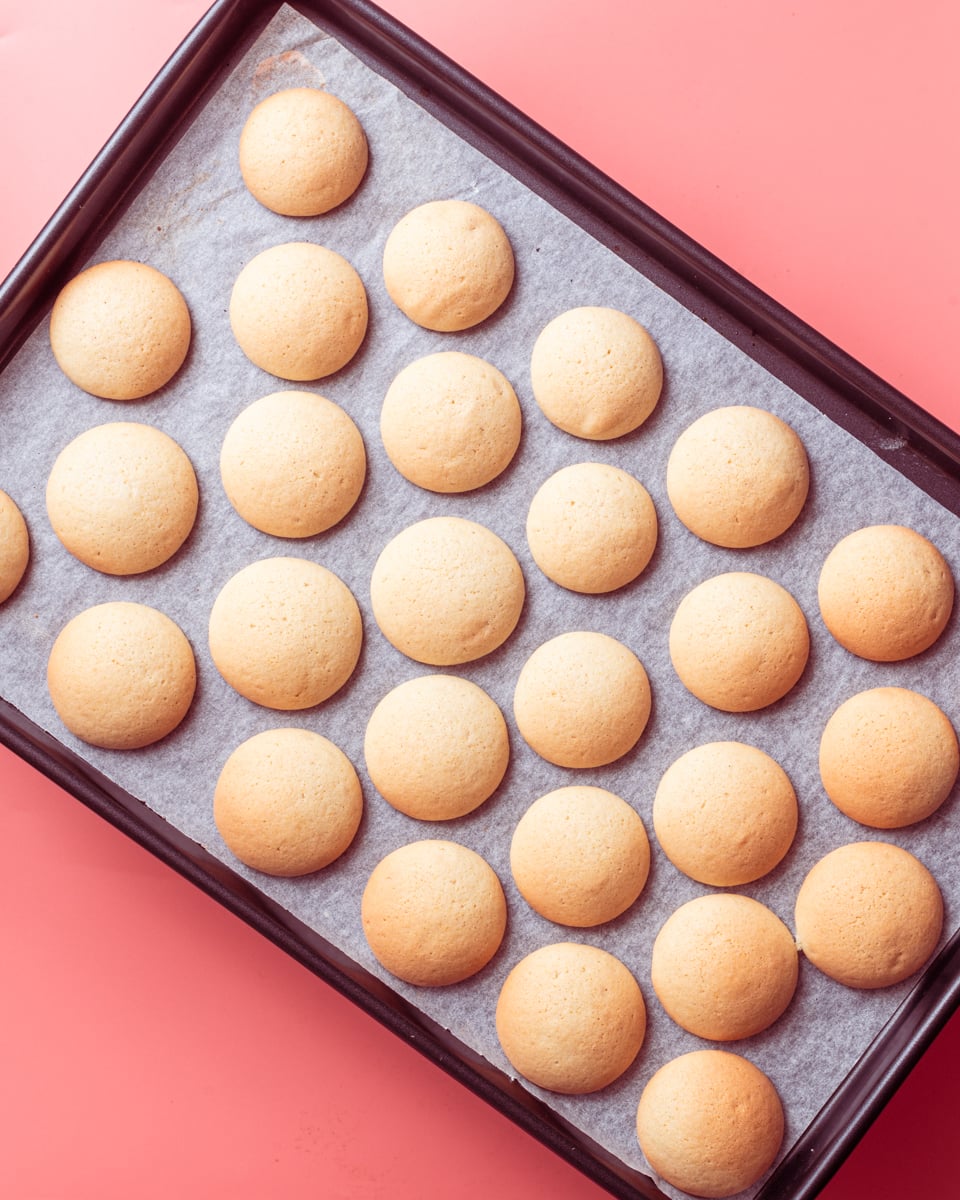
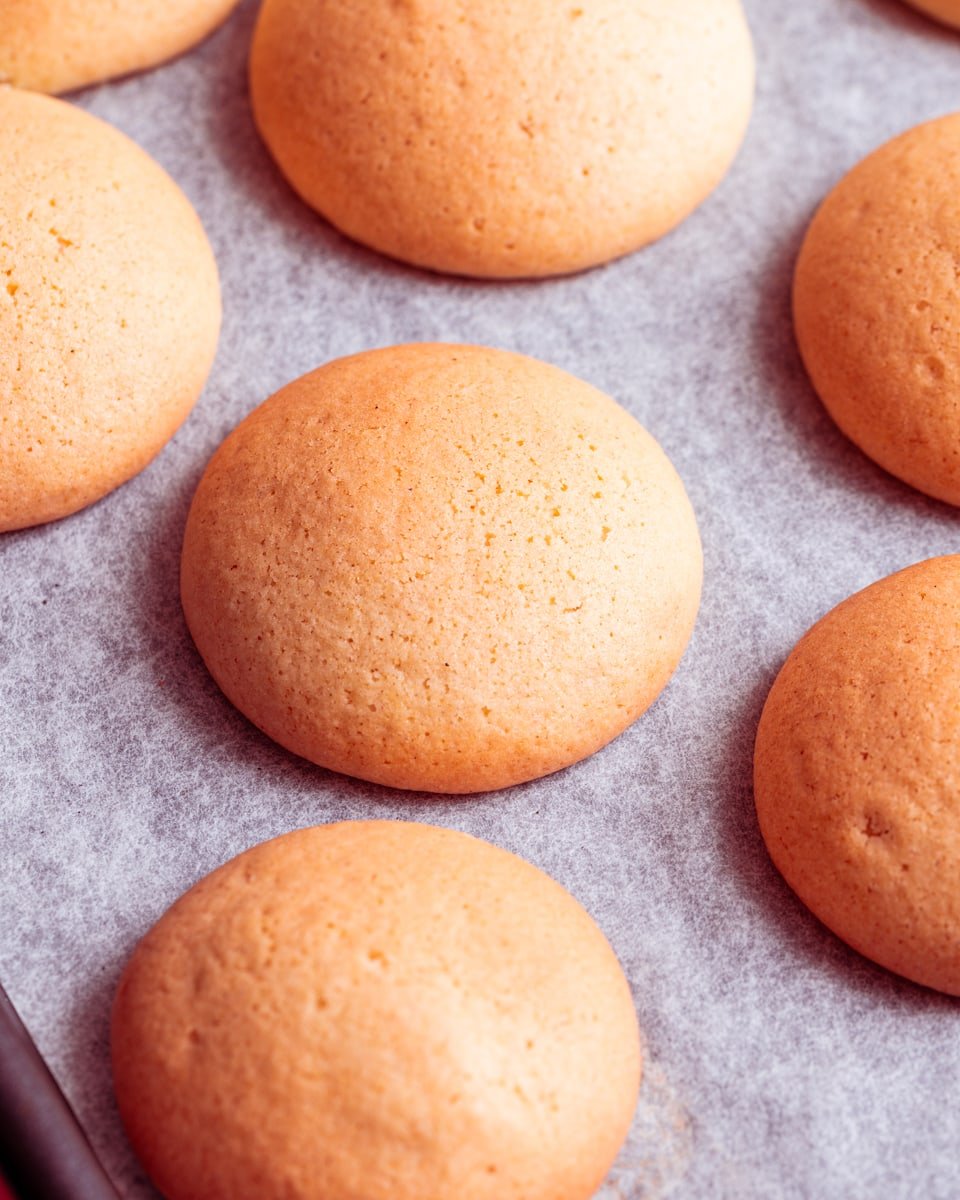
4. Finally we bake! These take roughly 20-25 minutes to bake, but just aim for smooth domed wafers with a lovely browned surface. Allow them to cool fully before using or eating.
🤷♀️ Vegan Vanilla Wafers FAQs
A: Store-bought Nilla wafers contain eggs and dairy products so they're not vegan. This recipe is a vegan alternative made without any animal products.
A: No. Vanilla extract is a natural product extracted from real vanilla beans. Vanilla essence is a synthetic version of vanilla flavour that's been made with various chemicals and artificial flavours. Vanilla extract or vanilla bean paste are far superior products.
A: In the USA, vanilla wafers are crisp, light cookies that melt in your mouth. In the UK a wafer is a different product, usually served with ice cream.

Vegan Vanilla Wafers (Vegan Nilla Wafers)
Ingredients
- 260 g plain white flour aka all purpose flour
- 2 tablespoon cornstarch aka cornflour in the UK
- pinch fine sea salt
- 1 teaspoon baking powder
- 120 ml aquafaba the liquid from a can of unsalted chickpeas
- 140 g caster sugar aka superfine sugar in the USA
- 2 teaspoon vanilla extract
- 45 ml vegetable oil
Instructions
- Preheat the oven to 160 °C (fan/convection) and line two baking trays with greaseproof paper.
- In a medium bowl, sieve together the plain white flour, cornstarch, fine sea salt and baking powder. Set aside.260 g plain white flour, 2 tablespoon cornstarch, pinch fine sea salt, 1 teaspoon baking powder
- In a spotlessly clean bowl of a stand mixer fitted with the whisk attachment, place the aquafaba and whip on high speed until stiff peaks form. Stop the mixer, add the caster sugar and whisk again until the mixture is glossy and falls in ribbons.120 ml aquafaba, 140 g caster sugar
- With the mixer still running, drizzle in the vanilla extract and the vegetable oil. Remove the bowl from the stand mixer and fold in the flour mixture until just combined and no lumps remain. Set aside on the counter to rest for 10 minutes.2 teaspoon vanilla extract, 45 ml vegetable oil
- Transfer the batter to a piping bag fitted with a round nozzle and pipe the mixture into half inch circles onto the lined baking trays, leaving space between each one for expansion. Wet a finger and dab on the top of each circle of batter to flatten into a neat dome.
- Place in the oven to bake for 20-25 minutes or until golden brown. Remove from the oven, leave to cool for 5 minutes then transfer to a wire cooling rack to cool and crisp up fully.


Vegan babe
So simple but so useful for so many different recipes!! Amazing!!
Jars
I am pretty sure I followed the recipe correctly - measurements and process (except the chickpea cans had some salt in them) - but it did get whipped well and stiff peaks formed. However, the batter after folding in the dry ingredients became quite thick... after stayed as tall lumps even after being in the oven for 20 min (I manually flattened them and then baked another 20 min :). Not surprising, they turned out quite dry and unshapely). What could have gone wrong with the batter and how to correct batter that turns out this way? Thanks in advance.
Luissa
I didn’t think I could do it but I followed the instructions closely (which was not hard) and they look and taste great! I hope to able to make banana pudding with theseX I’m on a mission. Thank you!! 🎀✨