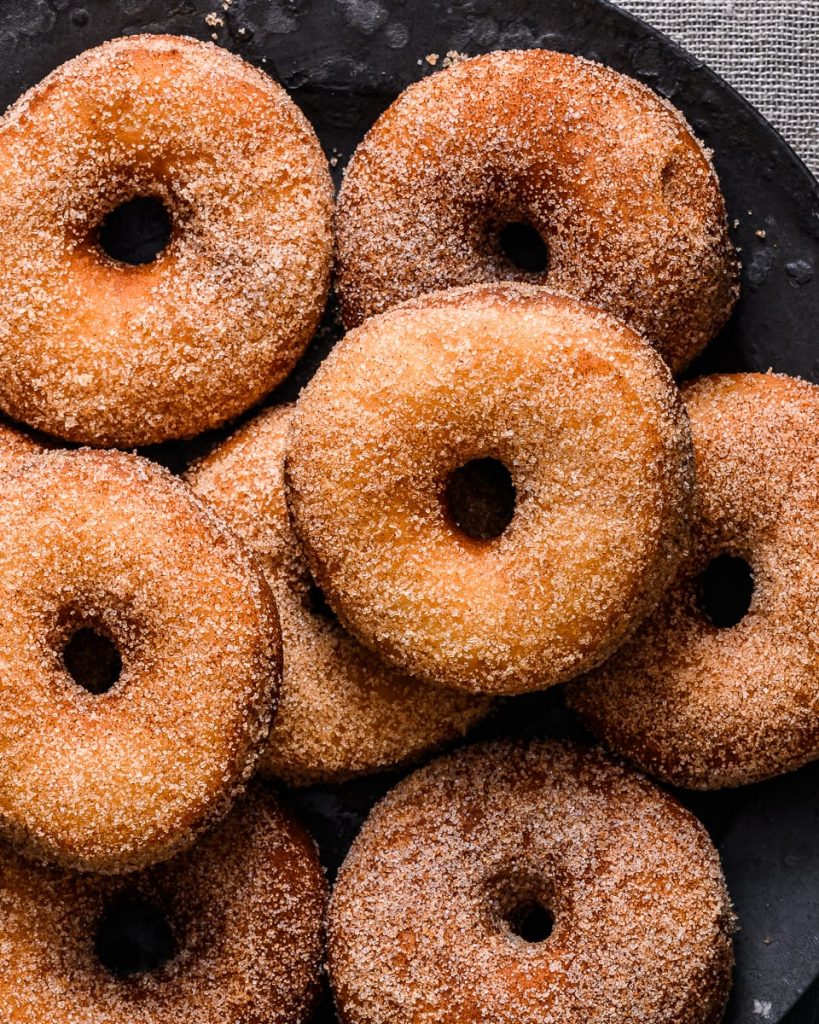
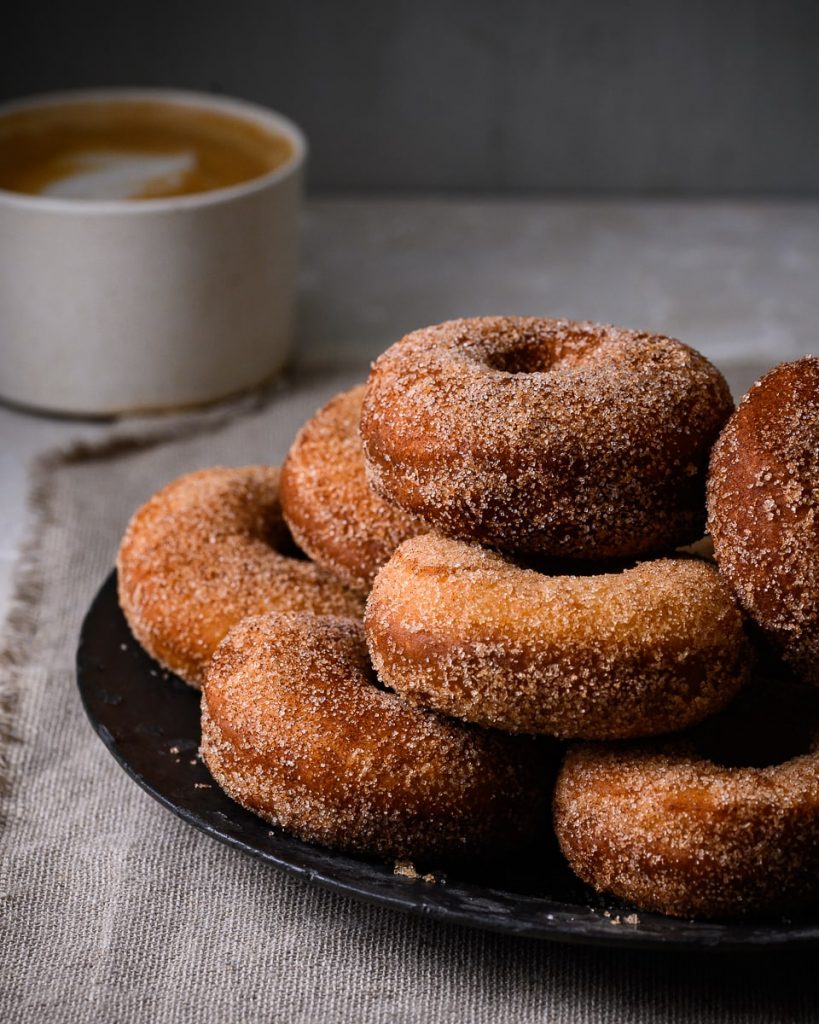
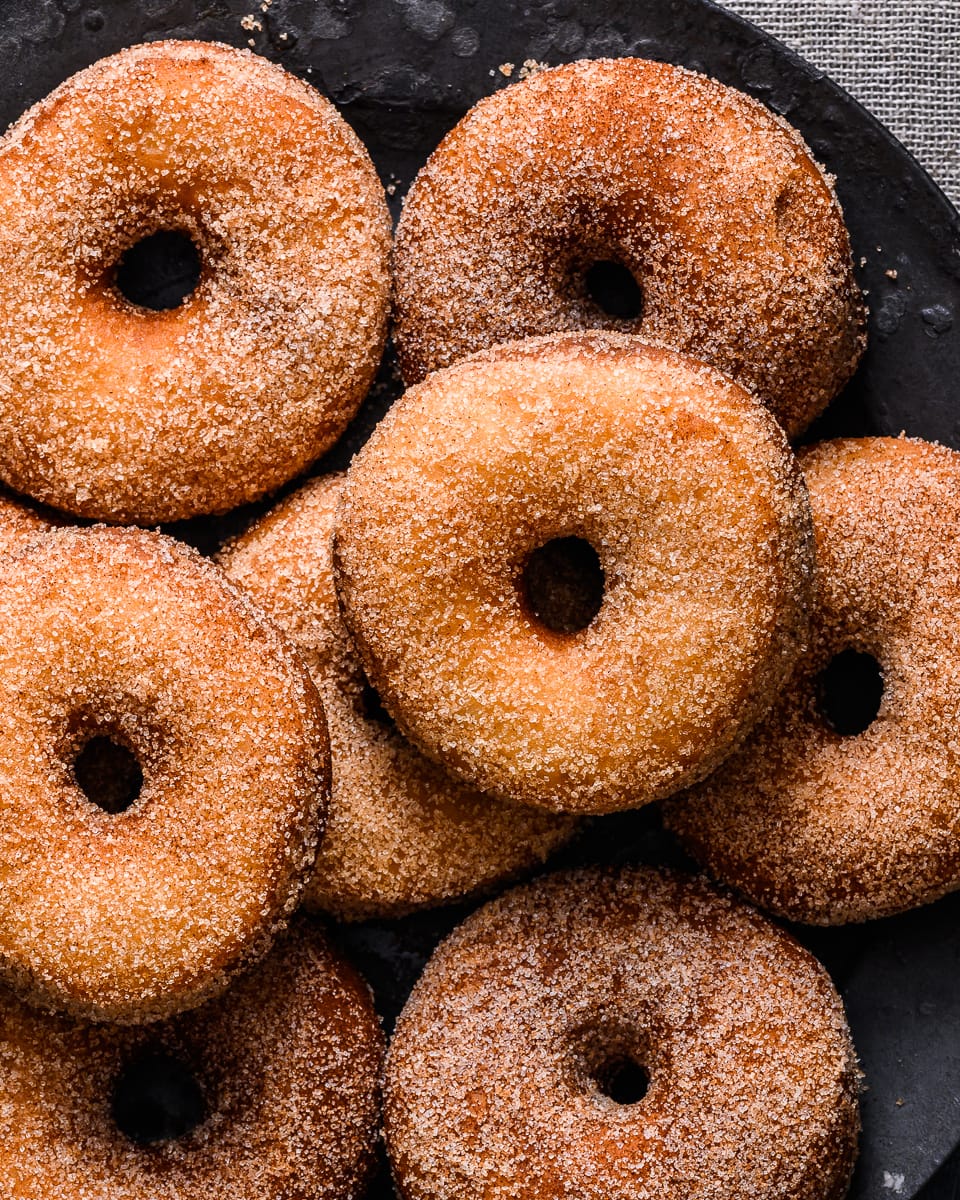
Super light classic vegan cinnamon donuts. Perfect for with a cup of coffee or, go crazy, a scoop of ice cream!
So, these classic vegan cinnamon donuts are part of my latest drive to get some next-level CLASSIC recipes on school night vegan. I love doing crazy twists on old recipes as much as the next guy, but some of yall just want to be able to whip up a batch of vegan cinnamon donuts, am I right!?
So I stripped things back, returned to the drawing board and built this recipe from the ground up. The challenge is all about getting that bouncy, gently chewy, pull-apart vibe you get with non-vegan yeasted donuts, except without any of the animal products. Did I manage it? Let's find out!
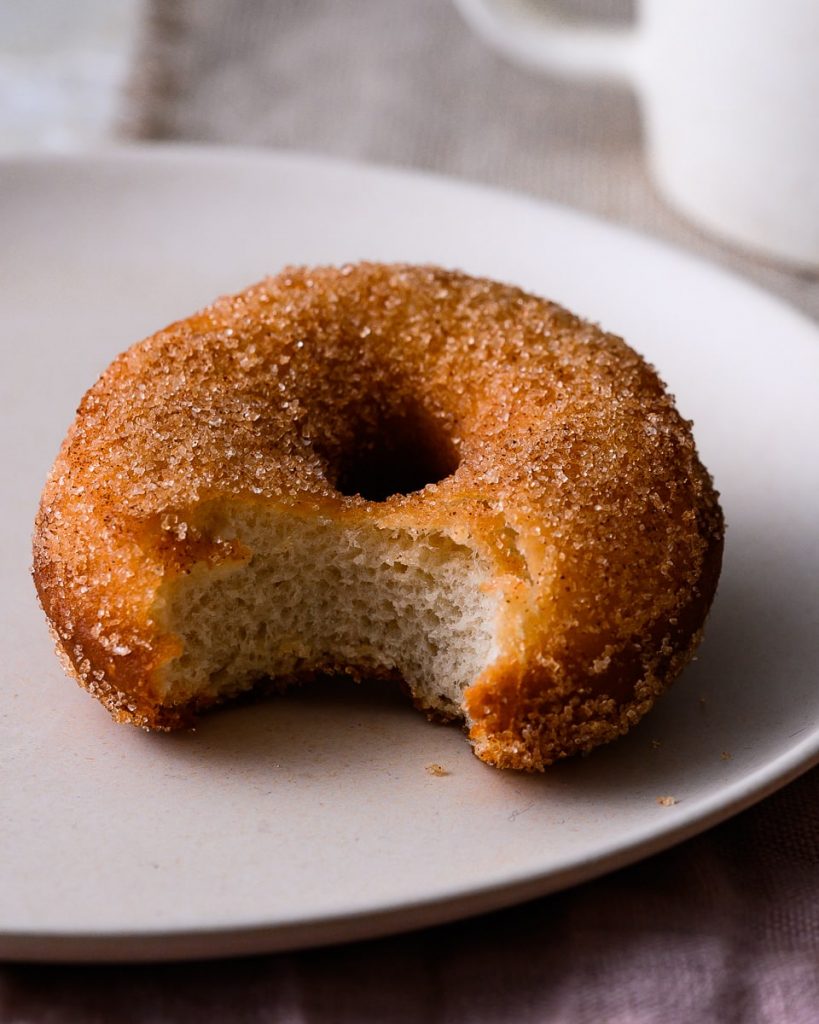
What makes these vegan cinnamon donuts WORK??
So ordinarily when you make a donut, you need to "enrich the dough". This usually means adding both butter AND eggs to the dough. The butter contributes to the richness of the final product and helps with that "pull-apart" appeal. The eggs bring richness too but also they keep the donuts moist and bouncy inside. Here's what I used instead:
- Coconut oil (deodorised) - This stuff replaces the butter. Because it's deodorised it doesn't add any coconut flavour - it just helps the dough to feel rich and delicious.
- Psyllium husk powder - If you've been here a while, you'll probably have seen me use this stuff many times. It's a fantastic, inexpensive egg replacer which hydrates much like flax seeds into a "gel". The gel does a fantastic job of binding the dough and holding in moisture.
- Oat milk - I like to use oat milk for donut recipes because it's JUST SO CREAMY! Technically any plant milk will do but try to choose one with a nice high fat content.
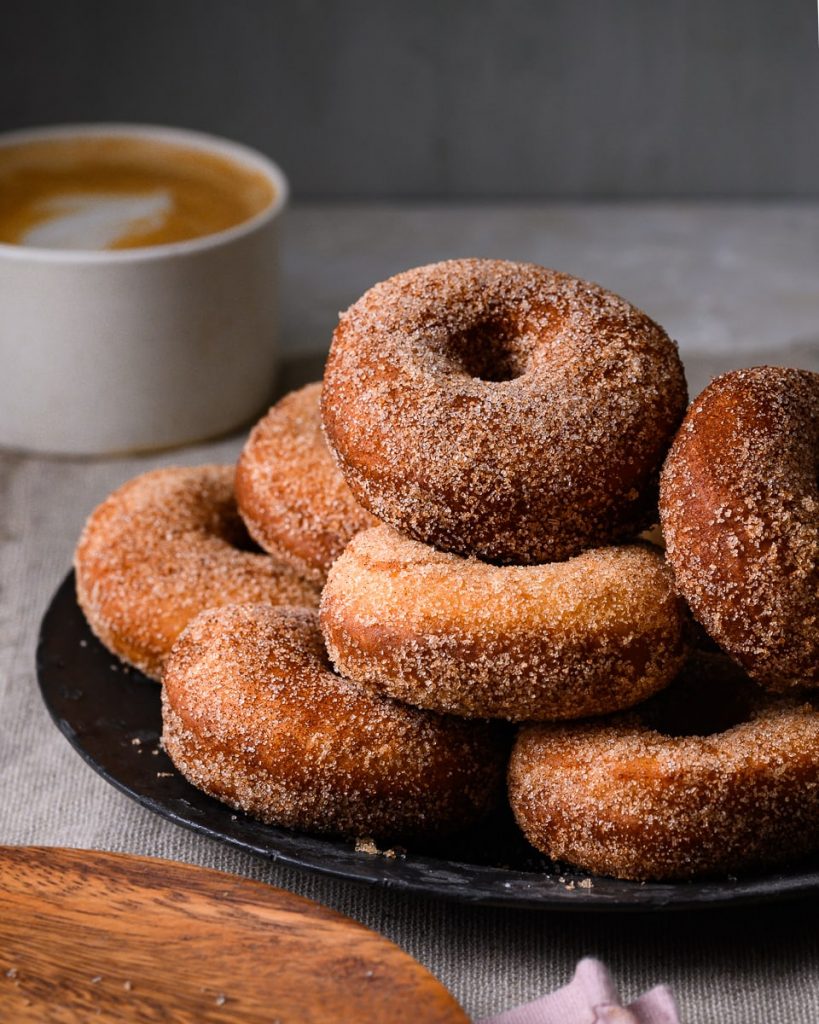
How do I make these vegan cinnamon donuts!?
It's EASY! Honestly! Don't be put off by the yeast or by the fact that they're deep fried. If you're making these as a nice treat, it's worth the extra effort. I promise!
As always, the full recipe is at the bottom of the page but here are my top tips for perfect donuts!
1. Test your yeast!
This is particularly important if you're using a large tub of yeast which has been open in your baking cupboard for more than a few weeks. Yeast degrades super quickly once opened, so DO THIS TEST!
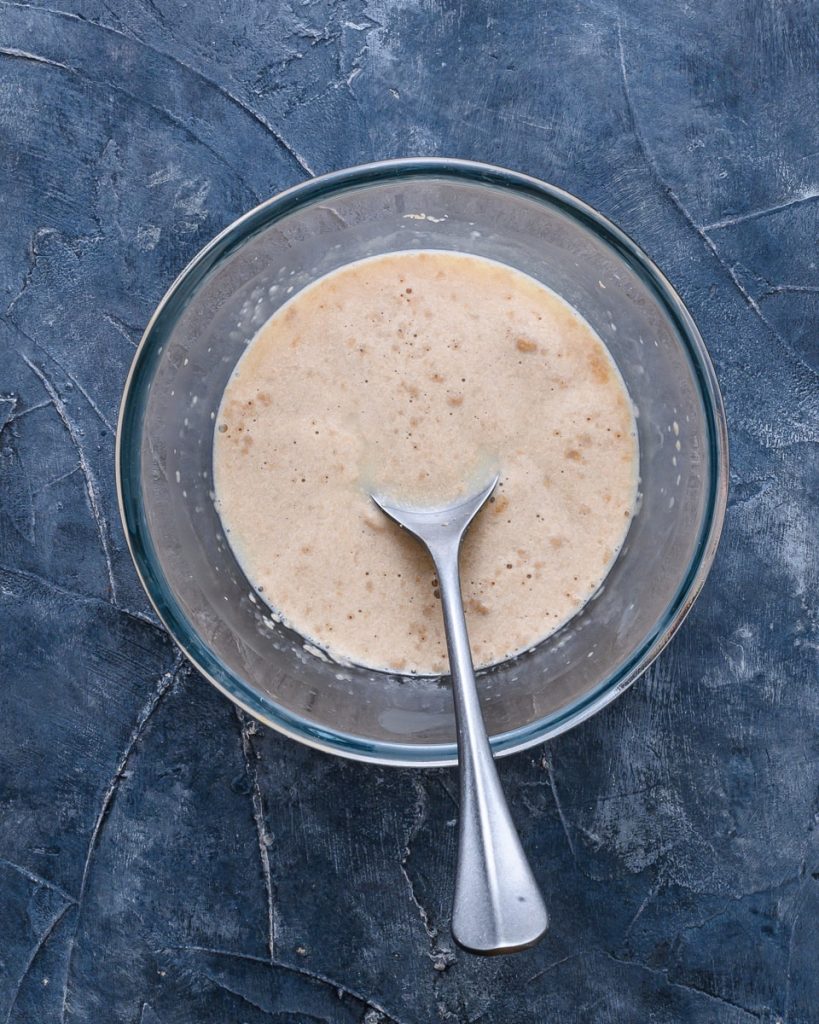
Gently heat your oat milk and some sugar in the microwave until it's around body temperature. Whisk in your quick yeast and LEAVE IT ALONE! If your yeast is nice and happy it'll start to create a foamy layer of bubbles on the surface of the milk. This is how you know it's good to use!
If your milk doesn't froth, don't risk it! Nip out and grab some new yeast instead.
2. Knead it good!
Once your dough is together, it's time to knead it good! The key to deliciously smooth and uniform donuts is to ensure your dough is, well, smooth and uniform! Psyllium husks, although an amazing egg replacement, tend to clump quite easily. For this reason I recommend mixing your dough together with a stand mixer set to PADDLE and then switching up with the dough hook.
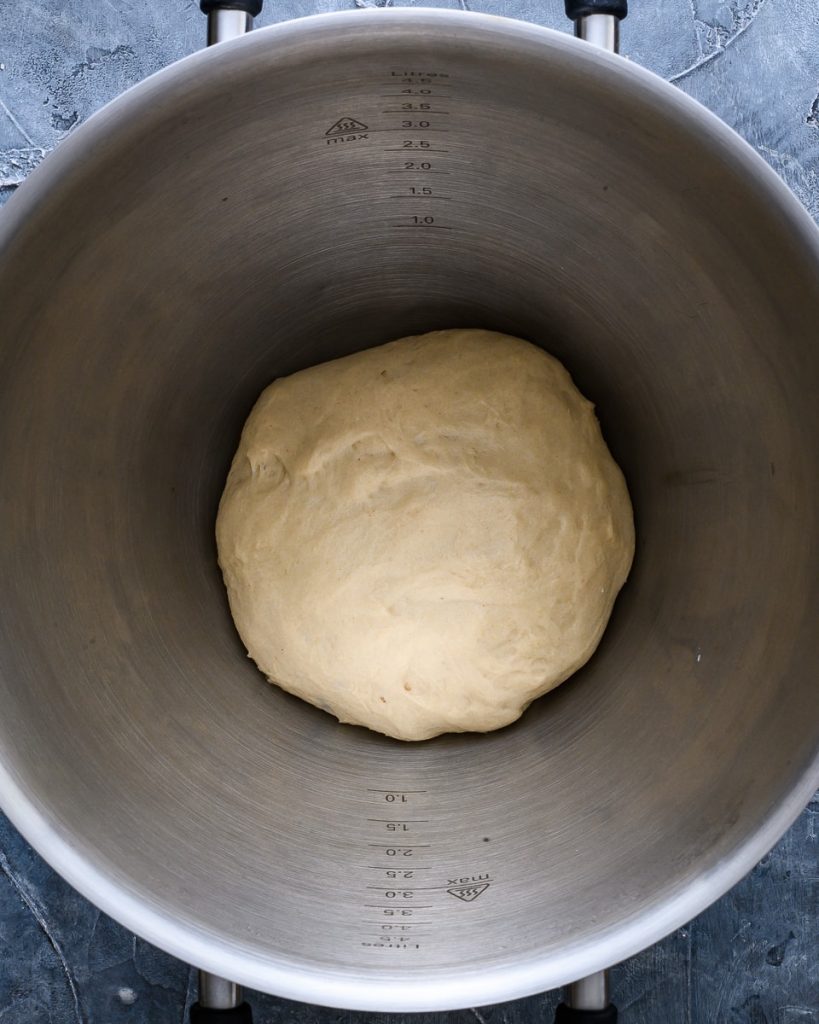
Once you've got a nice smooth dough, it's time to proof!
3. Cut out the donuts
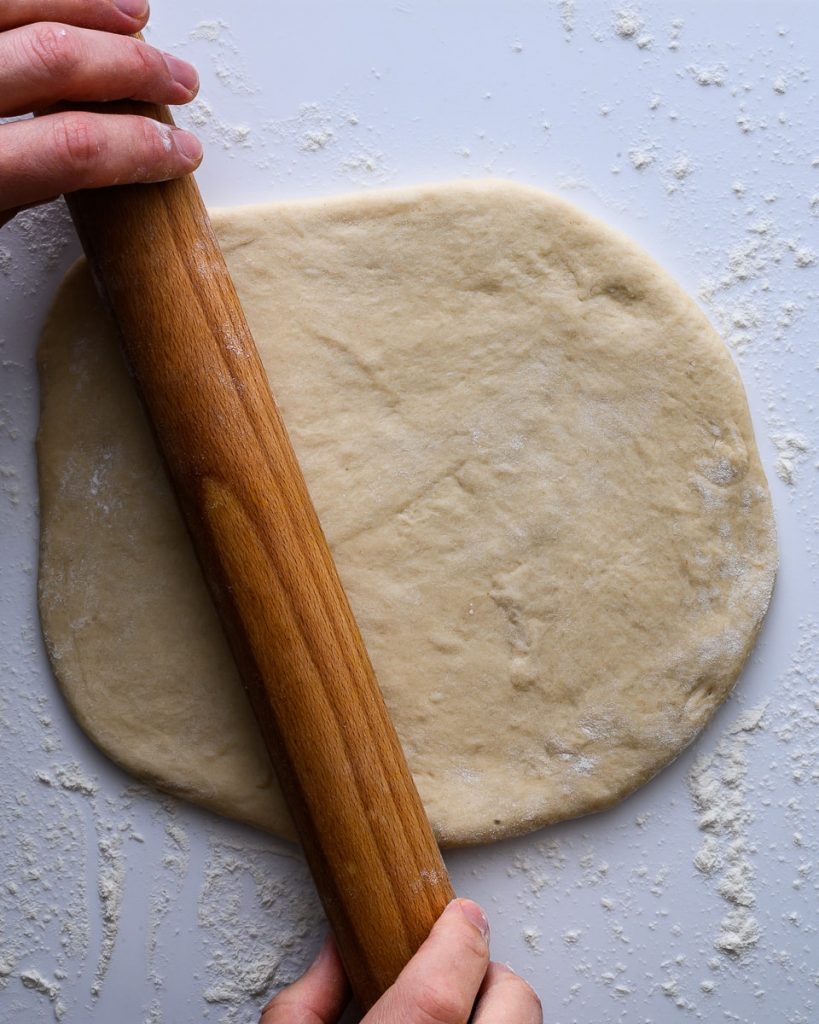
After your first proof, the dough will be super light and soft. It's time to roll it out! First, knock out some of the air bubbles with your fingertips. Use a rolling pin to roll it around ¾ cm thick.
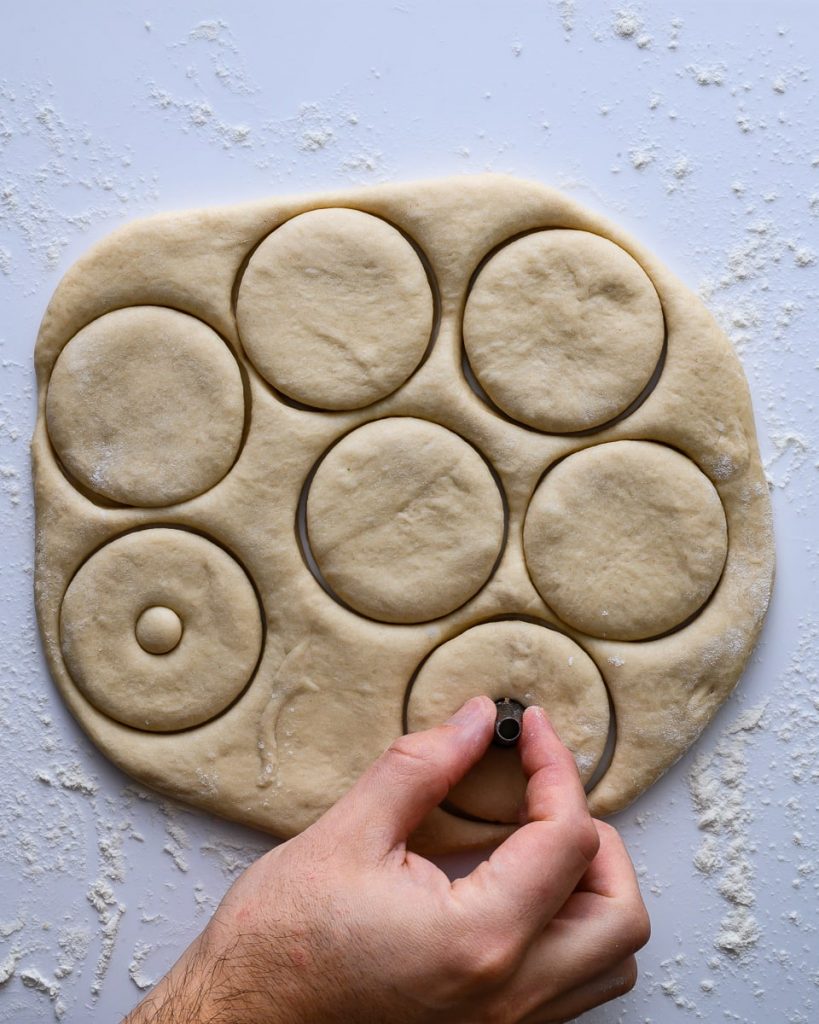
Next, cut out your circles of dough using a 6-7cm cookie cutter. Be sure not to twist the cookie cutter as you press. It should be nice and sharp too, otherwise you'll "seal" the edges of the donut and prevent it rising properly.
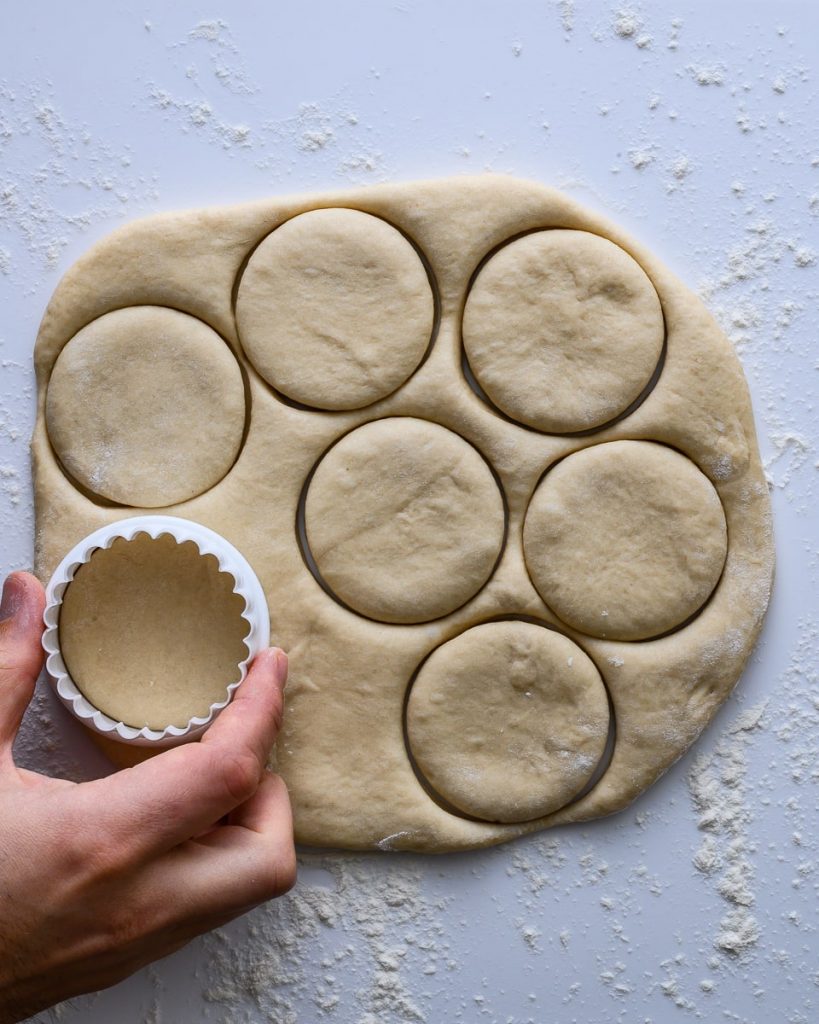
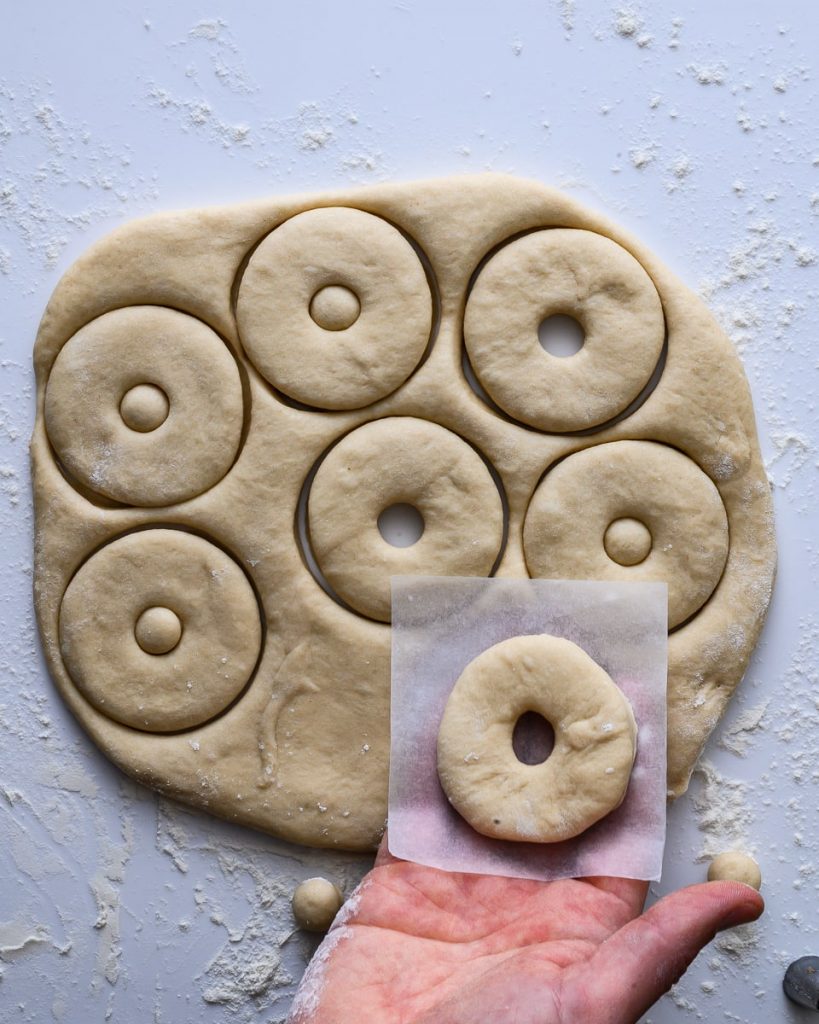
Next you'll need to cut out the inner circles of the donuts. It can be hard to find something the right size but I like to use a piping nozzle. It's perfect because if the donut hole gets stuck, you can always poke it out again with a chop-stick.
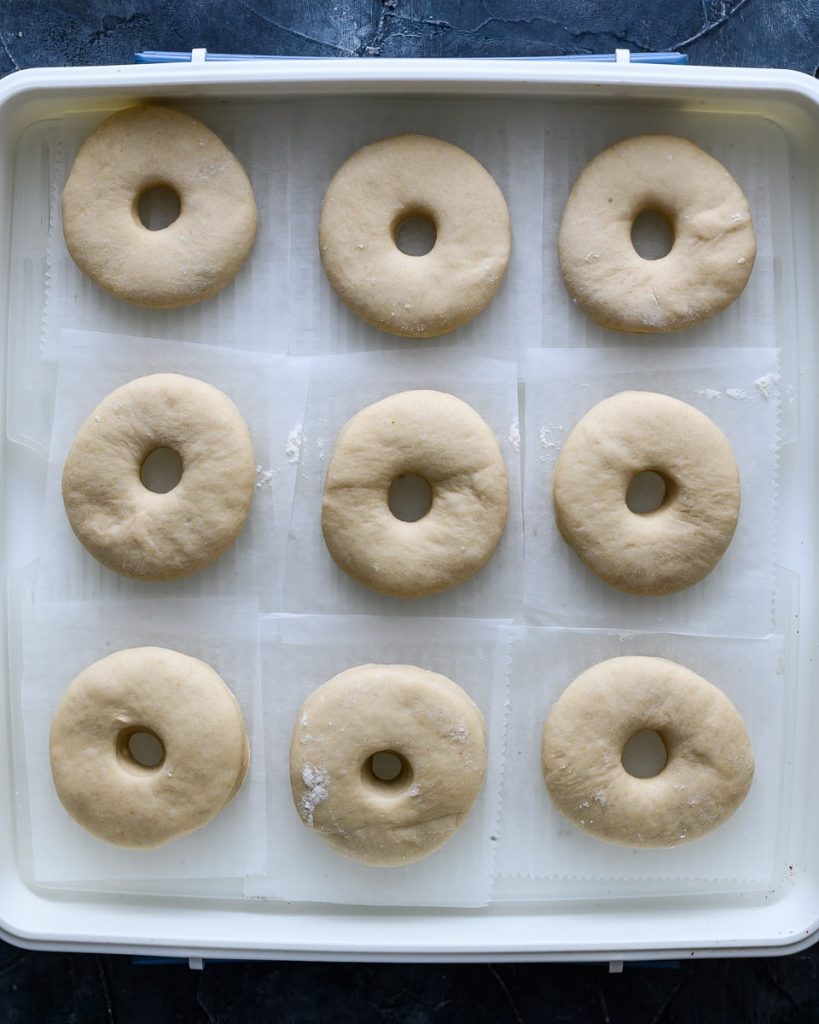
Place the shaped donuts on individual squares of baking parchment. This can seem a little tedious, but you'll thank me for it later. As the donuts proof for a second time, they'll become softer and it's crucial you handle them delicately. Lifting them up and placing them in the oil can be treacherous but the squares of parchment make life much easier!
4. Second-proof the donuts
The second proof is the crucial one. This is where we tend to either overproof or underproof our dough. The best way to check if your donut is ready is the poke test!
A firm poke to the dough should NOT spring back immediately. If the dough springs back to its original shape straight away, your dough is underproofed. The dough should feel light and jiggly. If you start to see large unshapely airbubbles appearing on the surface, you might have gone too far and overproofed.
At room temperature, I find that the second proof should be around 40 minutes. They won't be perfect at this point but it gives you time to get the oil hot so that when they start frying, they're SPOT ON!
5. Fry em up!
The most important step! Frying those vegan cinnamon donuts up GOOD! I've only ever made donuts in a saucepan. I've never owned an airfryer and I have no idea how one even works. This means I'm not qualified to tell you if this recipe works in an airfryer. Please don't ask me about airfryers. (I guarantee you someone will ask me about airfryers).
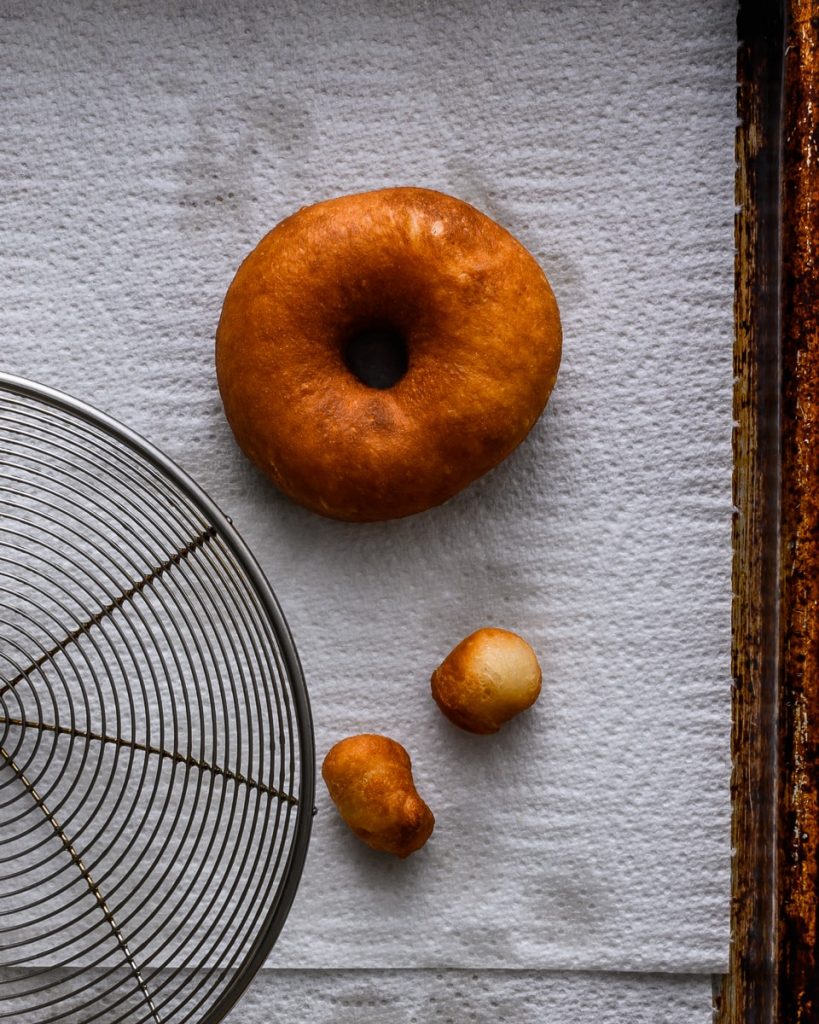
The best way to make these donuts is to slosh 3 inches of literally any neutral oil in a large saucepan and whack it over medium heat. If you've got a probe thermometer or jam thermometer - GREAT! Get that bad boy to 185c and you're ready to fry. If you don't have a thermometer, place a donut hole into the oil and see what happens! If it bubbles immediately and browns gently, you're all set.
Carefully lower the vegan donut (parchment and all) into the oil. Using tongs, pull out the parchment and let the donut fry for around a minute on each side. The fry time may vary depending on your oil so just keep an eye on how brown things are getting. Remove from the oil and place on some kitchen roll to soak up any residual oil.
6. Dunk em!
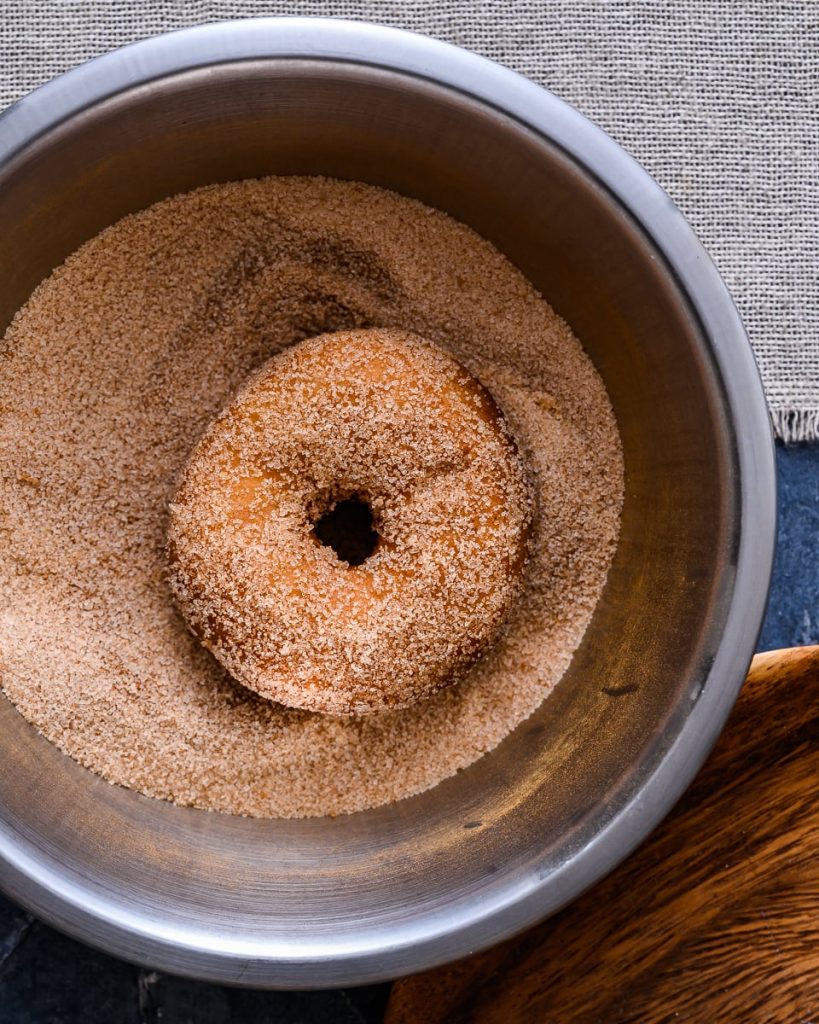
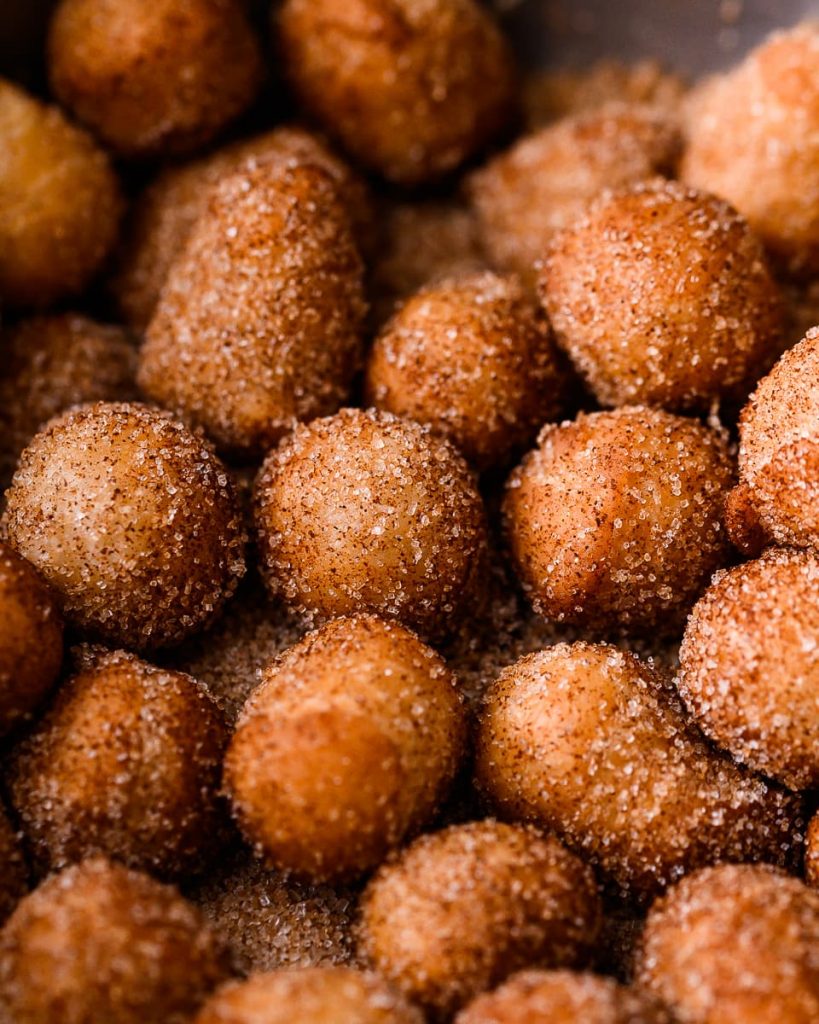
Last step! Time to dunk your donuts! This is where the cinnamon gets involved! Mix together your granulated sugar and ground cinnamon. Be sure to dunk your donut while it's still warm, otherwise the sugar won't stick! Oh and don't forget to repeat the process with your donut holes!
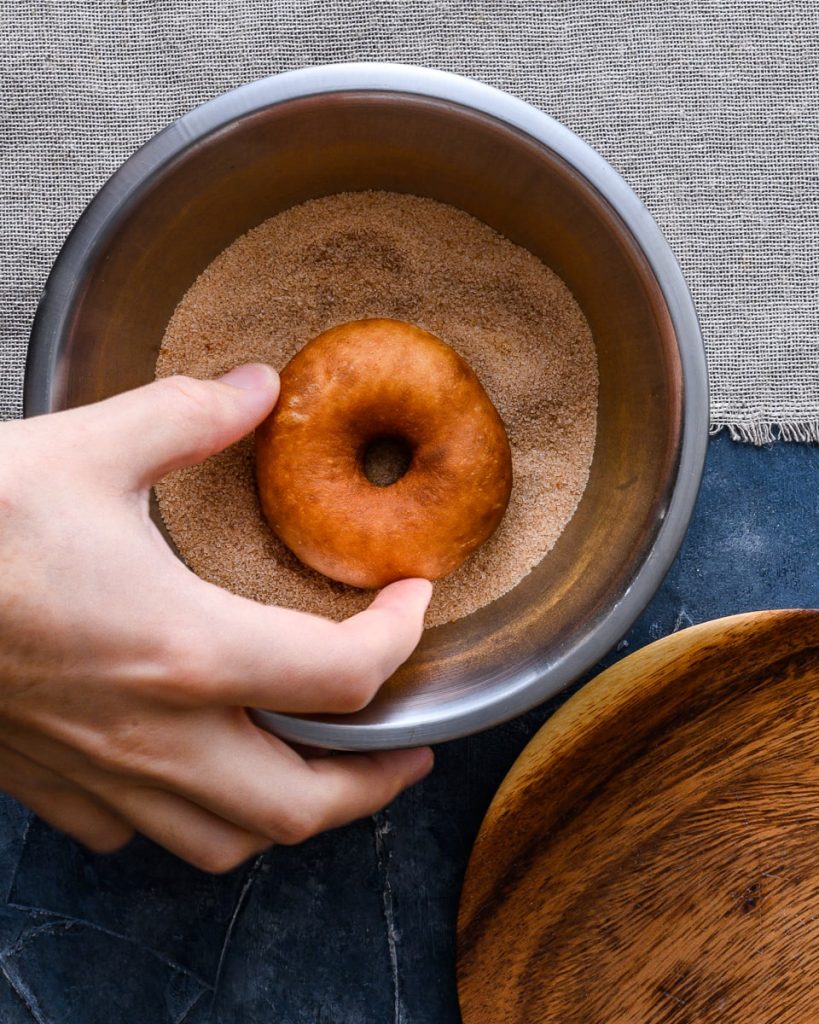
And that's it! It really is super easy! You're gonna love these guys so much I can feel it in my bones! Give this recipe a go and let me know what you think over on my instagram.
Need more dessert recipes??
Then you came to the right place! Why not give these bad boys a try!?
Tahini and Dark Chocolate Refrigerator Pie
Vegan Cinnamon Donuts
Equipment
- stand mixer
Ingredients
For the Cinnamon Sugar
- 150 g granulated sugar
- 1 tablespoon ground cinnamon
For the Donuts
- ½ teaspoon psyllium husk powder
- 8 teaspoon water
- 120 ml oat milk
- 30 g caster sugar
- 1 teaspoon quick yeast
- 160 g strong white bread flour
- 70 g plain white flour (plus extra for dusting)
- ½ teaspoon fine sea salt
- 30 g coconut oil (make sure it's deoderised or "refined")
- vegetable oil for frying
Instructions
To Make the Cinnamon Sugar
- In a medium bowl, combine the granulated sugar and the ground cinnamon. Mix well and set aside.
To Make the Donuts
- In a small bowl combine the psyllium husk powder and the water. Mix well and set aside to thicken.
- In a separate small microwaveable bowl, place the oat milk and caster sugar. Mix well then place in the microwave for 10-30 seconds to take the chill off the milk. The milk should be no more than body temperature.
- Add the yeast to the milk mixture and mix well. Set aside for 10 minutes to allow the yeast on the surface to become frothy.
- Meanwhile, in the bowl of a stand mixer, combine the flours and the salt. To the bowl of yeast/milk mixture, add the coconut oil and mix to combine. Pour the wet ingredients into the dry and finally add the thickened psyllium husks. Using the paddle attachment, beat the mixture on medium speed until it comes together as a rough shaggy dough.
- Change the attachment for the dough hook and knead the mixture on medium speed for around a minute or until the dough looks smooth. Remove the dough and place in a lightly oiled medium sized bowl. Cover with a damp kitchen towel and leave to proof for one hour or until the dough has nearly doubled in size.
- Once the first proof is over, very lightly dust a clean work surface with flour. Turn out the dough and gently push out any larger air bubbles with your fingertips. Using a rolling pin, roll out the dough into a sheet around ¾cm thick. Use a circular cookie cutter around 6-7cm wide to cut out the donuts. Use a much smaller circle (I use the large end of a piping nozzle) to cut out the centre. You should get small 9 donuts.
- Note: Don't twist the cutters as you push down. This prevents even rising and you'll end up with wonky donuts.
- Place each donut on a small square of parchment paper and carefully transfer to a deep baking tray. Cover with cling film or a damp kitchen towel. Don't discard the remaining dough: use the piping nozzle to cut out more donut holes or "timbits". Cover the donut holes too and allow everything to proof for a further 40 minutes.
- Once 40 minutes are up, add around 2-3 inches of vegetable oil to a deep, heavy-bottomed saucepan (I use a cast-iron dutch oven) and place over medium heat. Using a probe or candy thermometer bring the oil temperature to 180c.
- Working one donut at a time, gently lift the donut from the baking tray (along with the baking parchment) and carefully slide it into the oil. The parchment will float off and can be removed with tongs immediately. Fry the donut for around a minute before flipping and frying the other side. Remove from the oil with a spider or slotted spoon and lay on a baking tray lined with kitchen roll to absorb any excess oil.
- While the donut is still warm, dunk it into the cinnamon sugar, flip and dunk again. Set aside and repeat the whole process with the remaining donuts and donut holes.



Rebecca
These are fantastic! Can't decide if I love these or the glazed donuts more - both are fluffy, light, and perfectly sweetened.