Publised on 19/01/2022. Last Updated on 06/12/2024 by Richard
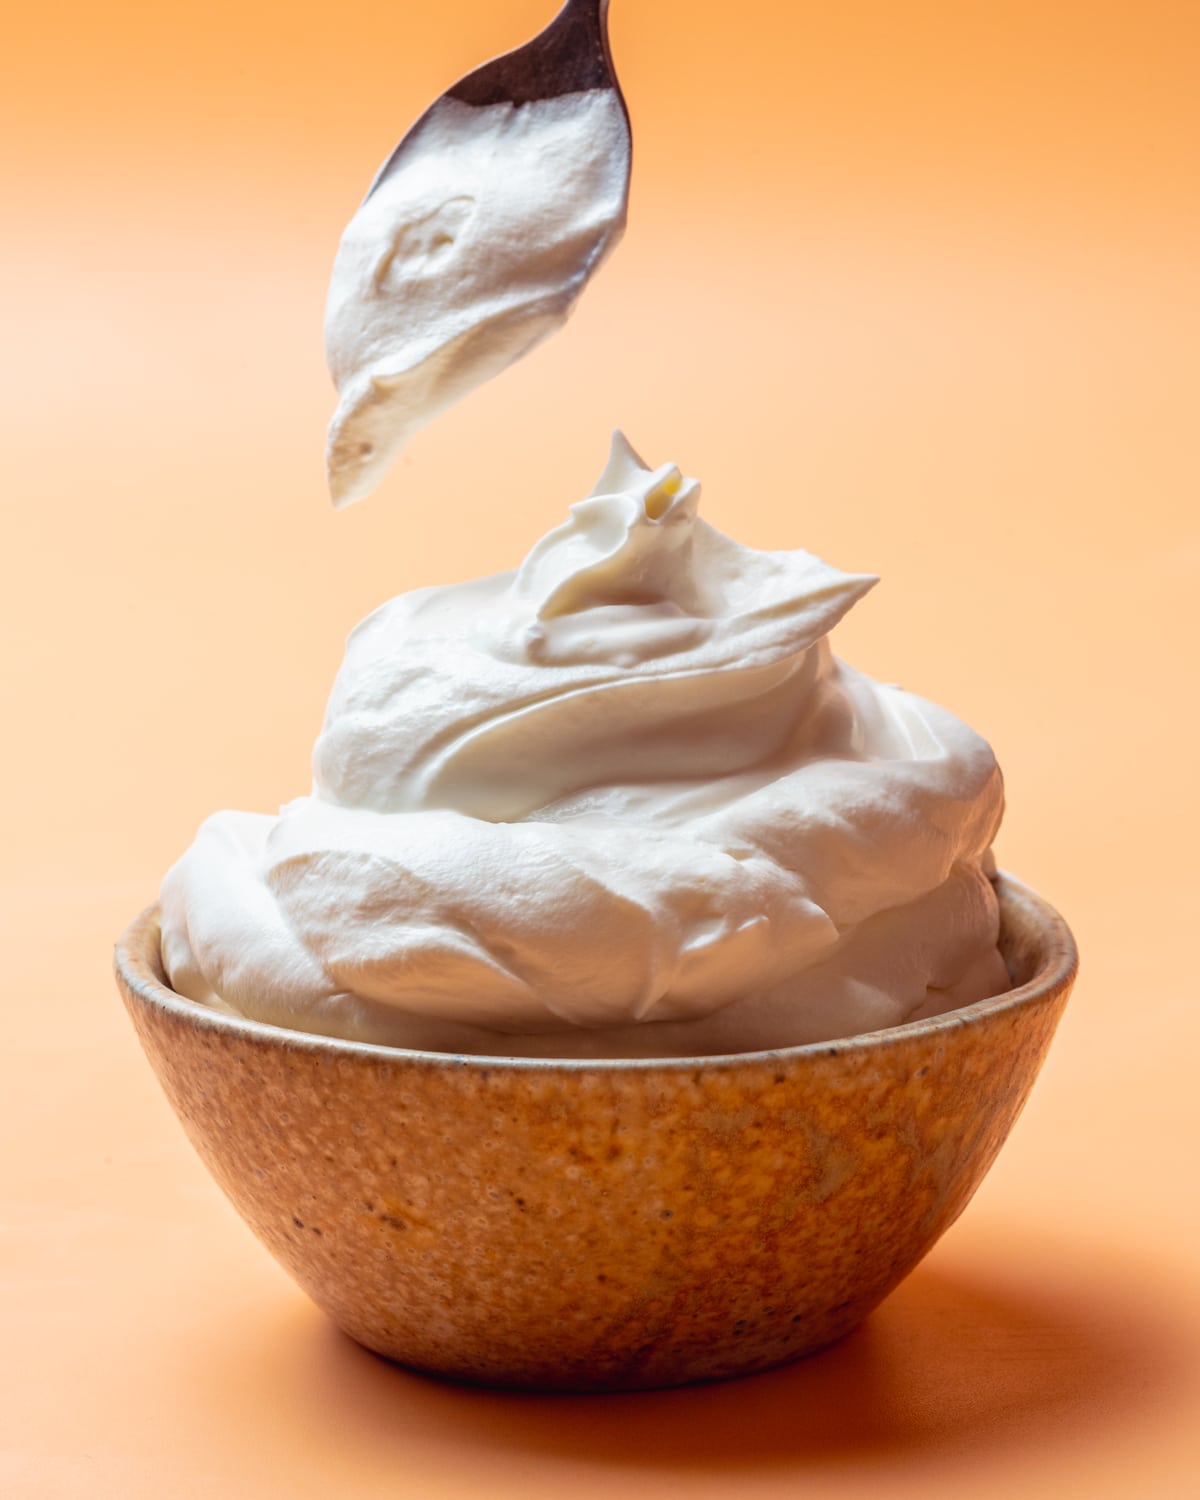
Light and fluffy vegan whipped cream made without coconut milk - ideal for cakes, scones and even for topping coffee!
Ask anyone who's ever tried to make vegan whipped cream and you're likely to hear a rather traumatic story of loss, pain and sorrow. Countless people have been DUPED by the idea of "whipped coconut cream" - wow how wonderful! You just chill it, stick it in a stand mixer and whip away - great - EXCEPT IT'S NOT GREAT IS IT!!??
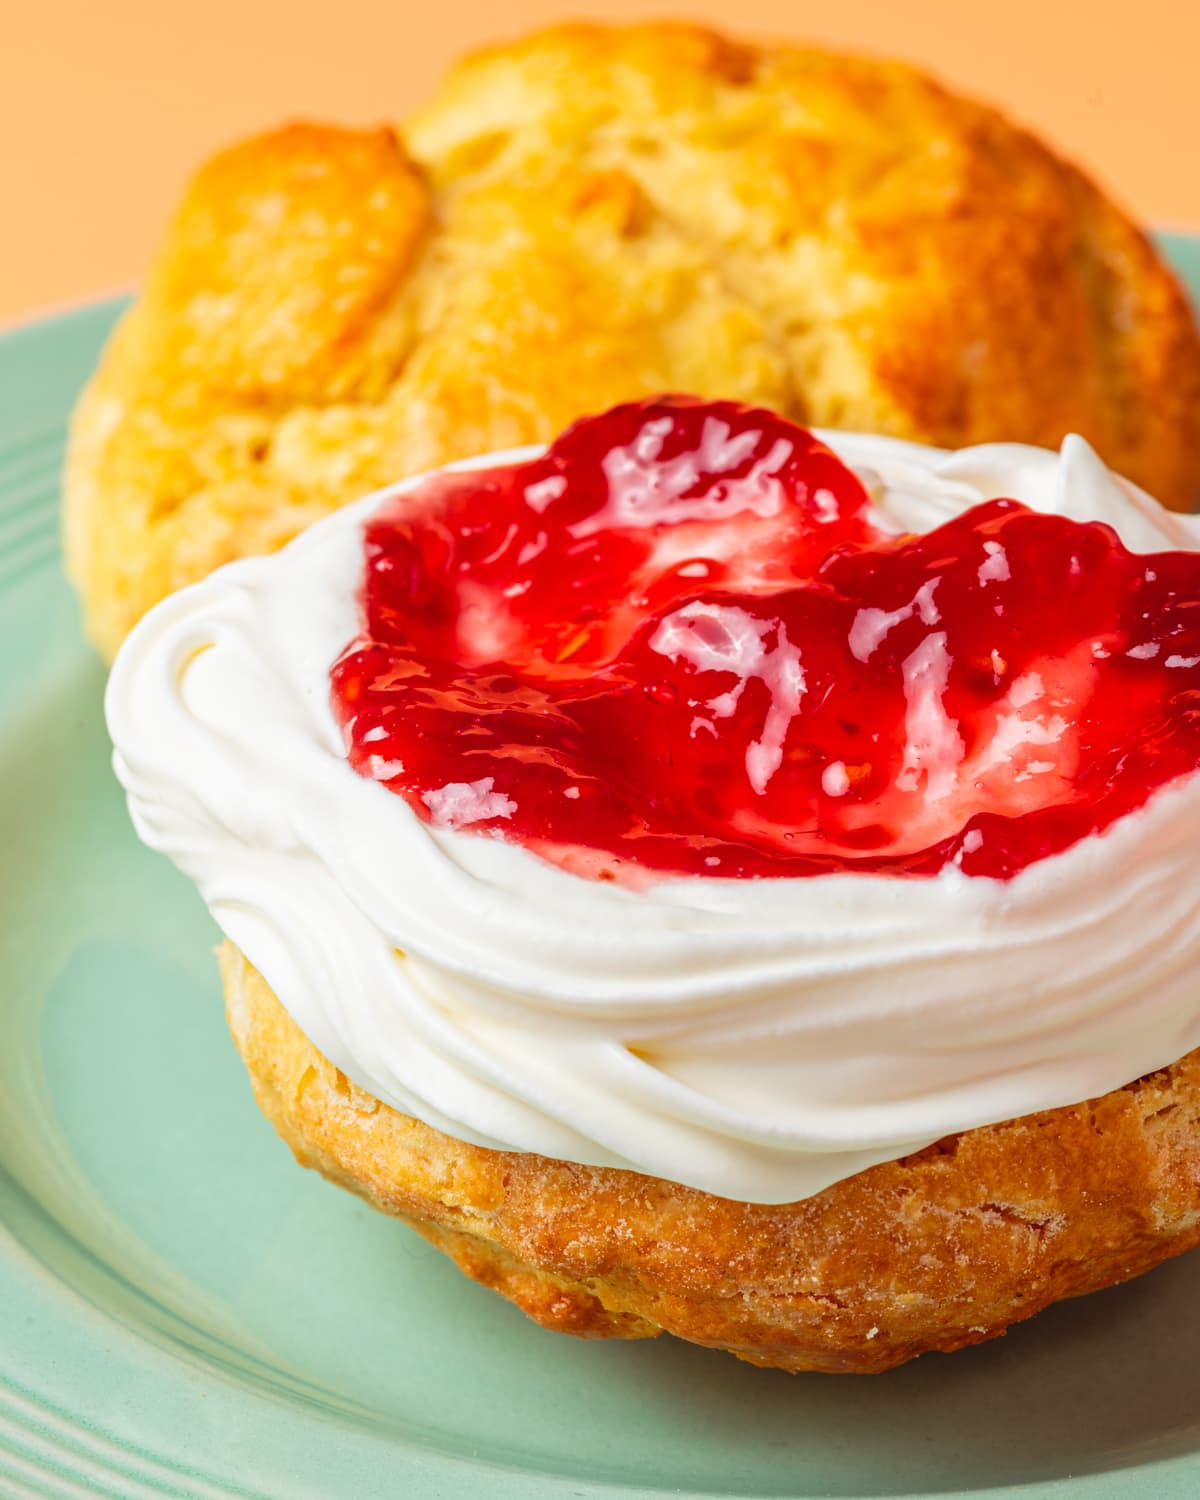
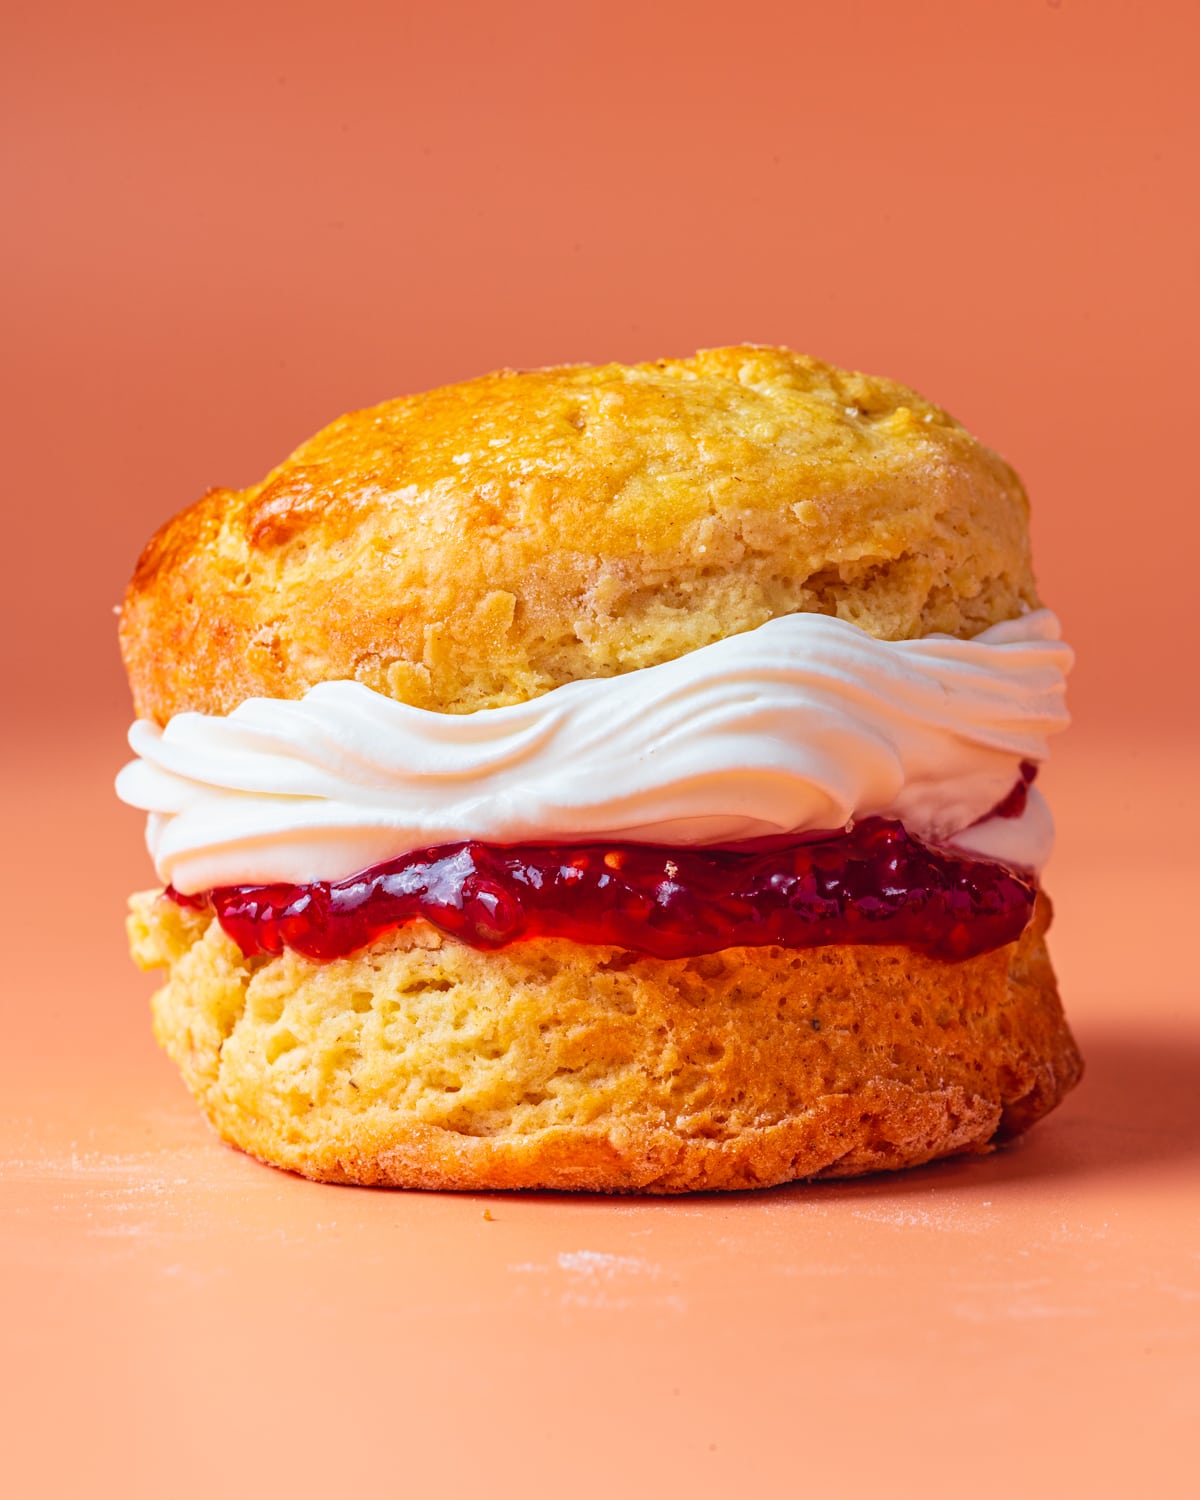
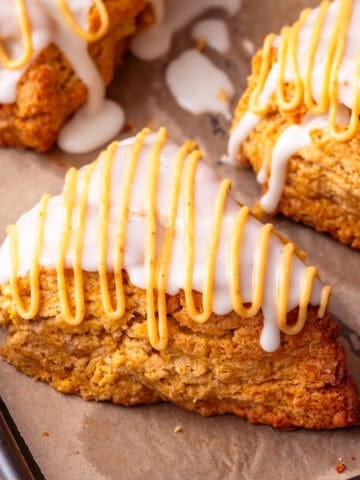
In fact, raise your hand if you've ever been personally victimised by a "whipped coconut cream" recipe…A MILLION HANDS RAISE SIMULTANEOUSLY. See! Proof! My vegan whipped cream, on the other hand, is fool-proof and super smooth! It's perfect for in scones, cream cakes or on my delicious vegan strawberry shortcake!
Jump to:
Vegan Whipped Cream Ingredients
Honestly, the magic of this vegan whipped cream is that it only really requires two ingredients! Soy milk and coconut oil! The key is to get the quantities right (which is why I really recommend using a set of kitchen scales for this recipe).
It's also a good idea to use unsweetened and unflavoured soy milk. Ideally also use deodorised or "refined" coconut oil! This way your vegan whipped cream won't taste like coconut!

As always, the full recipe with quantities etc is at the bottom of the page!
Instructions
The process is simple to make my vegan whipped cream but you need to pay attention to a few specifics, otherwise it won't whip. I've broken everything down into 4 steps to make things easier to follow.

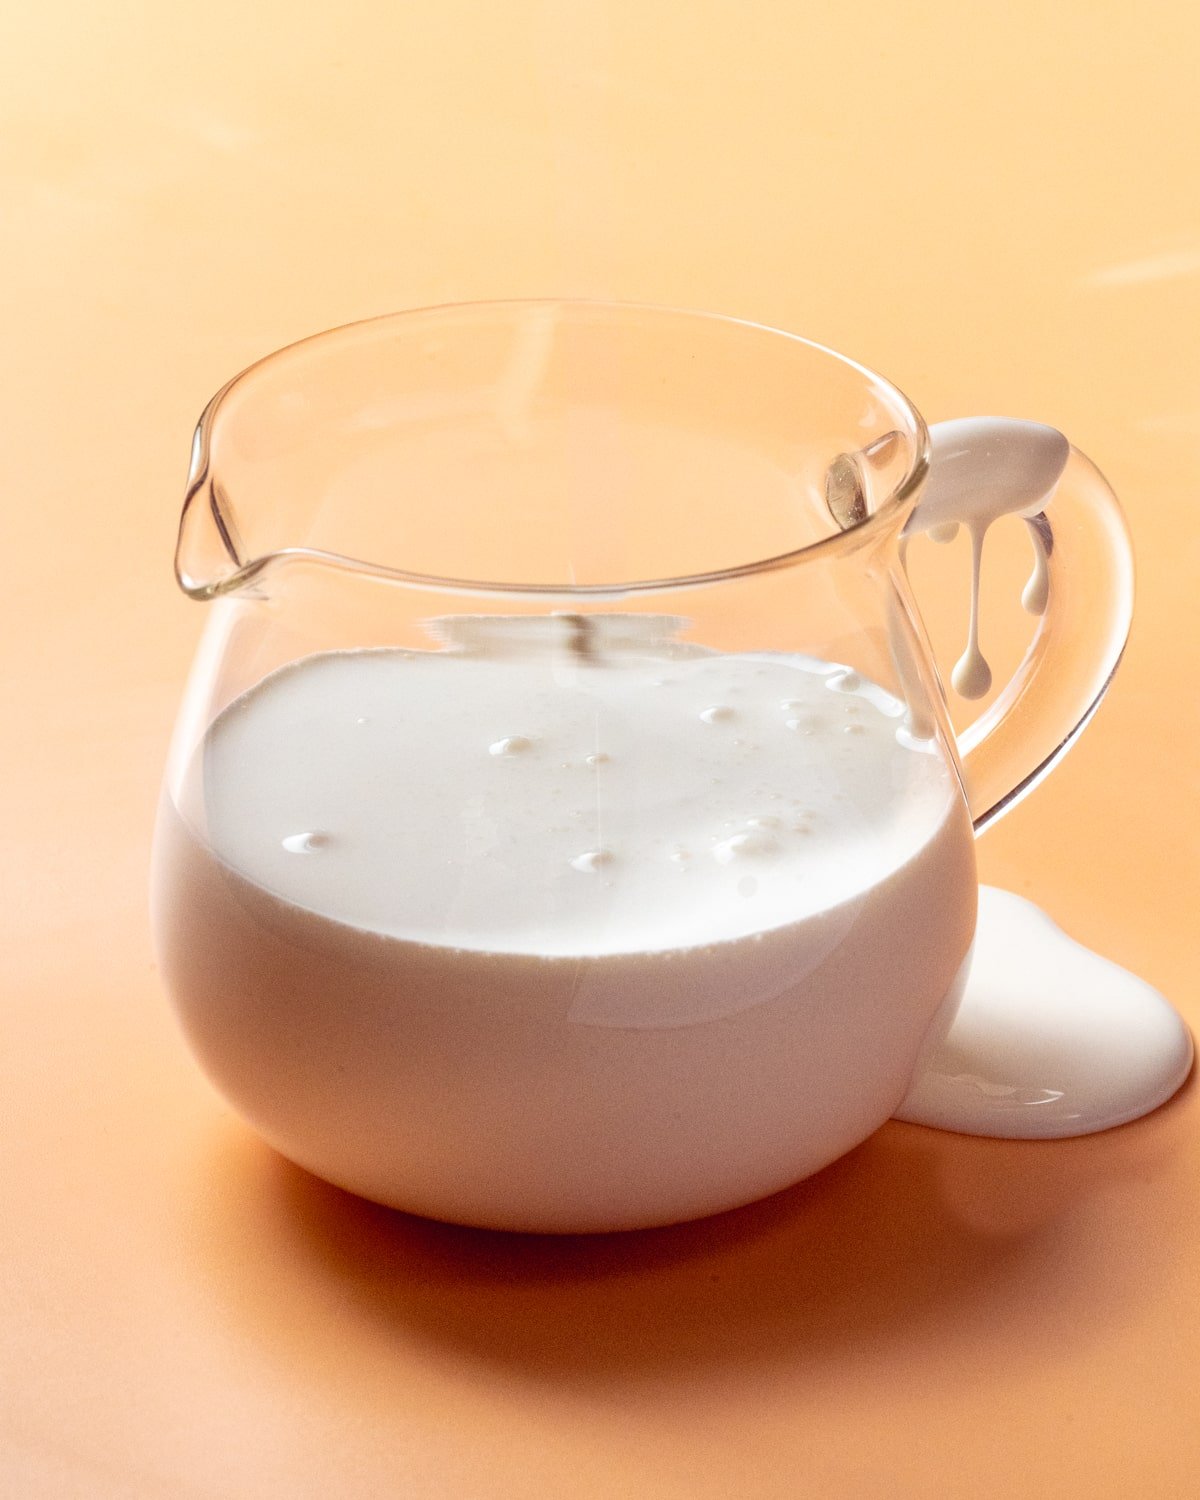
1. Melt the coconut oil and warm the soy milk. This recipe only works if the two ingredients are similar temperatures at the point of blending. Using fridge-cold soy milk is a recipe for disaster!
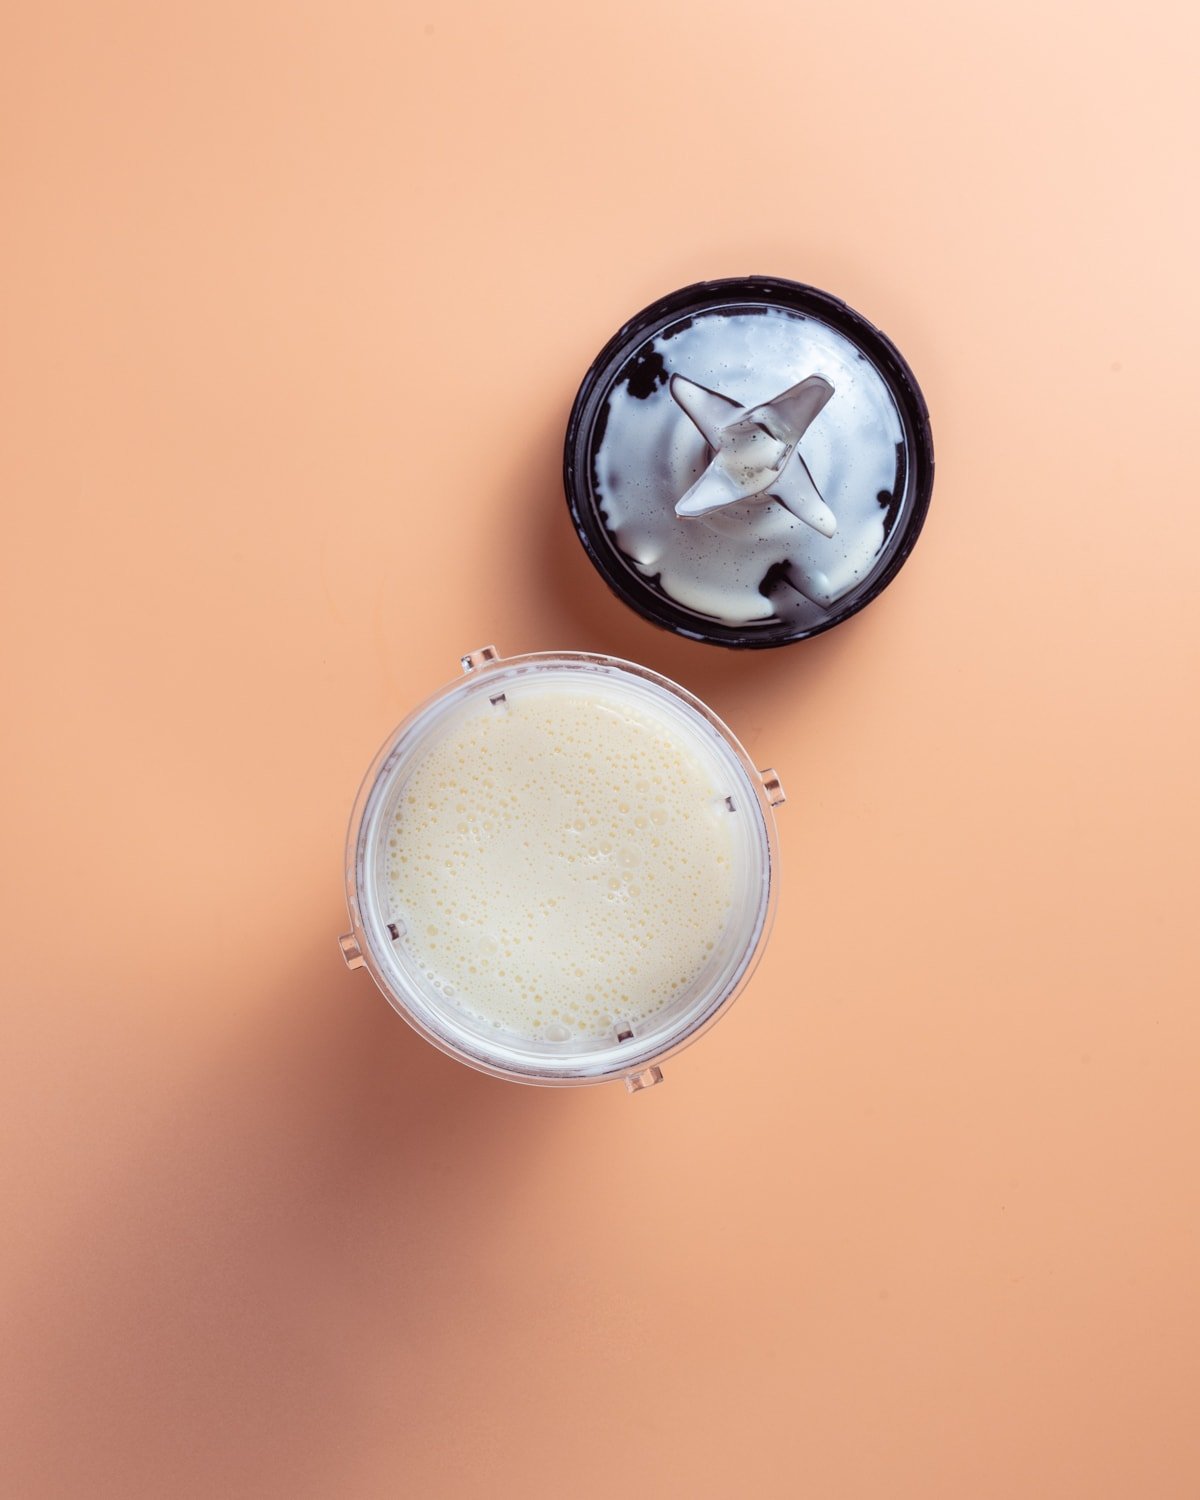
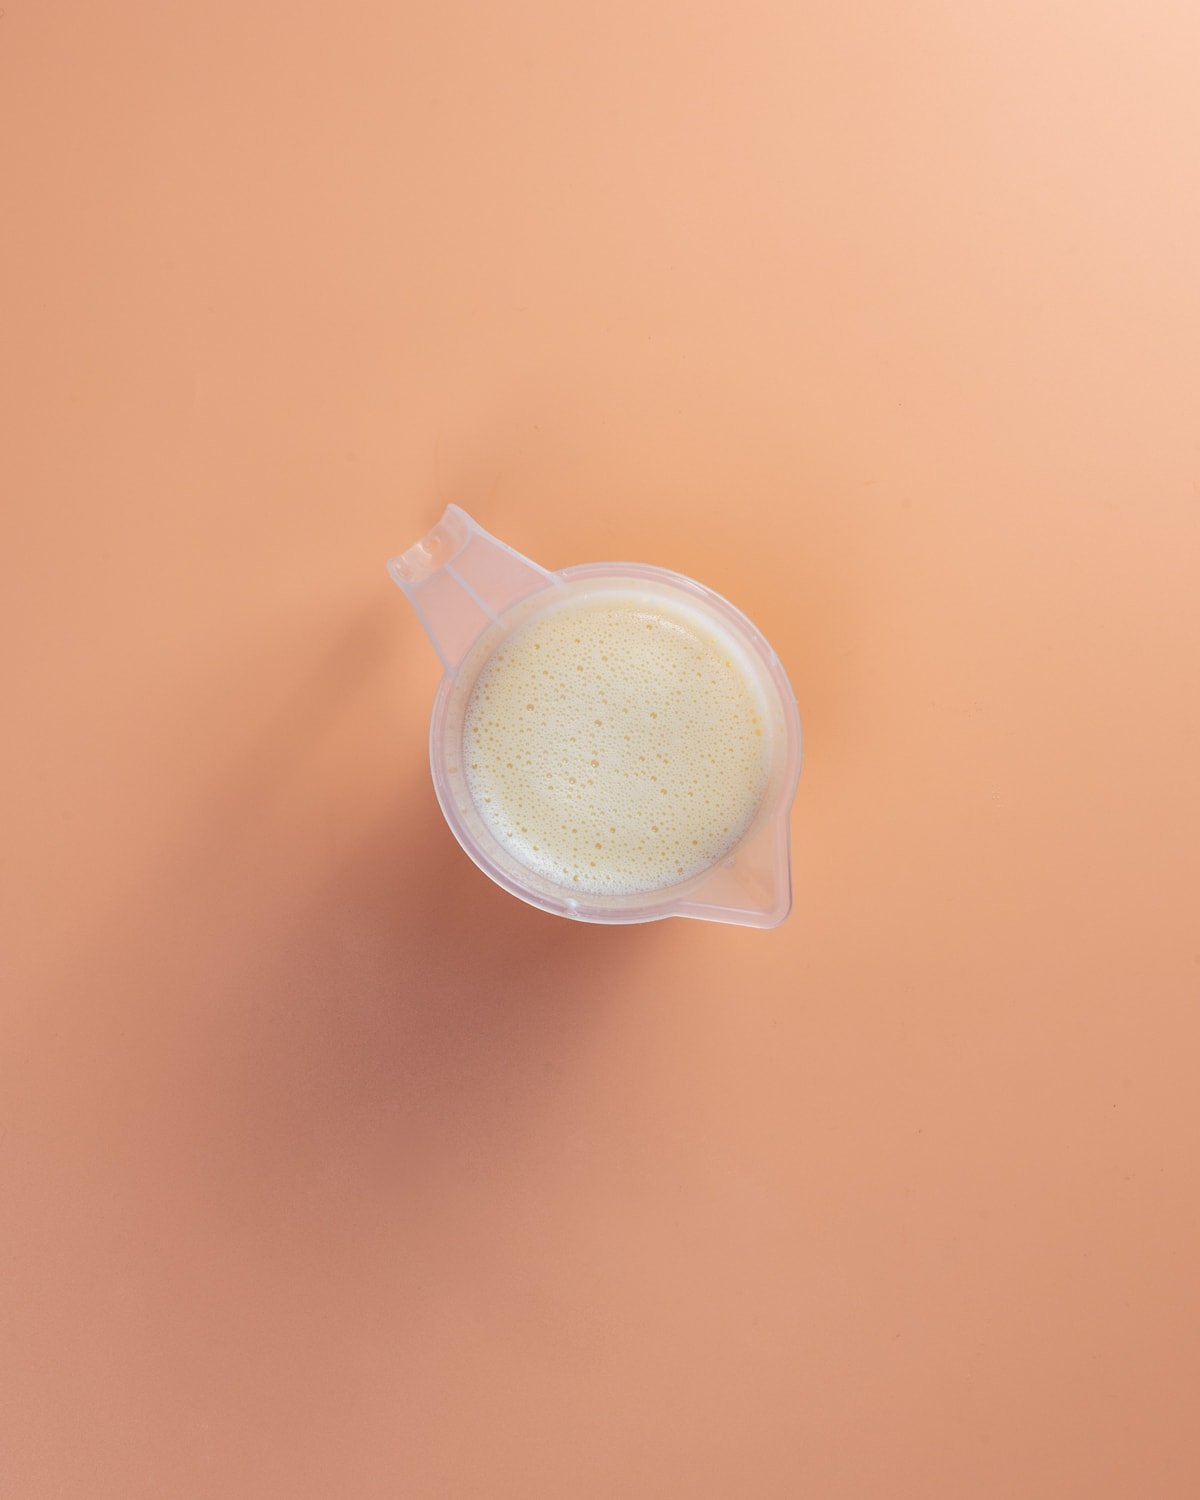
2. Blend the ingredients. This is the point where we emulsify the two ingredients together. You'll need a high-speed blender ideally, but you can also blend using an immersion blender.
3. Refrigerate the vegan whipping cream. This recipe will only work if the mixture is thoroughly chilled. I recommend chilling for a minimum of 4 hours, but really you should aim for an overnight chill.
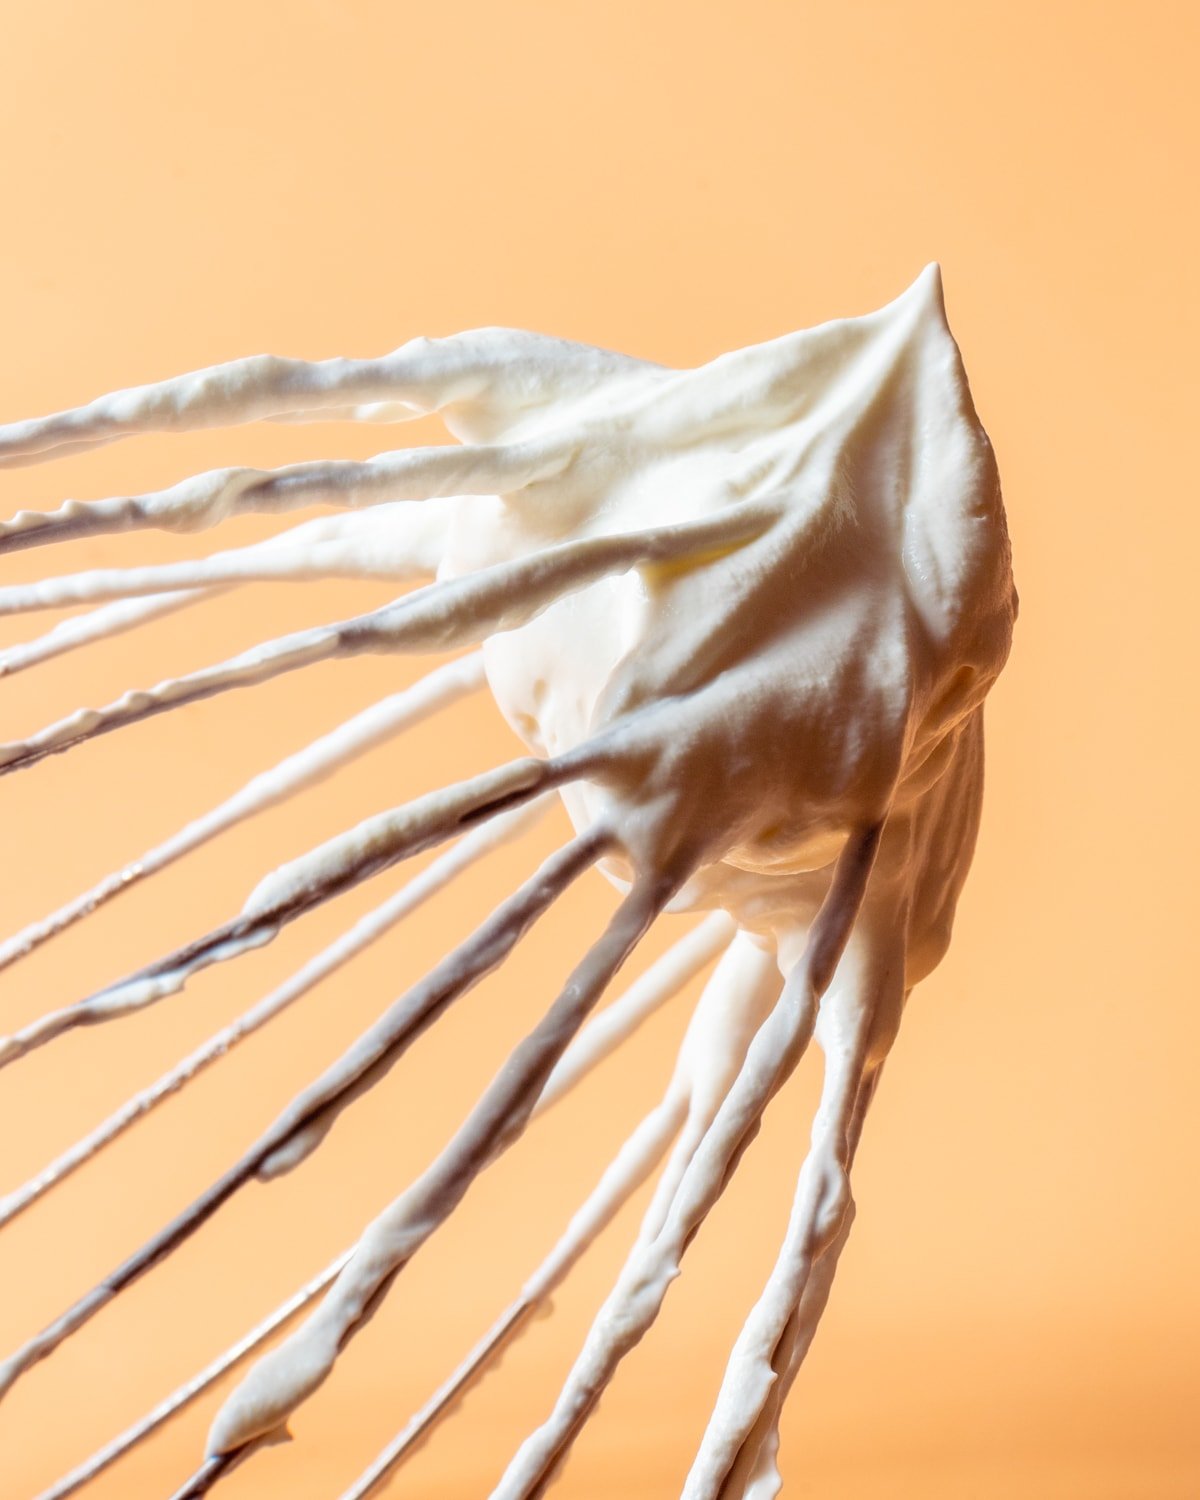
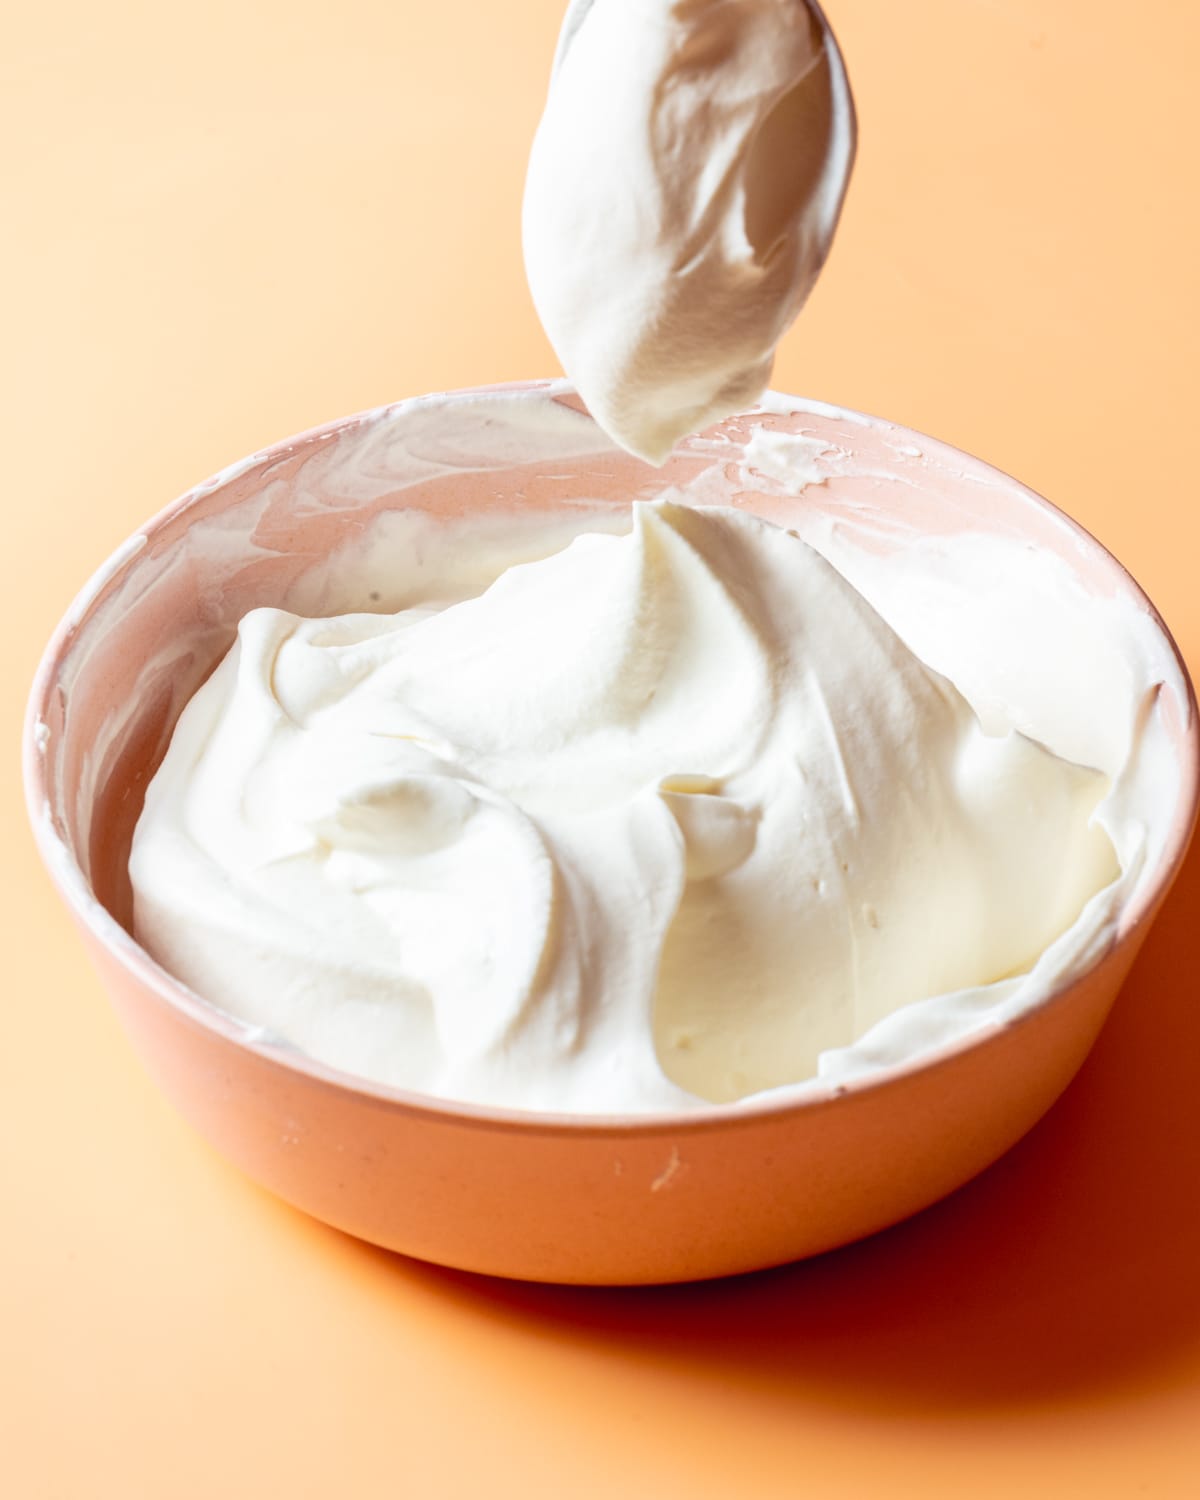
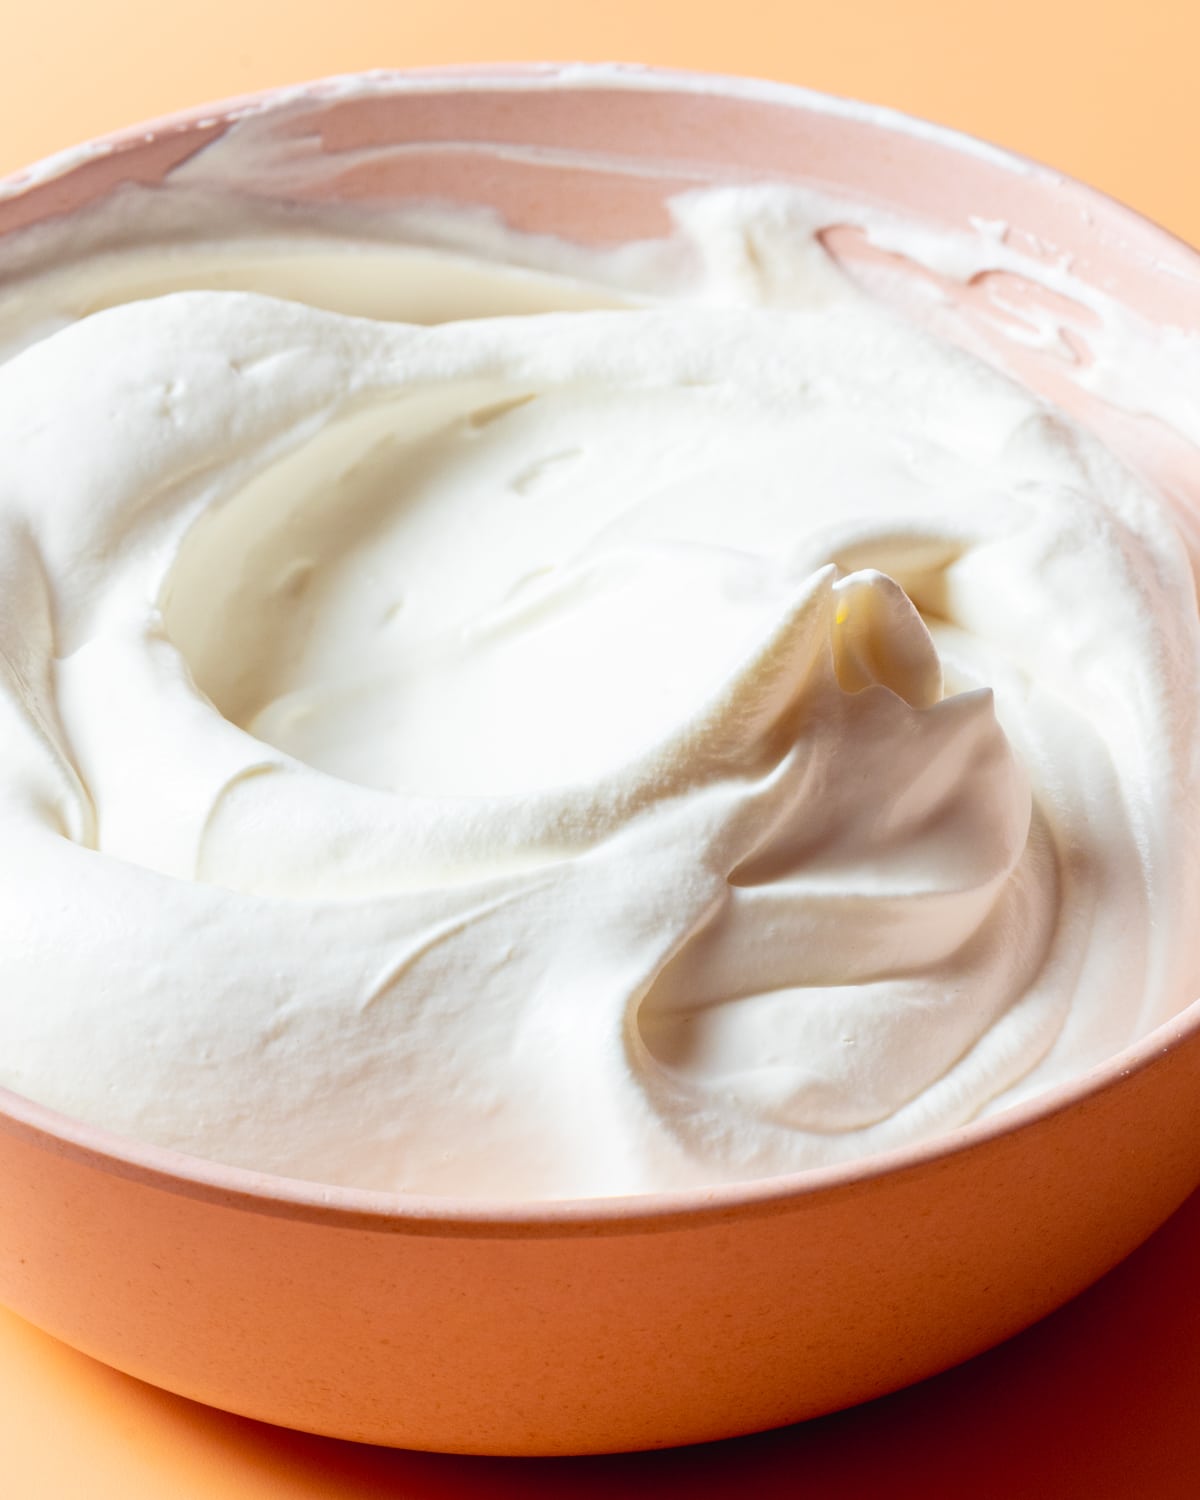
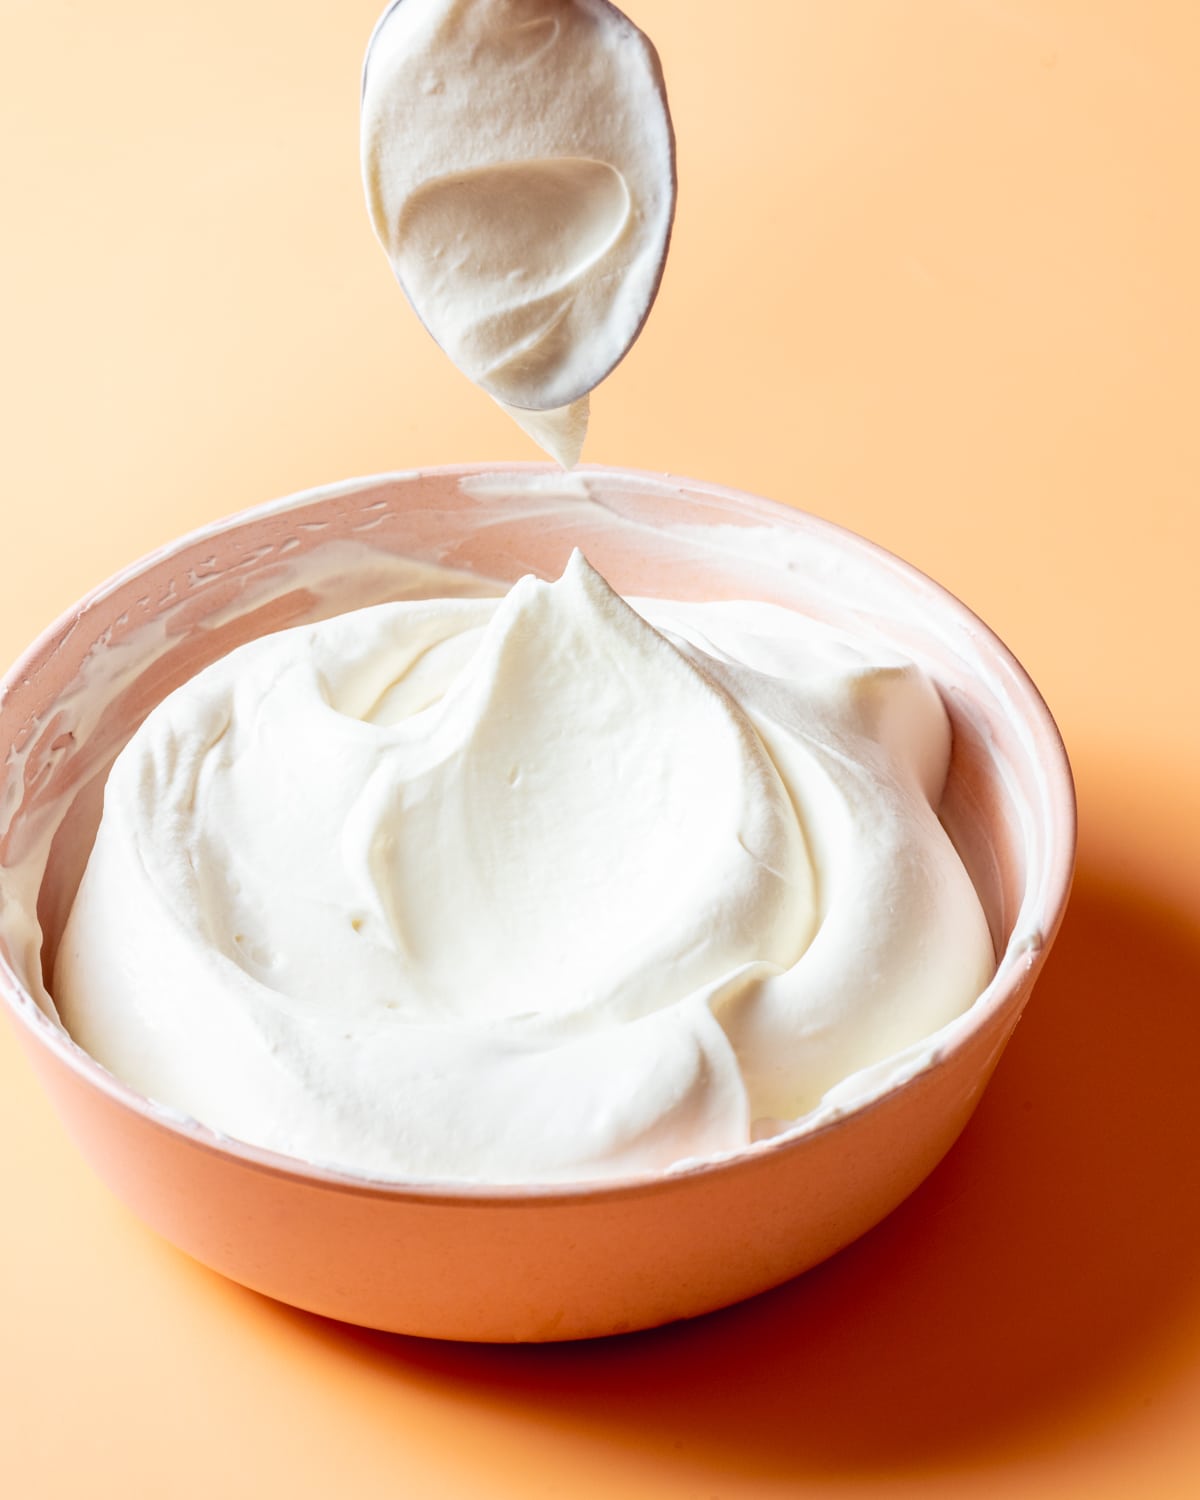
4. Whip the cream. It's finally time! I like to use my stand mixer, fitted with the whisk attachment, but a hand whisk will do the same job! As you're whisking you'll add the final two ingredients: sugar and vanilla!
Hint: If your vegan whipped cream heats up too much while you're whipping it, it won't pick up the bubbles necessary to get all light and fluffy! Fro. this reason, make sure your mixing bowl or the bowl of your stand mixer are chilled before use! Guaranteed success!
Substitutions and swaps
I haven't tested any subs or swaps for this recipe. However, I'm told by followers that the following worked in their personal experimentations!
- Soy milk - instead of soy milk, some people have tried using other plant milks including almond and oat milk. Again I haven't experimented myself, but people tell me these work too!
- Coconut oil - Vegetable oil or sunflower oil ALSO work instead of coconut oil. I always believed that coconut oil works best because it solidifies at room temperature, but turns out this isn't the case!
I love to hear about your experimentations, so if you do try any subs or swaps while making my vegan whipped cream, let me know! Can't wait to hear what you get up to!
Vegan Whipped Cream Variations
You're now free to use this vegan whipped cream in any way you'd like! It works just like real cream and can be flavoured and piped etc!
- Boozy - For Christmas, why not try adding a few tablespoons of vegan Baileys to your vegan whipped cream? Ideal for topping a vegan mince pie!
- Coffee - add a tablespoon of instant espresso powder to vegan whipped cream ingredients as it blends. Once whipped you'll have a subtle delicious coffee kick to your whipped cream! Ideal for vegan hot chocolate!
- Almond - Add a dash of almond extract to the vegan whipped cream while whipping! It'll give it a tasty nutty kick!
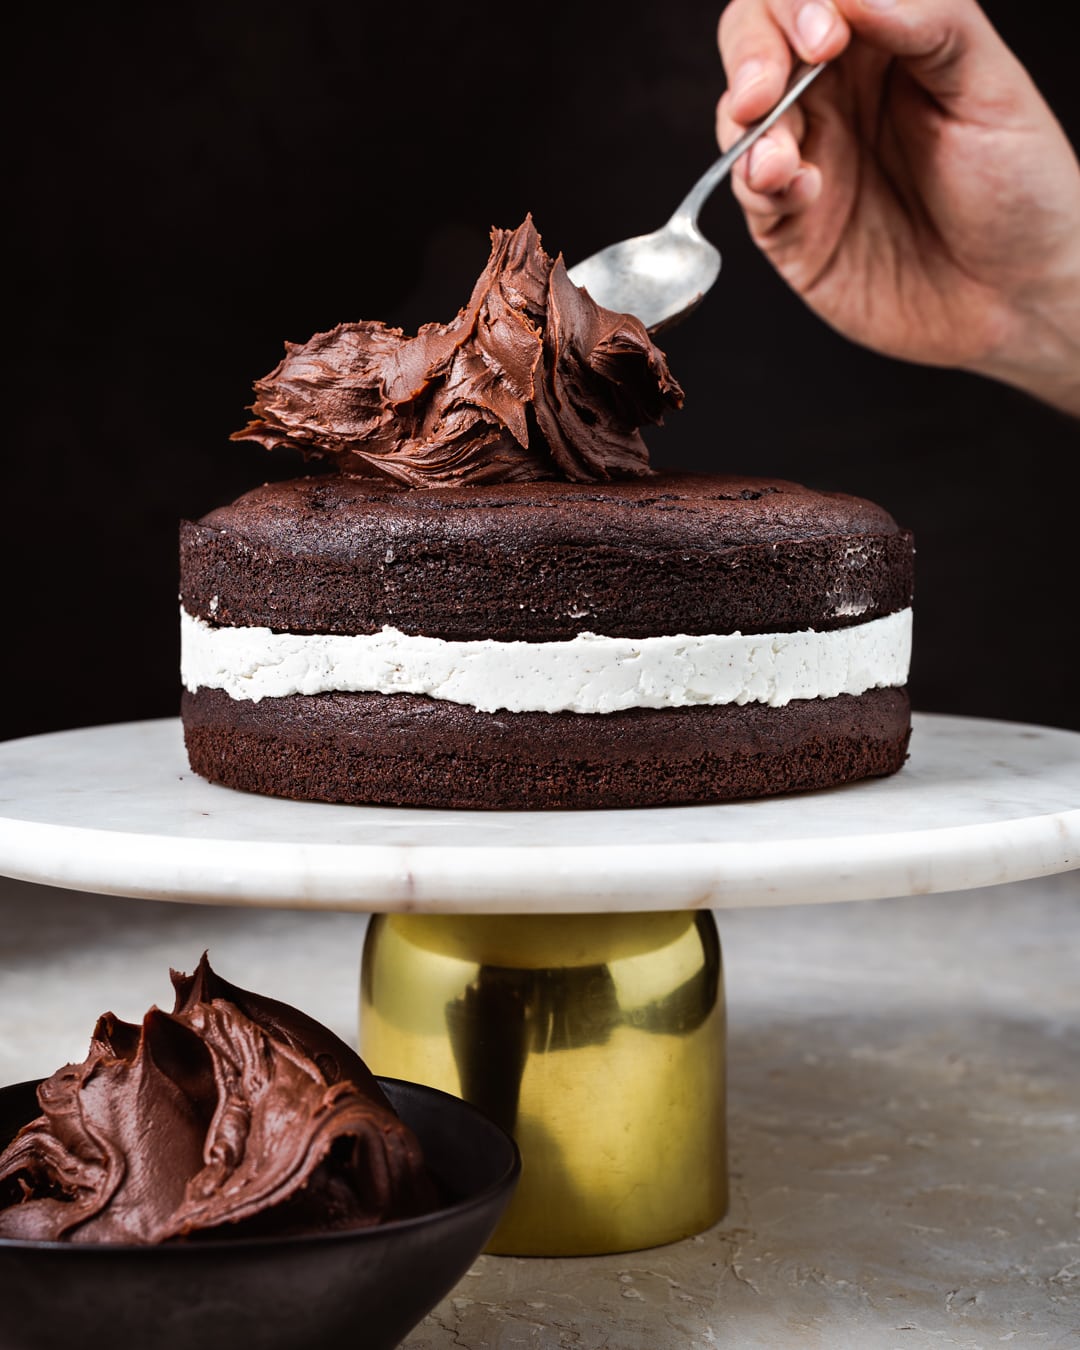
If you're looking for things to serve your new favourite vegan whipped cream with, here are my all time faves! Start with my vegan scones (see below for a beauty shot), then work your way up to my vegan chocolate cake, which has a whole layer of whipped cream in the middle!
Equipment
There are two pieces of must-have equipment for this recipe. First, you'll need some sort of blender! Ideally a high-speed blender like a Ninja or Nutribullet but if you don't have one, a stick blender/immersion blender will do the job!
Secondly you'll also need a way to actually whip the cream. A stand mixer is my equipment of choice, fitted with the whisk attachment. Alternatively you can use an electric hand whisk.
Storing Vegan Whipped Cream
The best thing about the recipe (besides how great it tastes) is how well it stores. You can either keep it sealed and unwhipped in the fridge for a week (just give it a good shake before whipping). Alternatively, you can whip the cream and store in the fridge. It will keep its whip even longer than regular double cream if refrigerated and stored in a sealed container!
Pro tip!
When whipping, make sure that the bowl and whisk you use are spotlessly clean! Give them a good wash in hot soapy water (even if you're using them straight from the cupboard) then wipe a wedge of lemon around the bowl and around the bars of the whisk. The acidity of the lemon juice will break down any residual grease and allow the cream to whip to its full potential!
SNV FAQ
Many people use whipped coconut cream in place of dairy cream. This is famously unreliable and tricky to master. This recipe uses a blend of soy milk and coconut oil which is much more stable and reliable.
Yes! This recipe can be used however you'd use dairy whipped cream.
Vegan Whipped Cream
Ingredients
- 235 g soy milk (unflavoured and unsweetened)
- 200 g deodorised coconut oil melted (aka refined coconut oil)
- 25 g icing sugar (aka confectioner's sugar)
- ½ teaspoon vanilla extract
Instructions
- Heat the soy milk in 10 second bursts in the microwave until lukewarm (it should feel warm to the touch but not hot). Place the soy milk in the cup of a high speed blender followed by the melted deodorised coconut oil. Blend together on the highest speed until smooth.235 g soy milk, 200 g deodorised coconut oil
- Cover and transfer to the fridge and chill for a minimum of 4 hours, but ideally overnight. Alternatively you can blend the cream and refrigerate up to 5 days in advance before moving onto the next step.
- With the lid still on, shake up the refrigerated cream to re-homogenise it then transfer to the bowl of a stand mixer. If using a hand-mixer, transfer to a large bowl. Starting with the mixer on low speed and working your way upwards gradually, whip the cream until the texture has thickened and the cream falls from the beaters in ribbons.
- Add the icing sugar and vanilla then whisk again on high speed until soft to stiff peaks form. Don't over whisk or the mixture will curdle, like real cream, into butter.25 g icing sugar, ½ teaspoon vanilla extract
- Serve immediately or cover and refrigerate for up to a day.

Aria
First, I must mention that someone said boiling your coconut oil and adding agar agar could help with stabilizing the whip cream - I definitely DO NOT recommend that. Heating coconut oil, refined or not, will alter the flavor/taste of the oil. Also, this mixture needs to rest in the fridge for a minimum of 4 hours but preferably overnight. This will make the agar agar set and you'll have a jello whipping cream instead of a liquid whipping cream. But if jello is what you're going for, agar agar is your best friend.
This is a great fresh whip cream recipe but, like another person commented, my liquid did not whip up. It would get to the second stage of becoming thick but wouldn't actually whip up even though I followed everything to the T. Including freezing my bowl and whisk! Lucky for me, I was looking into stabilizing this whip cream anyways and bought some "Whip It!". So if you're looking to stabilize this whip cream or you struggled with whipping it up at all, please read on.
Whip It! is a brand of modified corn starch which is often used in instant pudding, stabilized whip cream, cold/unbaked pies, mousse, etc. If you can't find Whip It!, just look for 'clear jel powder' online. Most bakeries use it to stabilize their whip creams for cakes. Neither products add any flavor or color to your cream. For light textured whip cream, use less Whip It! or clear jel powder. For firmer whip cream, ideal for piping, use a bit more Whip It! or clear jel powder. If you're finding your cream is a bit yellow from flavoring or the soy milk, you can offset the color by adding a bit of purple food coloring.
Taste wise, this is so d*mn close to fresh whip cream that my dad, who doesn't believe vegan replacements can taste good/the same, was shocked at not only how good it was but how similar it tasted to fresh whip cream! Five golden stars for taste! The whip cream also holds up well to alcohol. I put in about 2-3 teaspoons of amaretto (it's alcohol, I wasn't being exact lol) and the flavor came through wonderfully.
This would be bomb dot com on hot chocolate, coffee, fresh cream cakes, pumpkin pie, strawberries - or if you're like me, by itself. Don't judge - sometimes my inner child likes to live 😉 If you plan to make this into a mousse or something else, I'd test the recipe first because adding things may cause separation or weeping.
If you use this for cakes, keep in mind that all the rules for a fresh cream cake applies. It will weep in a hot room or under the sun so it should be refrigerated until it's ready to be eaten. This cream does pipe decently with enough stabilizer in it but, because our hands are hot and transfer heat, I wouldn't use this cream for elaborate designs. The cream would melt with too much handling.
Having said all that, I did a test on a COLD day - think 55-60°F cold - and a decent tower of whip cream, piped about 2 inches tall, barely budged for 2 hours on a counter with the same temp. This is with Whip It! added that is. However, once I set it in an area that was closer to 75-80°F, it melted in 20-30 minutes. Hope that helps for those who want to use this for cakes or cupcakes.
To the wonderful magician who made this recipe, THANK YOU!!
Doug
I love the idea, I love the flavor. I admit I did not have success the way the recipe is written. I used the exact ingredients called for, the same process, and a KitchenAid mixer, but I had no whipping action at all. Peculiar. I ended up adding some of the psyllium (an excellent thickener BTW!) and it thickened up nicely. But as written, no luck. Try try again. Love love love this site and all you do, thank you!
Elizabeth
Congratulations! This recipe is a true game changer. Thank you so much for working it up and generously sharing it. No whipped topping recipe I've tried has come remotely close to this recipe, nor have any heavy cream recipes. You absolutely nailed it.
Thank You!
Sarah
Completely blown away by this recipe. The taste was on point! BUT it would not thicken up. Used a blender. Refrigerated for 5 hours. Then used a hand mixer. Not sure what went wrong. Then tried to freeze it for an hour in hopes it was just a temperature thing. Still no luck. So last minute I added some arrowroot powder, and mixed until it thickened. The arrowroot made it a wee bit chalky but still went perfectly with my pumpkin pie. Hope my comment can help someone!
Chefman
Hey,
Just tried making the recipe with success. Haven't eat yet, but small tastes seem to be quite promising!
-At 8,600 ft Co.
Kitchen scale necessary. Good thing we had one.
Rahne
This worked very well with refined coconut oil. It does whip up much faster so watch it carefully. The notes said sunflower oil could also be used. I tried a second attempt with sunflower oil and it was a complete fail. I would not recommend using any oil other than coconut despite what the notes say.
Gaby
Hello everyone, wanted to share my experience making and experimenting with this recipe 🙂
Planning on making a vegan birthday cake so I wanted to use this as the frosting and tweak it a little. I made 3 batches: the recipe as is, adding vanilla instant pudding, and adding chocolate instant pudding and espresso. So all 3 batches ended up working! For the as is recipe idk why I had a harder time getting it to stiffen. I almost gave up then added a little more powdered sugar, kept whipping it, and that did the trick! For the instant pudding batches I added a heaping tablespoon of pudding along with the powdered sugar and vanilla extract. For the batch that was chocolate pudding with espresso (which has to be my favorite finding because I think it’ll make incredible frosting for my cake) I added a tablespoon of chocolate pudding and a teaspoon of instant espresso powder. I warmed up the vanilla extract (which I eyeballed and probably ended up being more like a teaspoon vs half a teaspoon) and dissolved the espresso in it and then stuck it in the freezer for a minute to ensure it was cool and it wouldn’t mess with the success of the whip cream. Then just did as the recipe states and it was DELICIOUS! Not super sweet or overpowering just a very light taste of chocolate and coffee.
The addition of pudding definitely changes the consistency and makes it stiffer and more frosting like than the original but that’s perfect considering what I plan to use it for! The pudding also adds some sweetness and a hint more of vanilla or chocolate depending on the flavor you add.
I have not used it to frost any cakes since today was meant more for experimenting and learning. I piped a flower on a cake pan and left it out at room temperature and it has pretty much kept its shape and it’s been about 4.5 hrs. I will update once I use it to frost a cake (if I can remember)! Hope this helps others!
Anyway, AMAZING recipe! Thank you so much Richard!!
KatieB
I rarely fail in the kitchen but I failed here. I blended in a vitamix and left it in the fridge overnight.
No amount of whipping got ribbons and after 15 min in the freezer it still wouldn't firm up.
It's definitely fluffy but that's it.
I think the issue may be my with my kitchen scale. Could you give cup measurements too for those of us who have jerk scales.
Do you think I could heat it all back up and add more coconut oil?
Sarah S
So I haven’t made this yet but am so gonna! This is the first time I’ve actually read all the writing before the recipe (and no, my name’s not Elspbeth!) and it totally made me want to make it!
Shez
I can only find unrefined coconut oil at the shops. Has anyone tried this?