Publised on 12/07/2022. Last Updated on 12/07/2022 by Richard
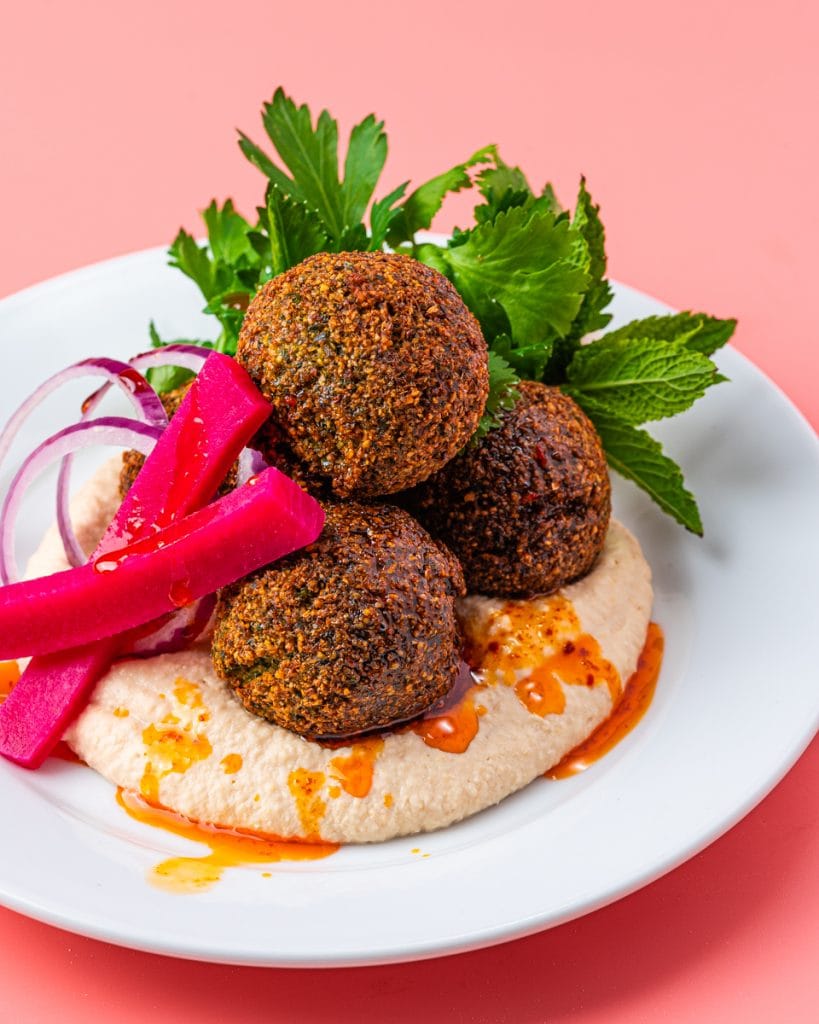
Deliciously crispy falafel - traditionally vegan chickpea balls packed with herbs and spices. Ideal for a summery lunch or fresh, herby dinner!
Truly crispy falafel are a thing of wonder; packed with fresh delicious herbs and smoky aromatic spices! There's no better summer lunch when served with hummus, salad and pita breads. Alas, soggy falafel are far too common in this world - or actually- even worse are falafel which somehow manage to be both soggy AND ALSO SOMEHOW DRY!? The mind boggles!
Those sad little soggy fellas you find at the supermarket are about as far from the traditional Middle Eastern dish as possible and literally make nobody happy - not even ravenous office workers with fifteen minutes for lunch. Real falafel vary dramatically depending on which country they are served in (for instance Egyptian falafel are often made from fava beans instead of chickpeas) but for this recipe I'm aiming to do justice to the Levantine style fritter, which is made with chickpeas.
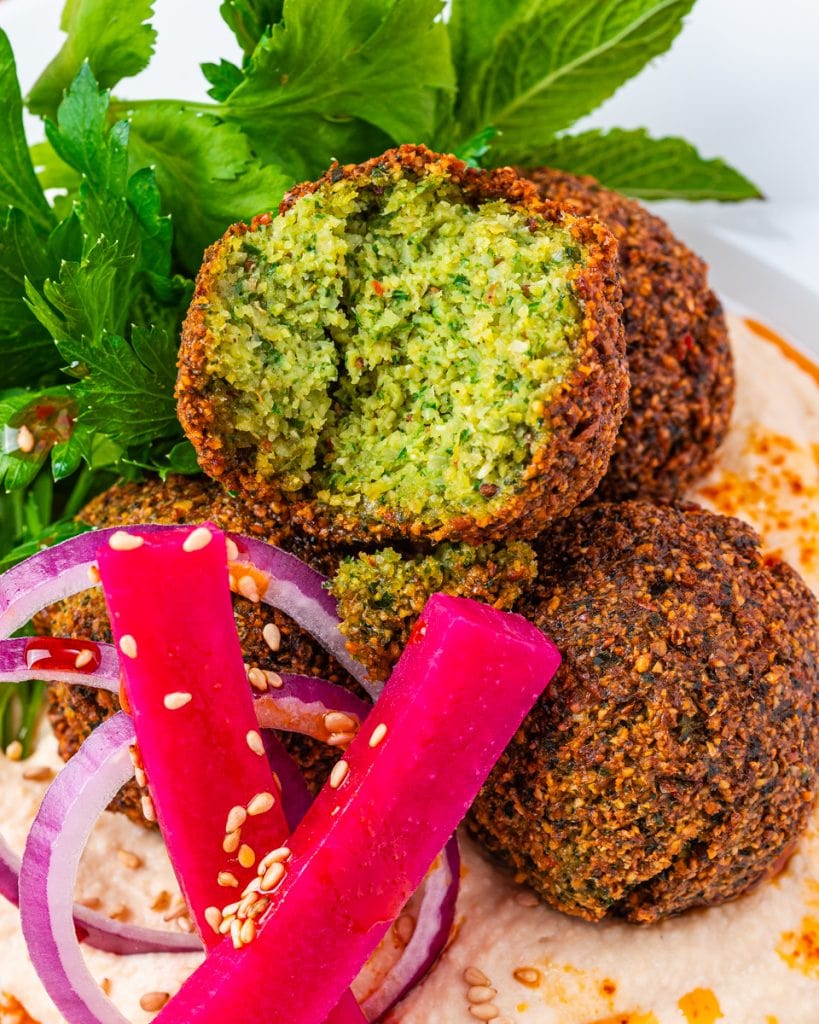
For me this recipe needed to also be packed full of herbs. The best crispy falafel I've come across have always been toasty brown on the outside (evidence that they're perfectly crispy!) and freshly green inside! We're going for a blend of coriander, parsley and mint to keep things nice and bright. I've also decided to add the zest of a lemon to my chickpea mix to also keep things tasting light and summery!
Oh and another big flex is our spices! Ground spices work fine for falafel but if you want to take things to the next level, we're gonna work with whole spices, toasted until smoky and fragrant, then roughly ground. I promise you'll taste the difference!
How do I make crispy falafel!?
As always, the FULL RECIPE is at the bottom of the page - scroll on down if you're in a hurry. If you've got time or want some extra pro-level tips on getting SUPER crispy falafel, keep readin!
1. Yep - you have to use dried chickpeas!
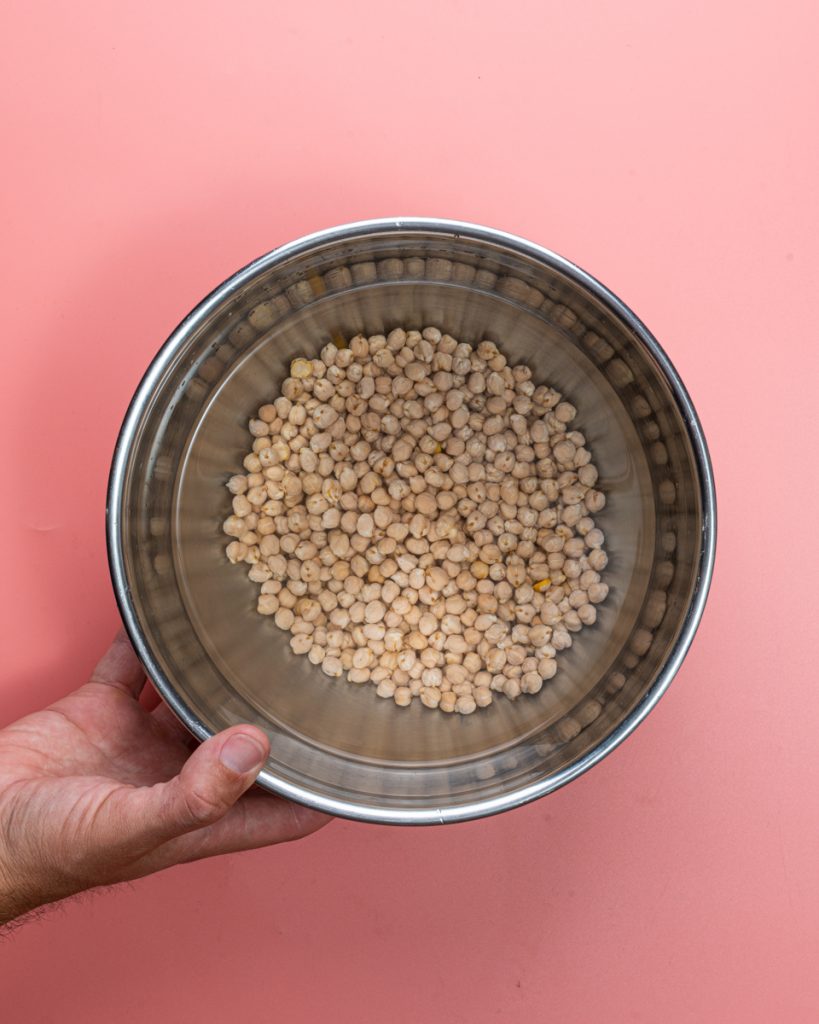
I know, I know, you were hoping to use that can of dusty chickpeas that's been sat in your cupboard for six months, but that's not for this recipe folks. On top of that, if you were hoping for this to be a five second recipe, you've got another thing coming. It's not very labour intensive, but if you want PERFECT crispy falafel, you gotta start with dried chickpeas. Sorry bout it. I like to use chickpeas from Hodmedod's because they're British grown which really helps to cut down on airmiles - plus they're delicious!
Start by putting them in a bowl THE DAY BEFORE YOU NEED THEM and covering with water. Cover and set aside overnight. They'll soak and swell up so leave plenty of water on top of the chickpeas.
2. For extra crispy falafel, dry the soaked chickpeas!
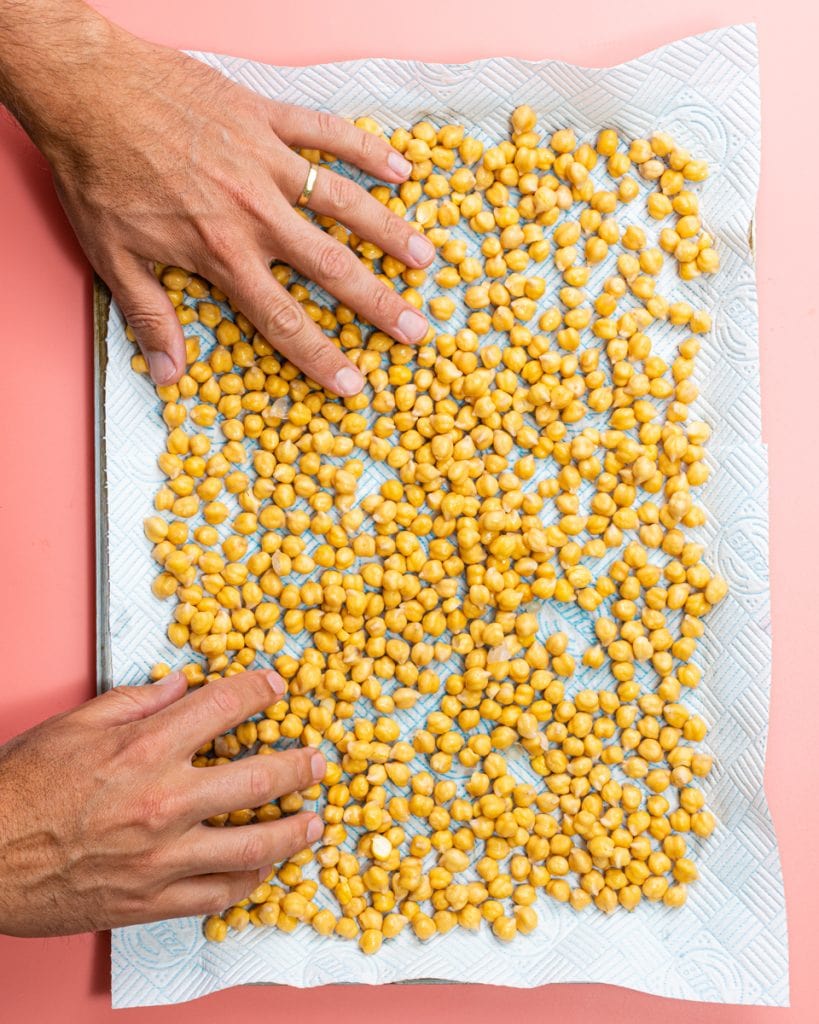
As with most fried things, moisture is our enemy! To get truly crispy falafel you're gonna wanna dry off those soaked chickpeas. It doesn't take long, just spread out a tea-towel or some kitchen roll and turn out the chickpeas. Rub gently to dry then leave uncovered while you do the rest of the recipe.
3. Toast those spices!
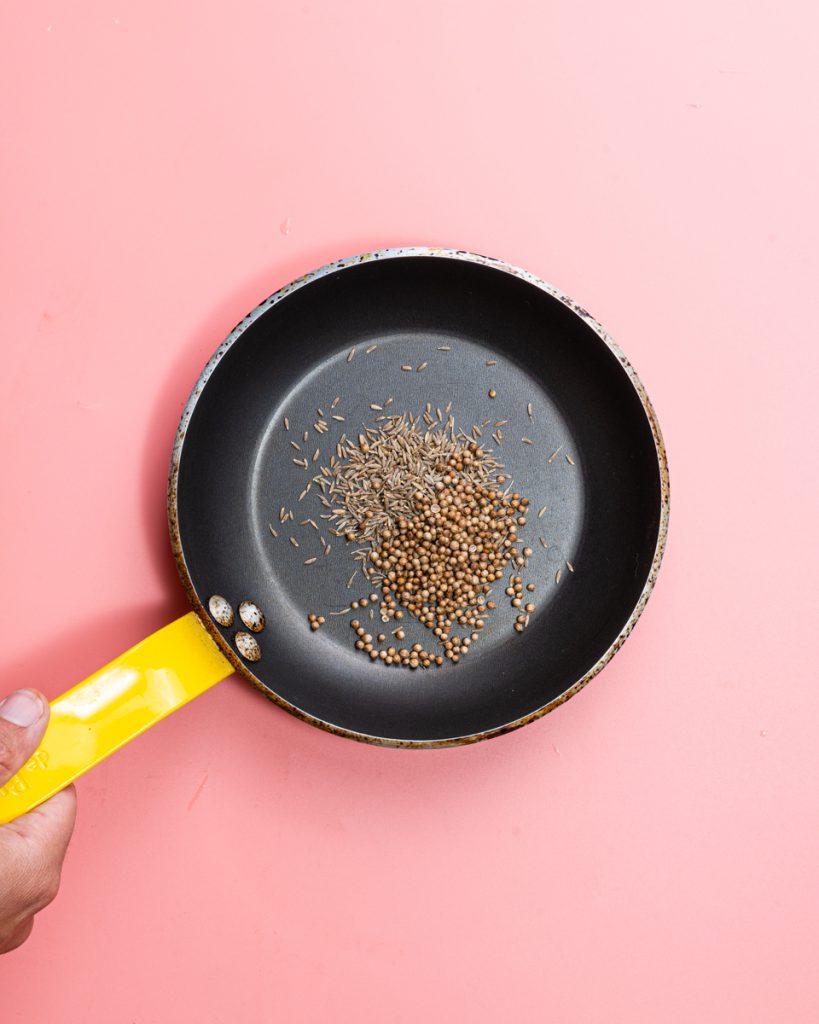
I hinted - nay - preached about this before, but it bears repeating! Falafel is ALWAYS tastier with freshly toasted and ground spices. Ground spices last nowhere near as long as whole, because as soon as you break them down, they become exposed to the air and start to lose flavour - much like coffee!
Toast your spices instead in a dry frying pan and grind until you have a rough powder in a spice grinder. If you don't have one, a blender or mortar and pestle will work!
4. Get processin!
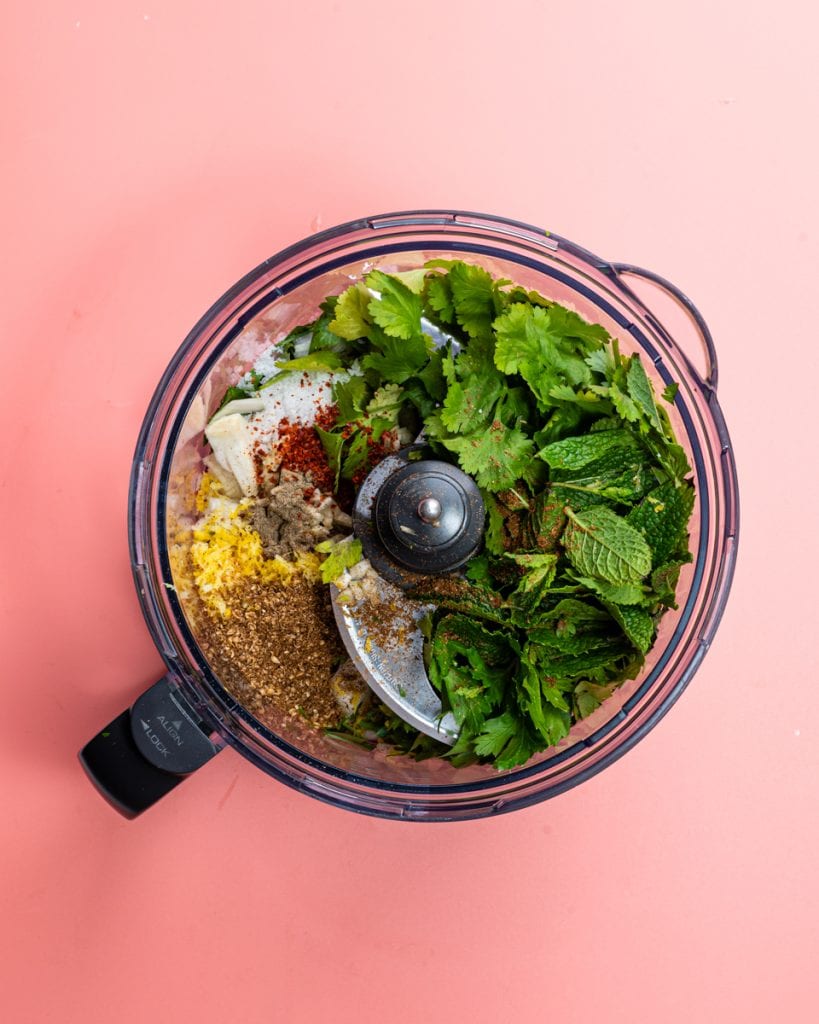
Food processors are a must for decent falafel. Get all your remaining ingredients into the food processor except for the baking powder and pulse until coarse and mealy but lovely and green! We add the baking powder later, once the mixture has rested in the fridge for an hour, because it helps to keep the falafel light and fluffy in the middle but golden and crispy on the outside.
5. Portion out the falafel!
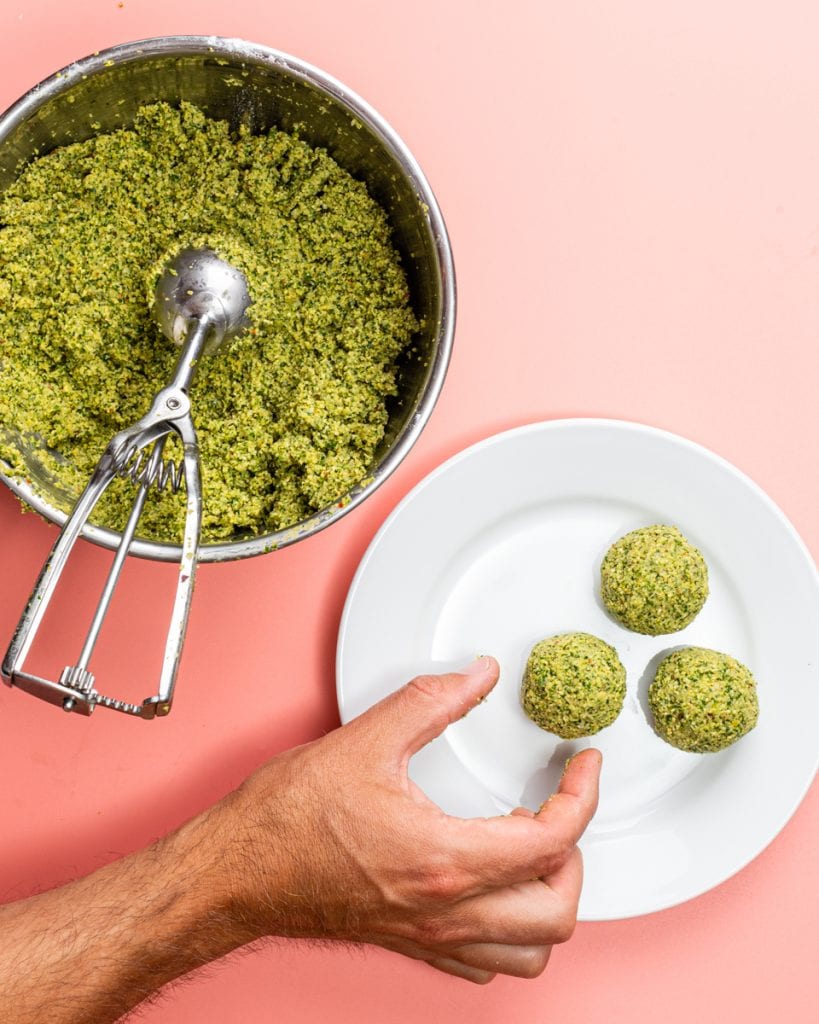
For this step I use a cookie scoop. Just be sure that the cookie scoop is tightly packed with falafel mixture before turning out. If the falafel are too loosely formed, they'll fall apart in the oil when fried. I like to form all my falafel in one go and keep on a plate or baking tray (covered with a large bowl or a second baking tray) while I get my stuff ready to fry. This stops them from drying out in the middle while they sit.
6. Fry the crispy falafel!
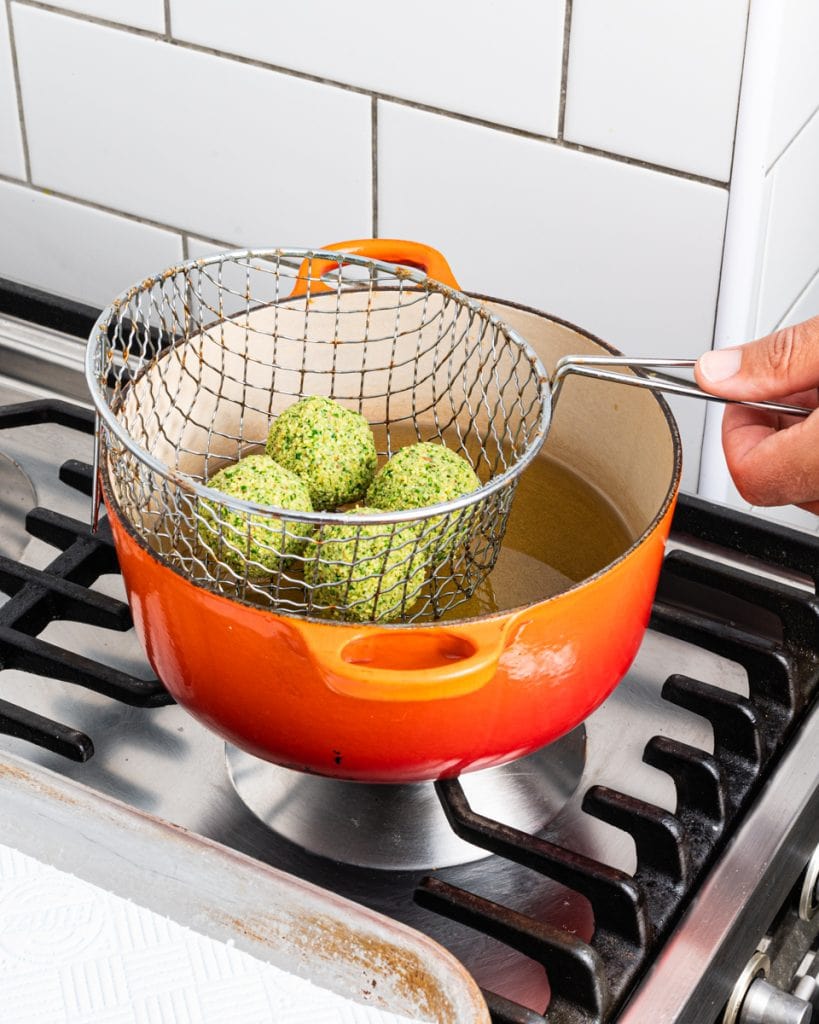
You're obviously here because you like your falafel crispy, so we're going to fry them because that's your safest route to true golden brown crisp. I've tried this recipe in both an airfryer and in the oven and the results were always inferior to frying. If you really feel like you need to avoid the fryer though, be sure to spray or brush the falafel with oil before baking or airfrying at around 200c. My airfryer made the falafel lovely and brown with a light crispy edge but almost immediately after serving they were already a little bit sad. So if you want crisp, I'm afraid you gotta fry!
7. Serve and enjoy!
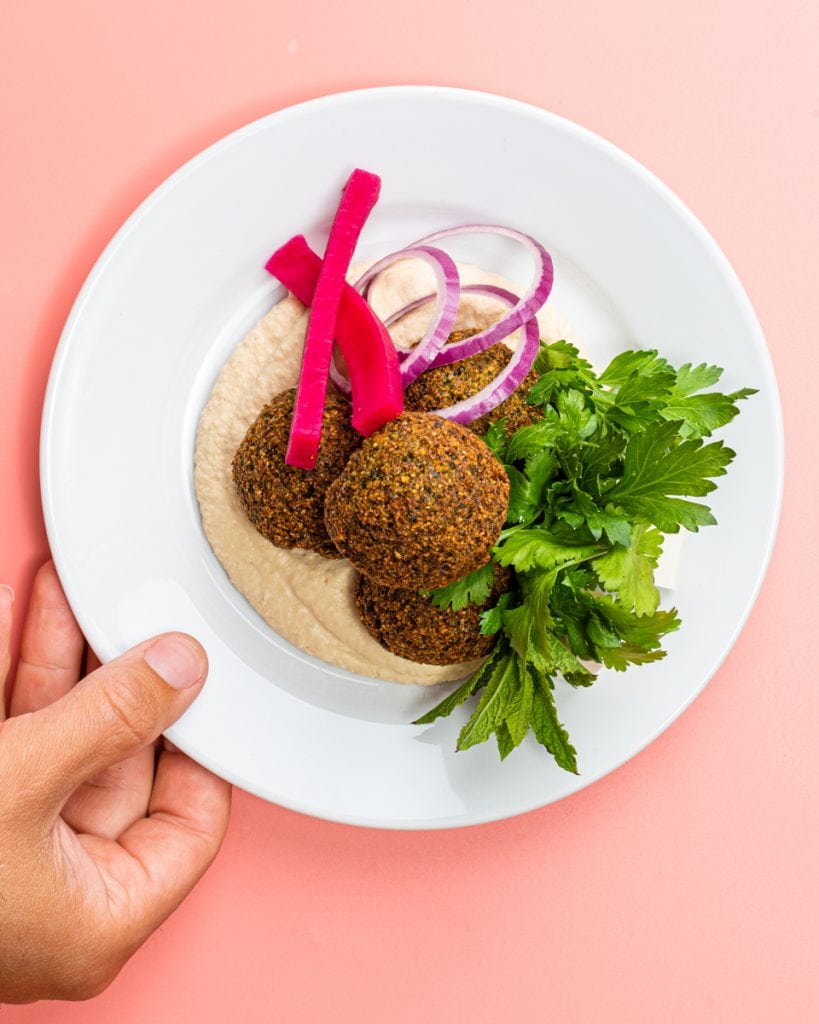
And that's it! The faster you eat these fellas the better - as they'll start to lose a lot of crispiness really quickly. I like to serve mine with some homemade hummus, lots of herbs or salad and some pink pickled turnip slices which I get from my local Middle Eastern supermarket. They're pickled with beetroot so they're an adorable pink colour which makes me very happy!
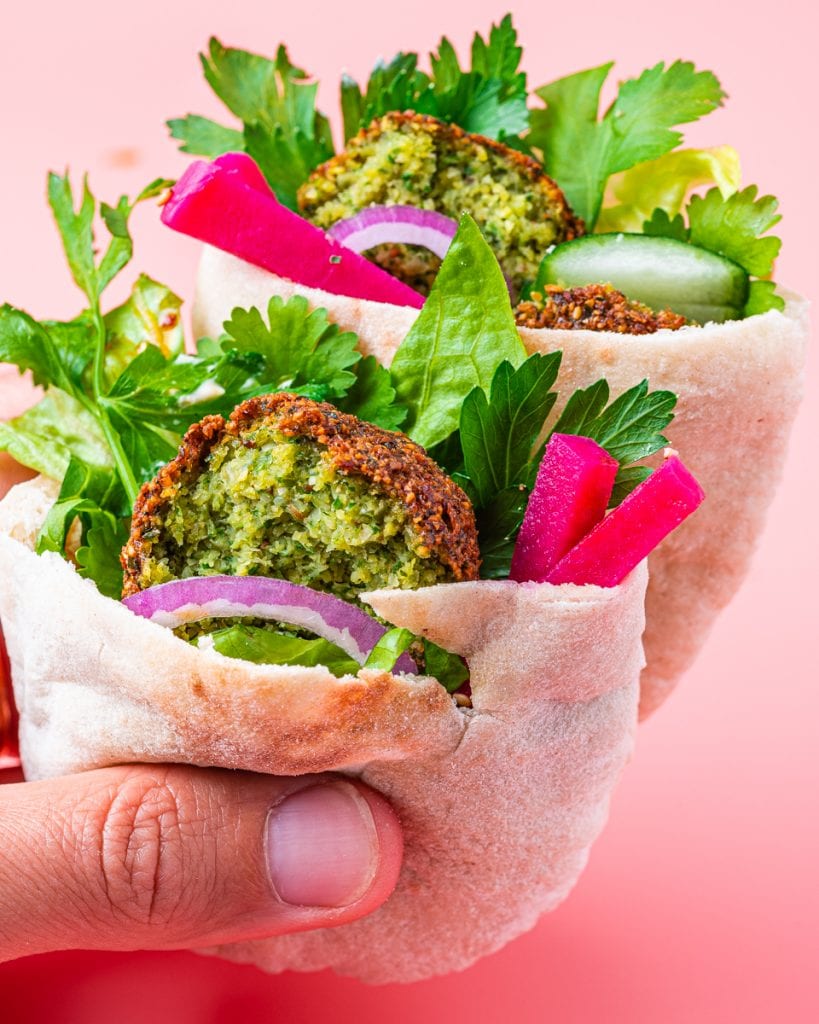
And there you have it! You made some delicious falafel! Ready for a mezze or perhaps for stuffing inside a pita bread with all your favourite extras!
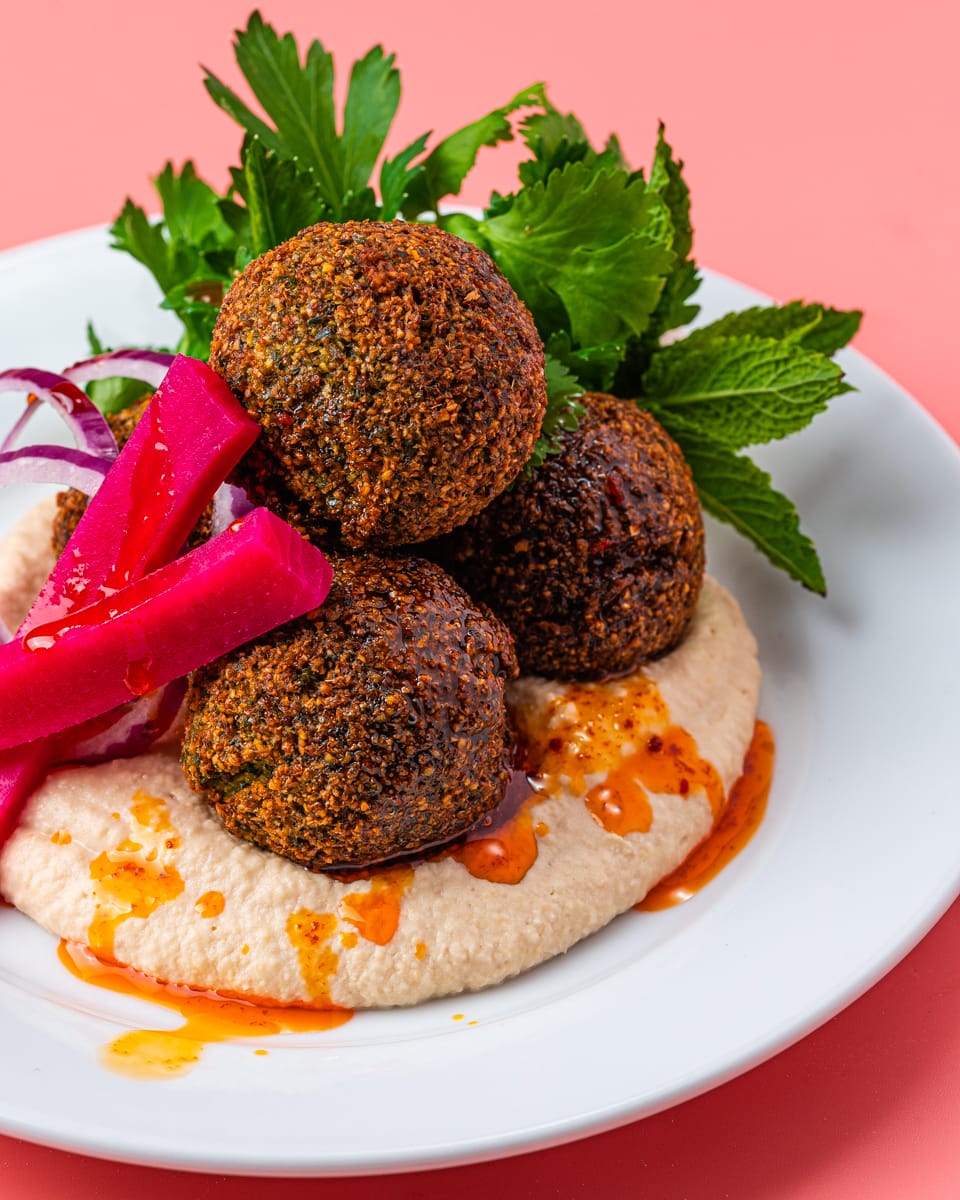
Crispy Falafel
Ingredients
- 300 g dried chickpeas
- 2 teaspoon cumin seeds
- 2 teaspoon coriander seeds
- 130 g fresh onion roughly chopped
- 60 g fresh parsley leaves roughly chopped
- 30 g fresh coriander leaves roughly chopped
- 4 stems mint leaves stems removed and leaves roughly chopped
- 4 cloves garlic peeled and crushed
- Zest of one lemon
- ½ teaspoon Aleppo pepper
- 2 teaspoon flaky salt
- ¼ teaspoon ground black pepper
- ½ teaspoon baking powder
- vegetable oil for frying
Instructions
To Make the Falafel
- Place the dried chickpeas in a medium bowl and cover with water, making sure the chickpeas are submerged by at least an inch of water. Cover with a tea towel and leave to soak overnight or for at least 8 hours.300 g dried chickpeas
- Drain the chickpeas in a sieve and rinse under cold water for a few seconds. Spread the chickpeas on a clean tea-towel and rub gently to dry then leave uncovered while you prepare the remaining ingredients.
- Place a small dry frying pan over low heat and add the cumin and coriander seeds. Toast gently until very fragrant but do not allow the seeds to burn. Turn off the heat and transfer the spices to a spice grinder. Alternatively you can grind the spices in a high-speed blender or with a mortar and pestle. Set aside.2 teaspoon cumin seeds, 2 teaspoon coriander seeds
- Add the remaining ingredients except for the baking powder to a food processor. Top with the spices and soaked chickpeas then pulse until all the chickpeas are finely chipped into a coarse meal and the herbs have made the mixture nice and green.130 g fresh onion, 60 g fresh parsley leaves, 30 g fresh coriander leaves, 4 stems mint leaves, 4 cloves garlic, Zest of one lemon, ½ teaspoon Aleppo pepper, 2 teaspoon flaky salt, ¼ teaspoon ground black pepper
- Transfer the mixture to a medium bowl and cover with cling film or reusable wrap. Place in the fridge to chill for one hour.
- Remove from the fridge and add the baking powder. Stir well to combine.½ teaspoon baking powder
- Use a cookie scoop to form tightly packed balls of falafel mixture around 2-3 tablespoon in size. Arrange separately on a baking tray and cover until you're ready to cook them.
- To Fry the Falafel
- If you wish to fry the falafel, fill a small saucepan with at least 2-3 inches of vegetable or sunflower oil and place over medium/low heat. Once the oil is around 170c, carefully lower 3-4 falafel into the oil using a slotted spoon or a "spider". Alternatively fry the falafel in a deep fryer.vegetable oil for frying
- Remove from the oil once browned all over and crispy (around 1-2 minutes) then set on a sheet of kitchen roll to remove any excess fat. Serve while warm with hummus, salad and pita breads if you like.
Nutrition
WANT MORE VEGAN LUNCHES!?
Why not try:


James M
Made these last week and they were spot on. Crispy, light, herby and garlicky. Exactly what I wanted.
I'm really pleased I made a double batch and froze them before frying.!
Thanks!