
Publised on 23/02/2022. Last Updated on 06/12/2024 by Richard
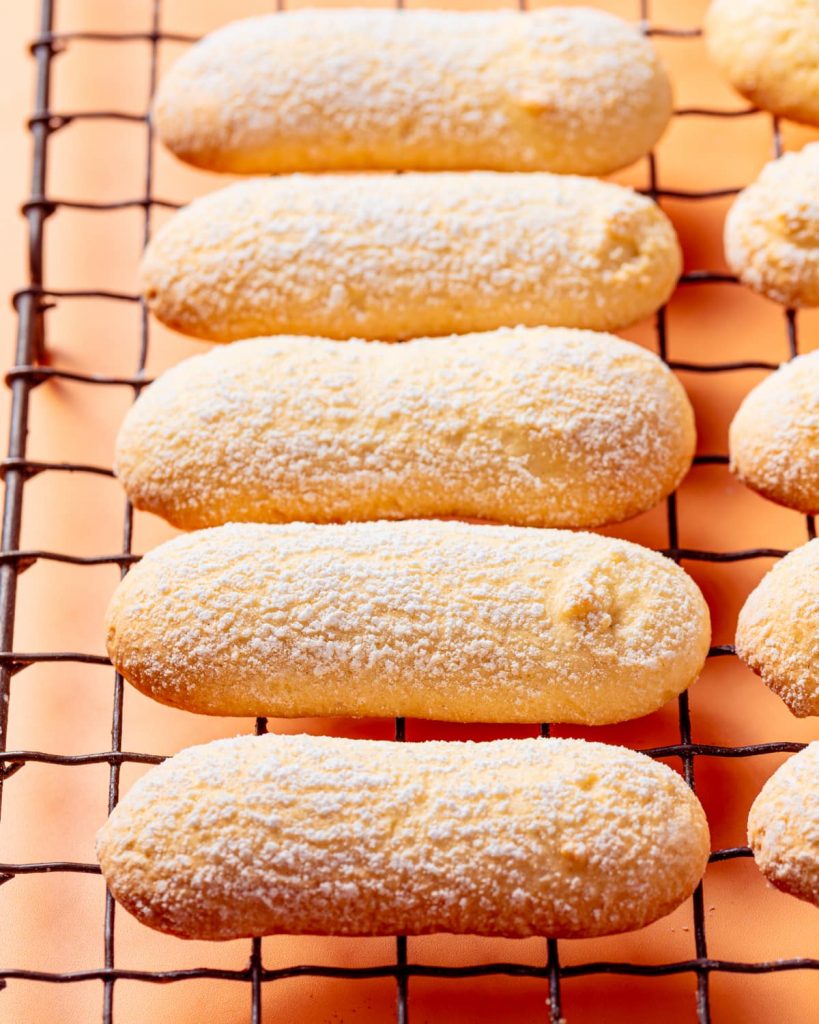
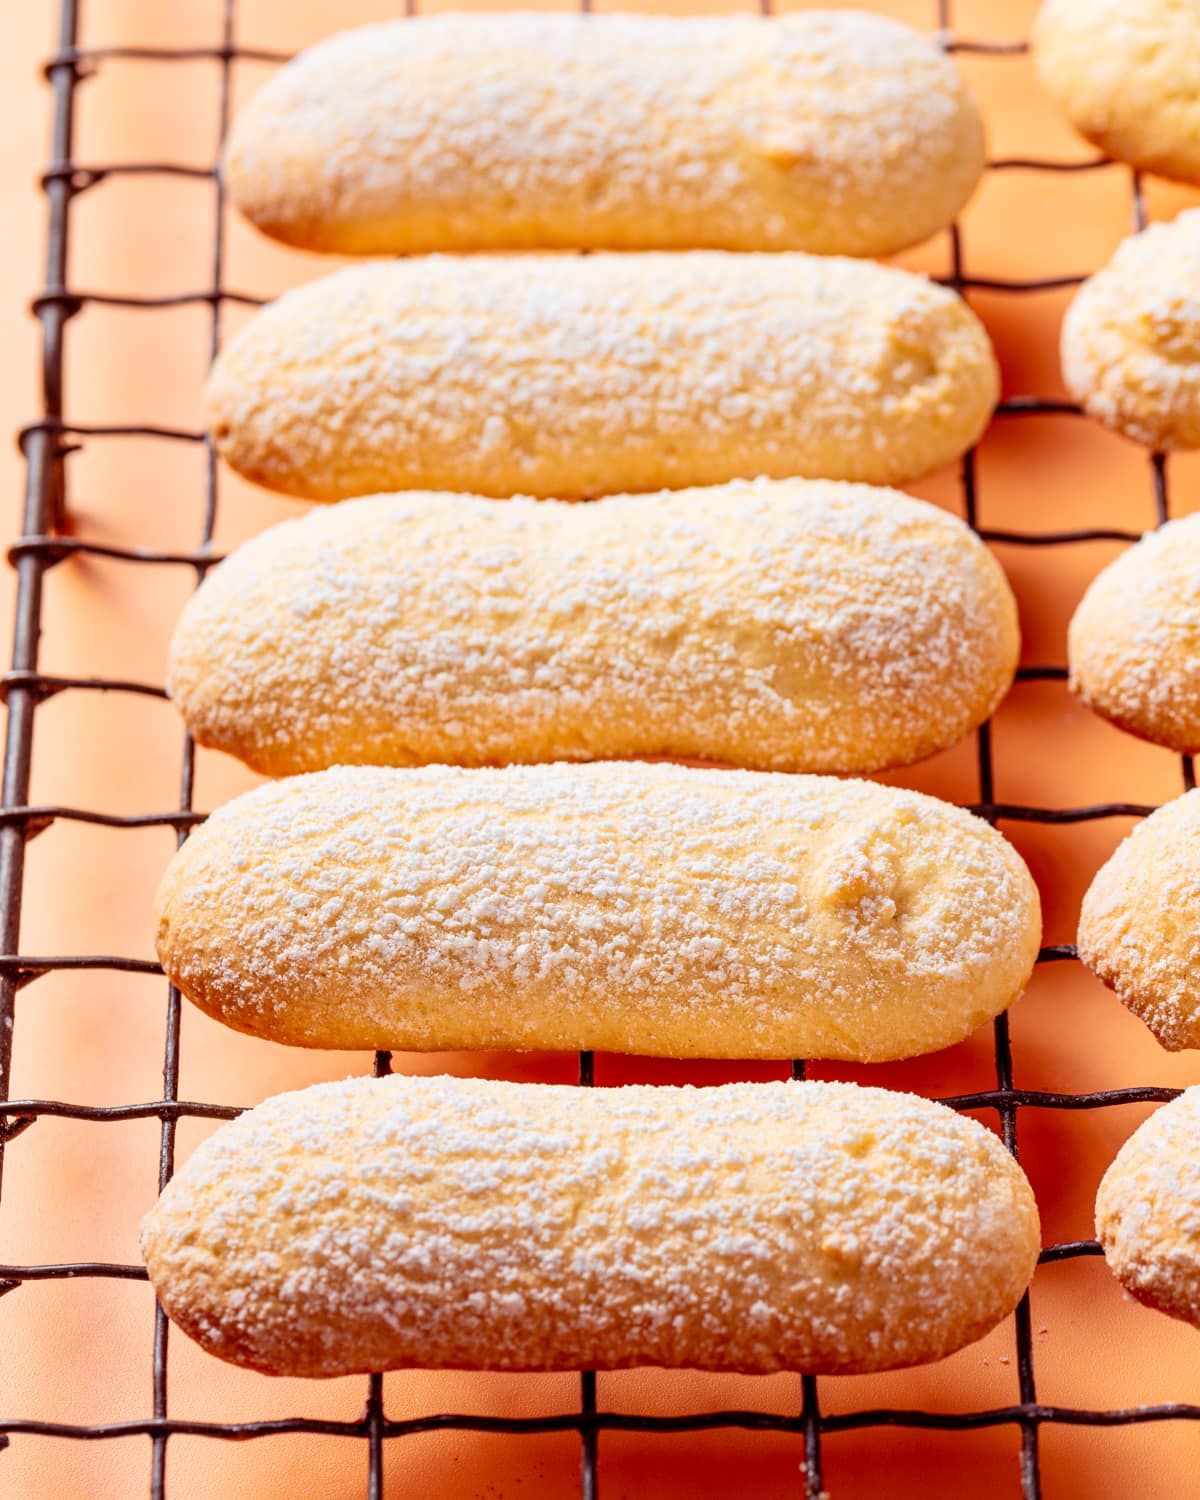
Simple vegan ladyfingers, aka savoiardi sponge fingers. Ideal for trifle and tiramisu, or just for dunking in coffee!
The recipe to unlock all your dream desserts: it's vegan ladyfingers (aka savoiardi, aka sponge fingers). You'll need these guys to master my vegan tiramisu recipe, but they're also essential for English trifle and also just make a really delicious snack!
This seems like one of those recipes you'd imagine was SUPER EASY to develop - tiny little fingers of sponge, what could possibly be tricky about that?! I'll tell you: EVERYTHING! These guys have literally taken me TWO YEARS to get right, but I guarantee you, this recipe is easy and involves very few ingredients and YOU'RE BLOODY WELCOME!
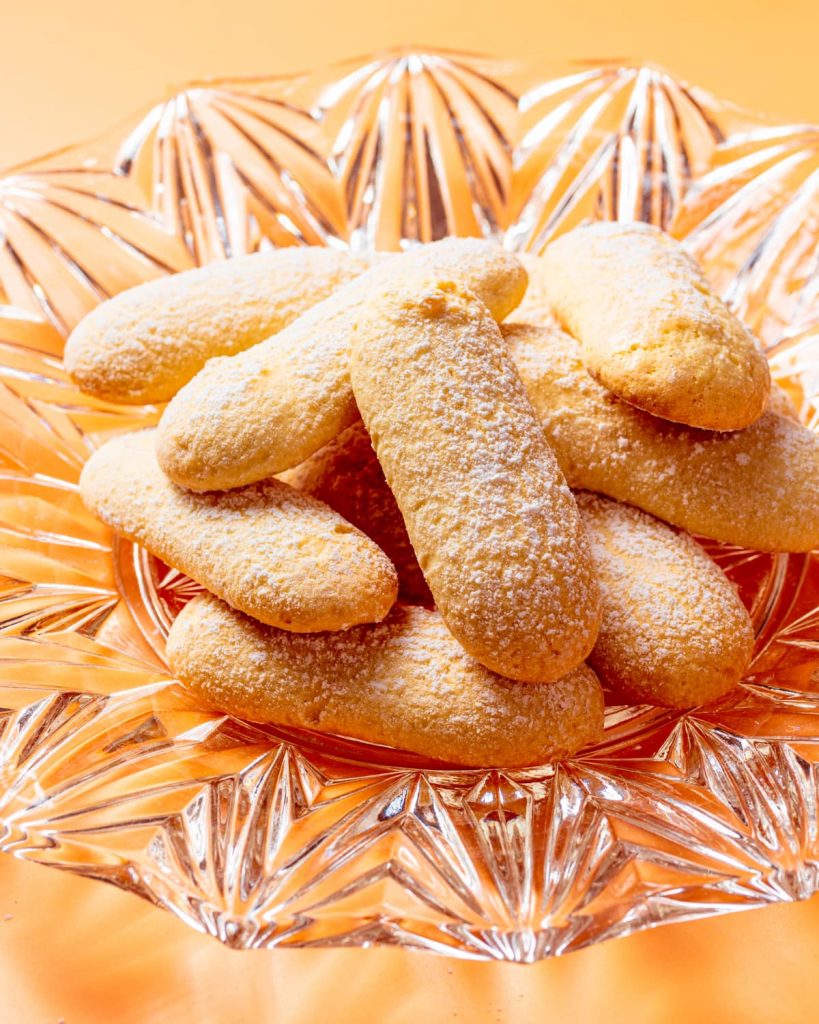
I also have two slightly different methods for you today, depending on the kind of kit you've got to hand. I bought silicone ladyfinger moulds especially for this recipe, but I also wanted to make sure that the results are equally amazing baking on a simple baking sheet.
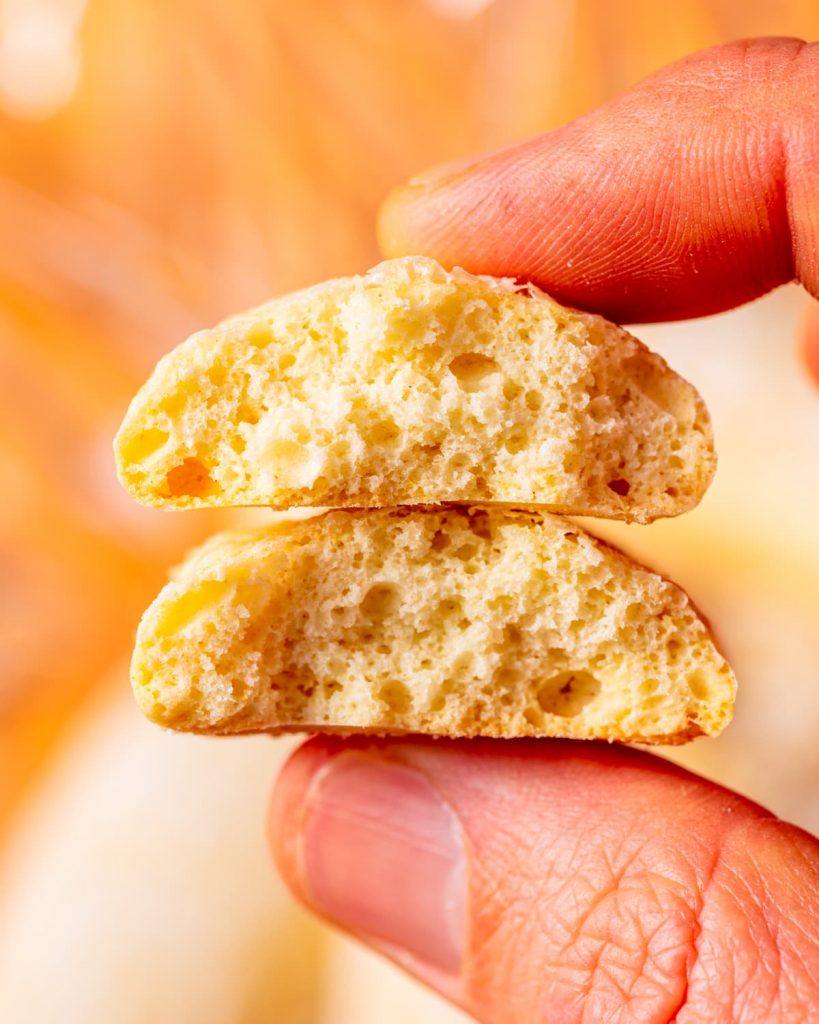
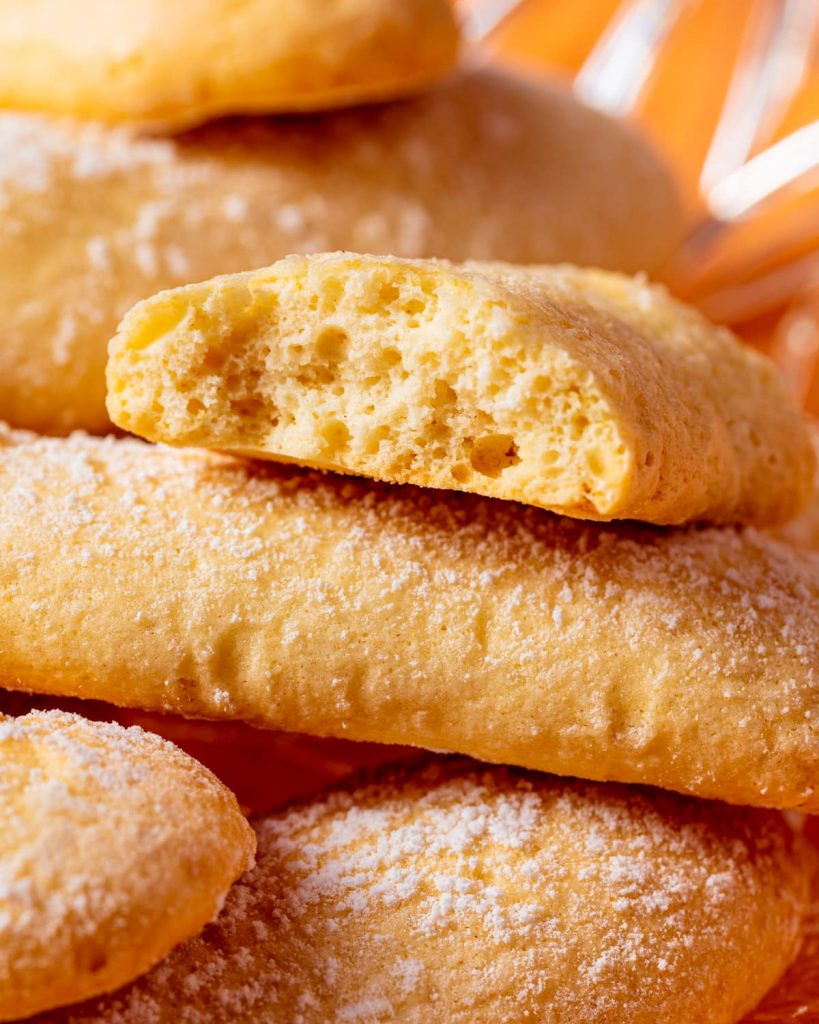
And I have to say - these ladyfingers turn out IDEAL every time - with or without silicone mould. They're deliciously vanilla-y with a gentle snap (more like a cookie than a sponge) which means they're ideal for soaking up espresso in a tiramisu WITHOUT going soggy. That's right - I even did a soggy bicky test and found that these guys keep their structure even when triple OR quadruple dunked in espresso. Again, YOU'RE WELCOME!
How do I make vegan ladyfingers?
If you don't need your hand holding by your lovely, supportive older vegan brother (me) then feel free to scroll RIGHT to the bottom of this page and get cracking with the recipe. If you love me like a real sibling and trust my guidance and love to read all the stupid trash I write in these recipe intros, then you're in the right place!
Here's a little walkthrough for making vegan ladyfingers:
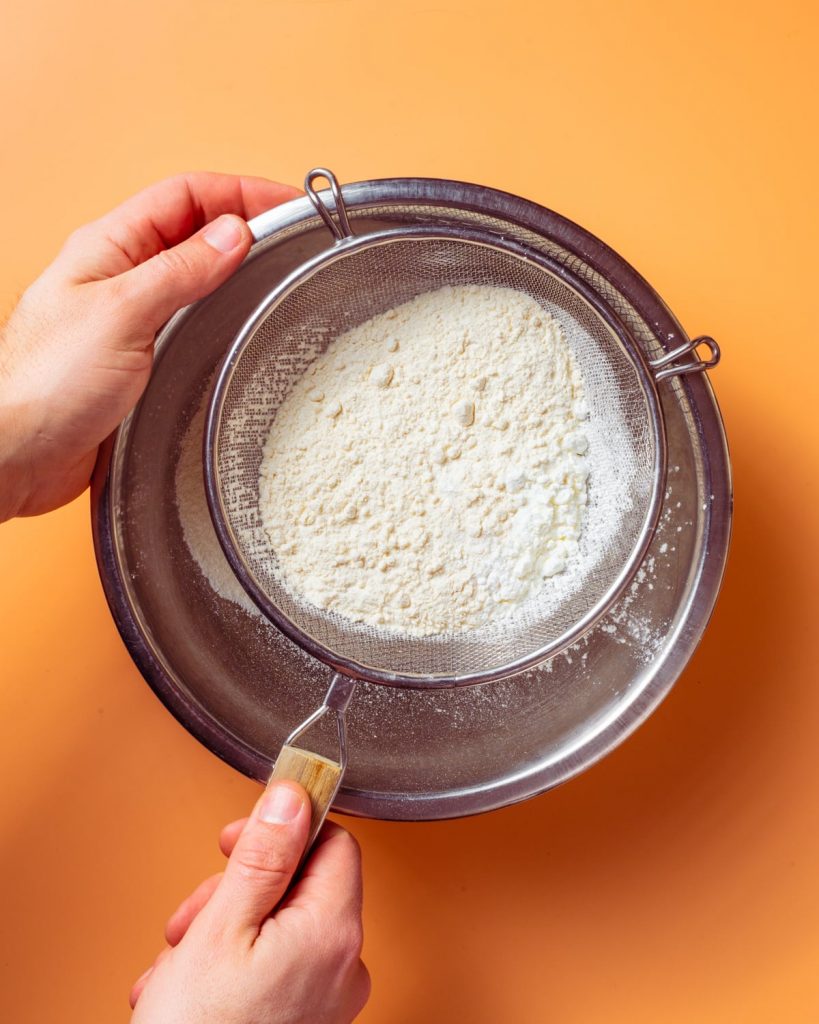
1. Combine your dry ingredients
I'm not really one ton insist you use a sieve when baking. Usually it's not necessary, but this recipe is different. Not only does it remove lumps of baking powder or flour from you mixture (which helps to guarantee an even rise) but it also helps to blend together your ingredients nicely. So please don't skip this step.
Sieve together then set aside for later.
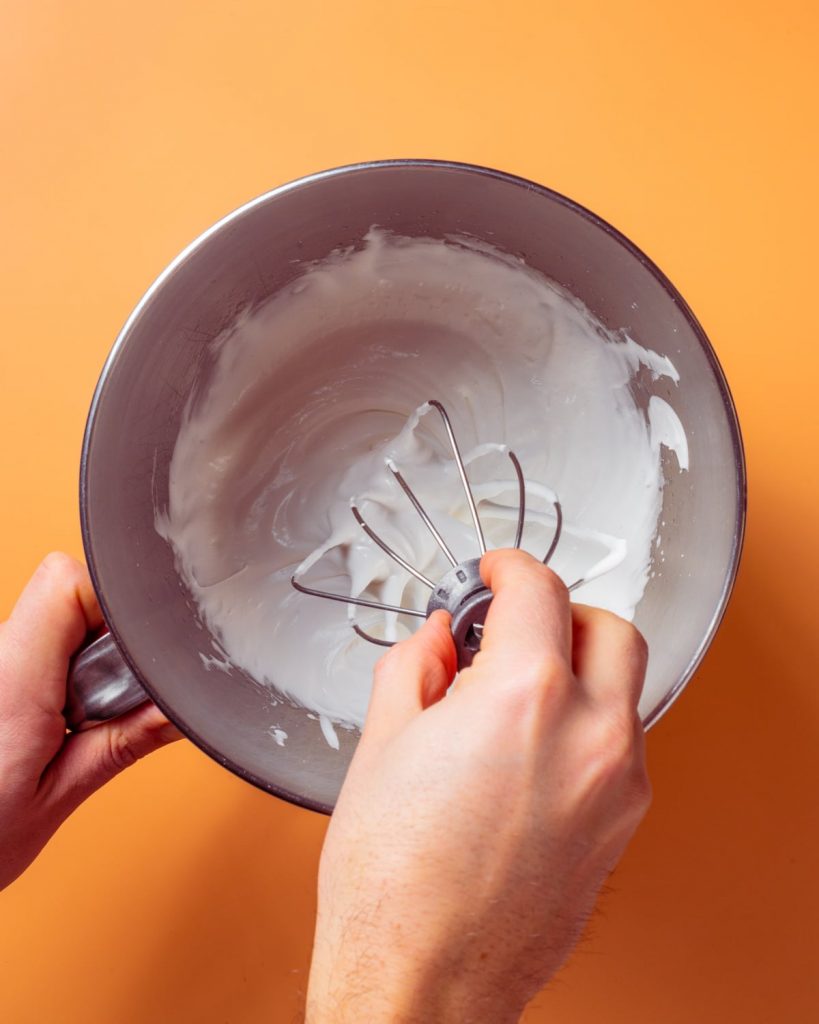
2. Whip your aquafaba
I'm going to stick my neck out here and assume you've already heard of NAY used aquafaba - that liquid from a can of chickpeas. It's going to act like whipped egg whites in this recipe which will help to put some microscopic airbubbles in our batter which gives everything lightness and lift.
The key to great aquafaba is to use a stand mixer with a SPOTLESSLY clean bowl. I even rub a wedge of lemon around the bowl and over the whisk attachment because the acidity dissolves any small grease particles which will stop the aquafaba reaching its full potential. You're then going to add your sugar, vanilla and a little oil to the mix and beat like crazy.
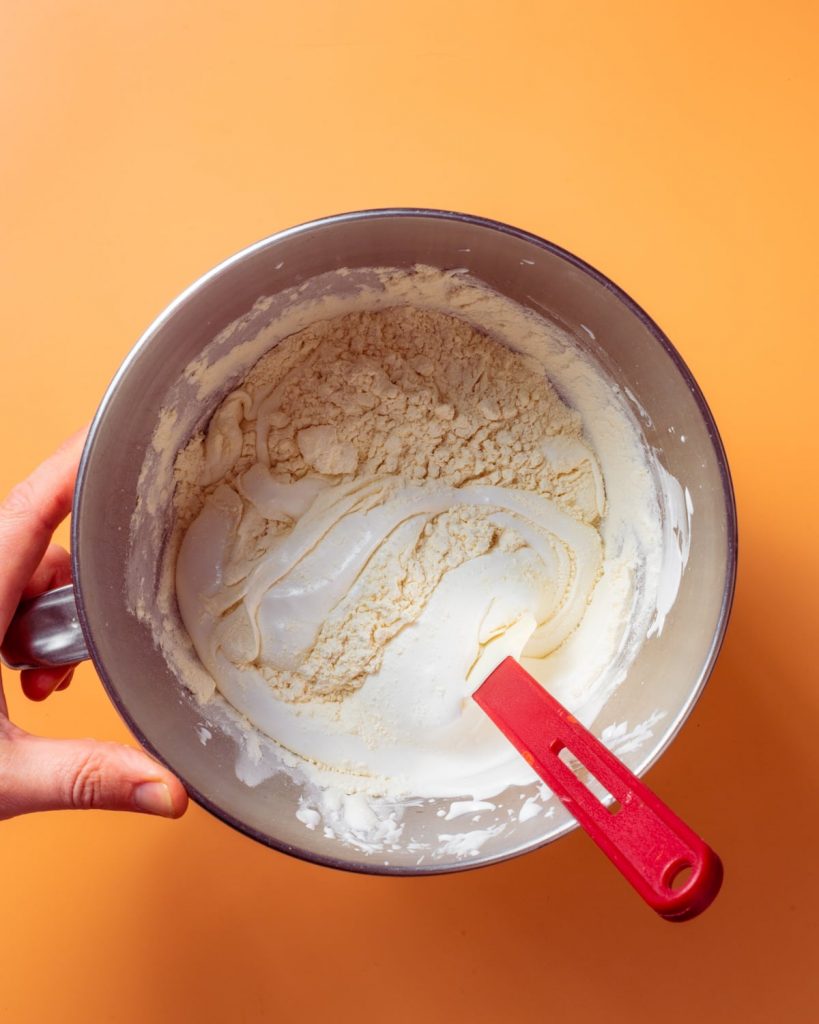
3. Fold in flour mixture
Now we've got a gorgeously fluffy, glossy aquafaba mixture, we're going to fold in our flour mixture. Don't worry about being SUPER gentle. I tried gentle folding AND vigorous folding and it really had little impact on the final ladyfinger.
What is important, however, is that you leave the ladyfinger batter to rest for a minute. When first folded together, the baking powder goes crazy as it reacts to the moisture or the aquafaba and the acidity of the sugar. Let it calm down for a few minutes then transfer it to a piping bag.
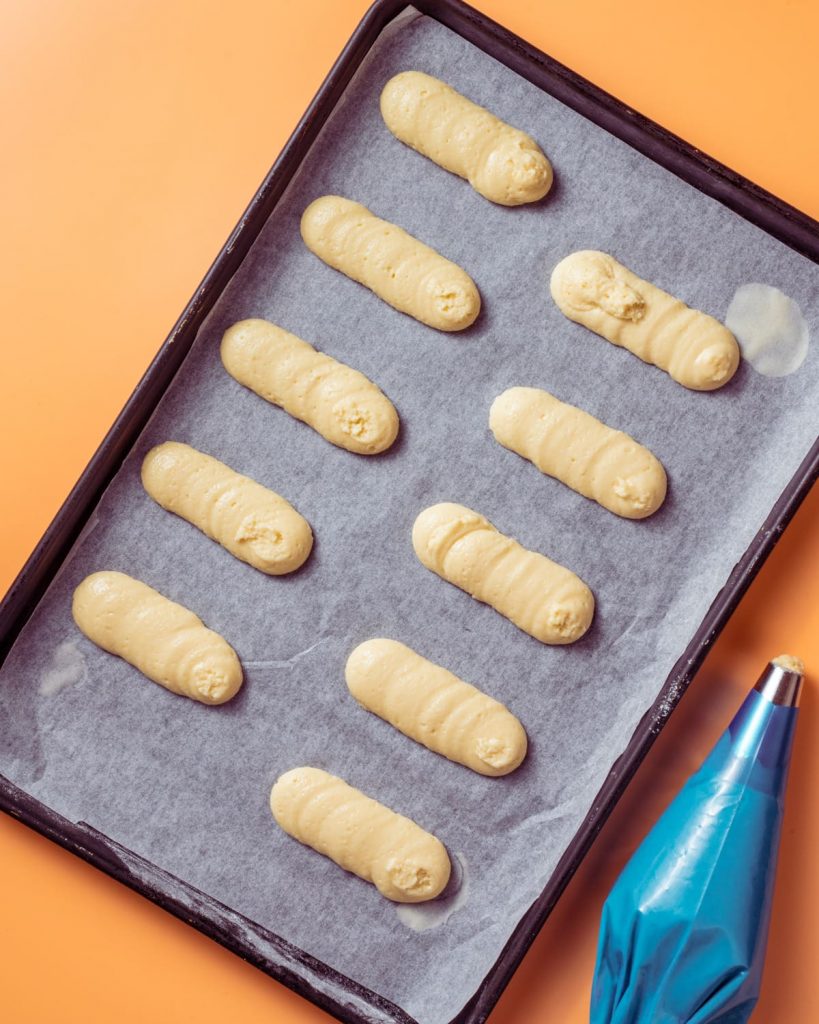
4. Pipe out your ladyfingers
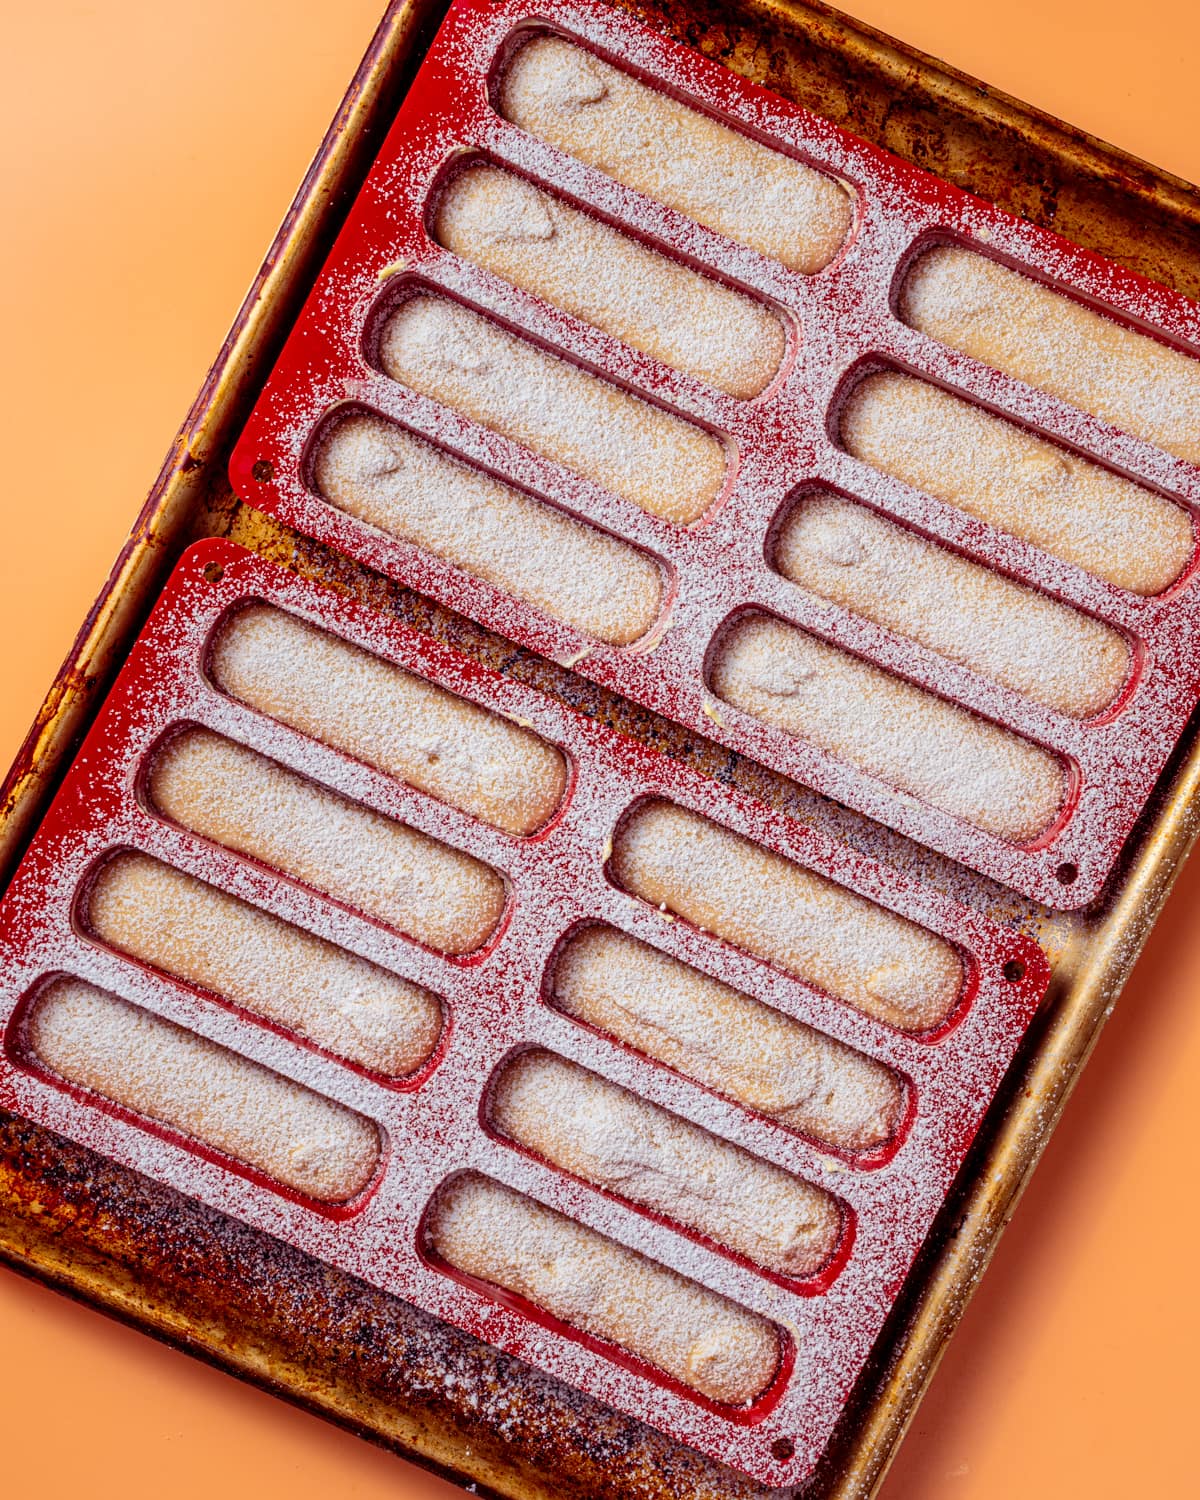
Whether you're using a ladyfinger mould or not, it's important to use a piping bag to form your ladyfingers. If just using a baking tray, make sure it's lined with greaseproof paper and try to keep the piped ladyfingers as uniform as possible.
If using a silicone mould, you can be a little more careless, but try to ensure you put the same amount of batter into each well.
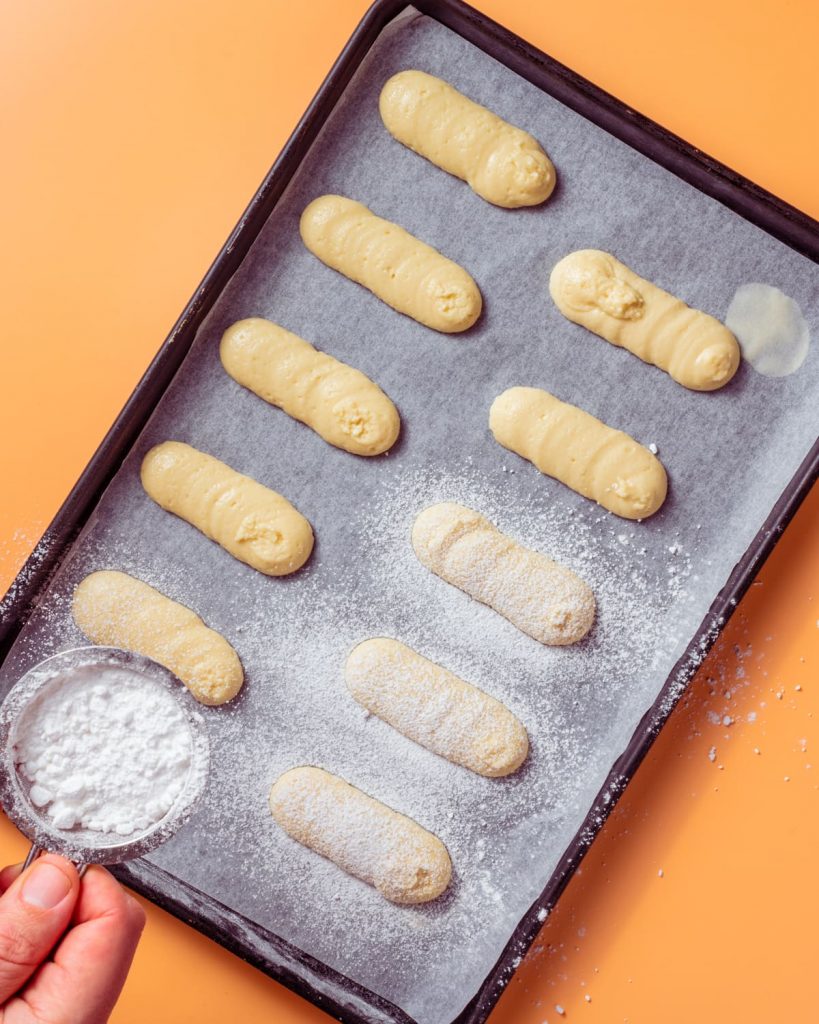
5. Dust with icing sugar
Again, whether using a mould or not, it's best to dust your ladyfingers with icing sugar BEFORE you bake them. This was, as they bake, the icing sugar that's in contact with the batter liquifies and creates a lightly glazed, crackly surface on the top of the ladyfinger.
You can brush it off after baking, to reveal the glazed surface if you wish, but I think it looks quite pretty!
6. Bake until crisp
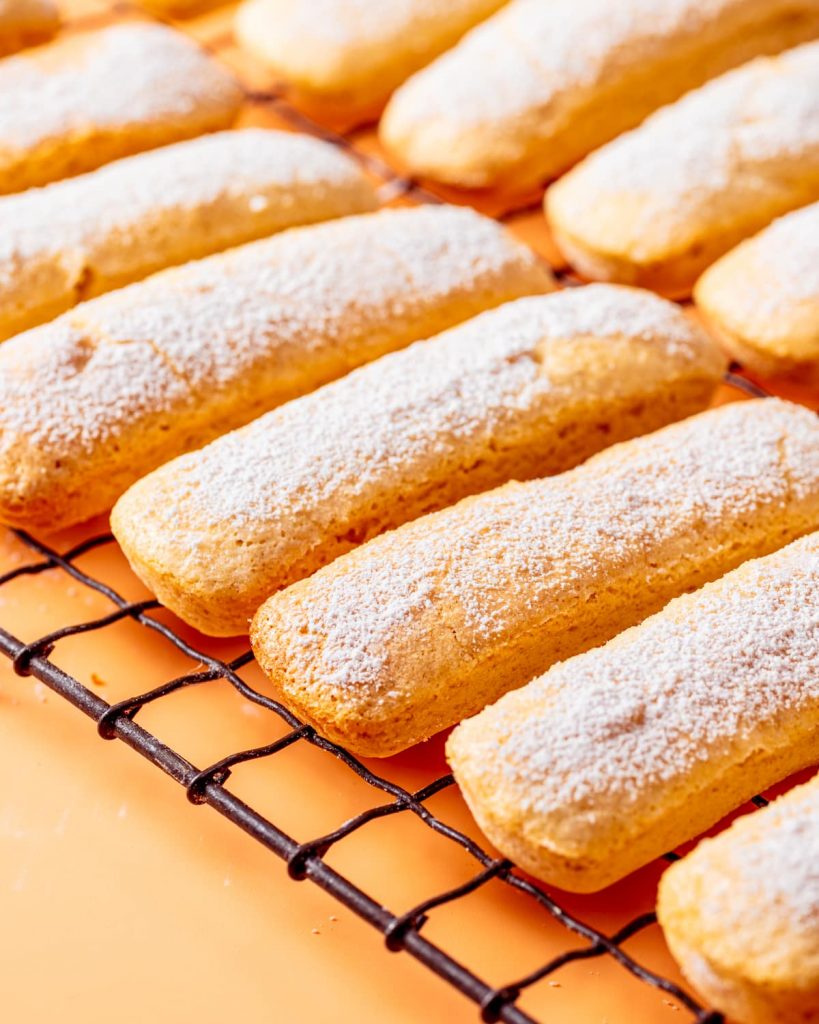
Because of the very low amount of fat in this recipe, the ladyfingers won't brown dramatically. They will, however, crisp up beautifully. They'll be slightly soft when you remove them from the oven but as they cool, they'll become firm and suitable for all your tiramisu/trifle/dunking needs!
And that's how to make vegan ladyfingers!
Bingo! You're ready to go! If you'd like to make a DELICIOUS tiramisu now, why not head over to my recipe and whip one up!
If you love the look of this recipe PLEASE DO ME A MASSIVE FAVOUR AND RATE IT 5 STARS BELOW! You can also leave a nice comment or review if you like!
Vegan Ladyfingers (Savoiardi)
Ingredients
- 240 g plain white flour
- 2 tablespoon cornstarch aka cornflour in the UK
- pinch fine sea salt
- 1 teaspoon baking powder
- 120 g aquafaba the liquid from a can of unsalted chickpeas
- 140 g caster sugar aka superfine sugar in the USA
- 1 teaspoon vanilla extract
- 30 g vegetable oil
- 2 tablespoon icing sugar aka confectioners sugar in the USA
Instructions
- Preheat the oven to 150c (fan) and line two baking trays with greaseproof paper. Alternatively, if you have silicone ladyfinger moulds, grease lightly with vegan butter and place them on the baking trays.
- In a medium bowl, sieve together the plain white flour, cornstarch, fine sea salt and baking powder. Set aside.
- In a spotlessly clean bowl of a stand mixer fitted with the whisk attachment, place the aquafaba and whip on high speed until stiff peaks form. Stop the mixer, add the caster sugar and whisk again until the mixture is glossy and falls in ribbons.
- With the mixer still running, drizzle in the vanilla extract and the vegetable oil. Remove the bowl from the stand mixer and fold in the flour mixture until just combined and no lumps remain. Set aside on the counter to rest for 10 minutes.
- Transfer the batter to a piping bag fitted with a round nozzle and pipe the mixture into thick lines around 6-8 cm long on the lined baking trays or directly into the silicone ladyfinger moulds. This recipe makes around 20 lady fingers and I’d advise splitting them between two separate baking trays.
- Before baking, dust the tops of the batter with icing sugar.
- Place in the oven to bake for 20 minutes. Remove from the oven, leave to cool for 5 minutes then transfer to a wire cooling rack to cool and crisp up fully.
Ana
These turned out fantastic. Light and sweet! It was a time consuming recipe but well worth it.
Kris
I’m a bit confused about aquafaba. The recipe instructs to degrease the utensils and bowl, but also to add oil? I'm not sure why degreasing is necessary if oil is added to the batter. Did you mean to beat the aquafaba first and then fold in the other ingredients?
Dee
This came out SO bad!
I'm a very experienced baker, followed everything very carefully and ended up with a VERY stiff dough.
I tried molding it by hand and baking it, it came out dens and not usable at all...
Bummer.
Laura
Tried whipping aquafaba once before and it didn't work, but this time IT WORKED. I'm so thrilled with how these came out. Seeing how everything whipped up and then the batter thickened after resting was fascinating.
Janet
Amazing! Never made ladyfingers before and have historically struggled with aquafaba recipes, but I followed the recipe exactly and the results were perfect! I was a bit worried when I saw the other comments saying it was too thick to pipe but I just used a sandwich bag and cut off the end, and it worked perfectly fine for me. Thank you for this recipe. Tiramisu used to be my favourite dessert and I've been vegan for almost 10 years and this was my first year attempting a vegan tiramisu!
Amy
These turned out perfect!!! The only thing I had to change was using 4tsp of arrow root powder because I didn’t have the 2Tbsp of corn starch.
I was nervous I did something wrong because my dough was thick and sticky and not fluffy at all (I’ve never made lady fingers).
I baked them anyway and they turned out perfect! I was so happy since I usually fail at baking.
Thanks for a great recipe, I’m using them to make your vegan tiramisu, wish me luck!
I baked
Sandy Rose
I made these for a vegan tiramisu for Thanksgiving dessert. The first batch, I put the oil and vanilla into the aquafaba first, and it totally deflated.. the second attempt, I paid attention, and they turned out great!!!
Cecile
The best vegan recipe for Savoiardi out there! I've made 2 other recipes but they keep spreading. this is the nearest to the original and they came out brilliantly! Will definitely make again.
Joanne
Hi!!! Looking to make these for christmas but trying to prepare everything. How long will these store in an air tight container??
Nea
i made them for the matcha tiramisu & my fam was on cloud 9!
Emma
I made them last NYE and also your tiramisu. It was AMAZING! but question! For how long can they stay fresh/good in an container? Making them again for NYE but 10 days before - is that too soon?
🙂
A. Klaw
Delicious! Made them exactly as recipe suggested (using a scale for measuring) and they turned out amazing! Thank you for the recipe!