Publised on 24/04/2020. Last Updated on 24/04/2020 by Richard
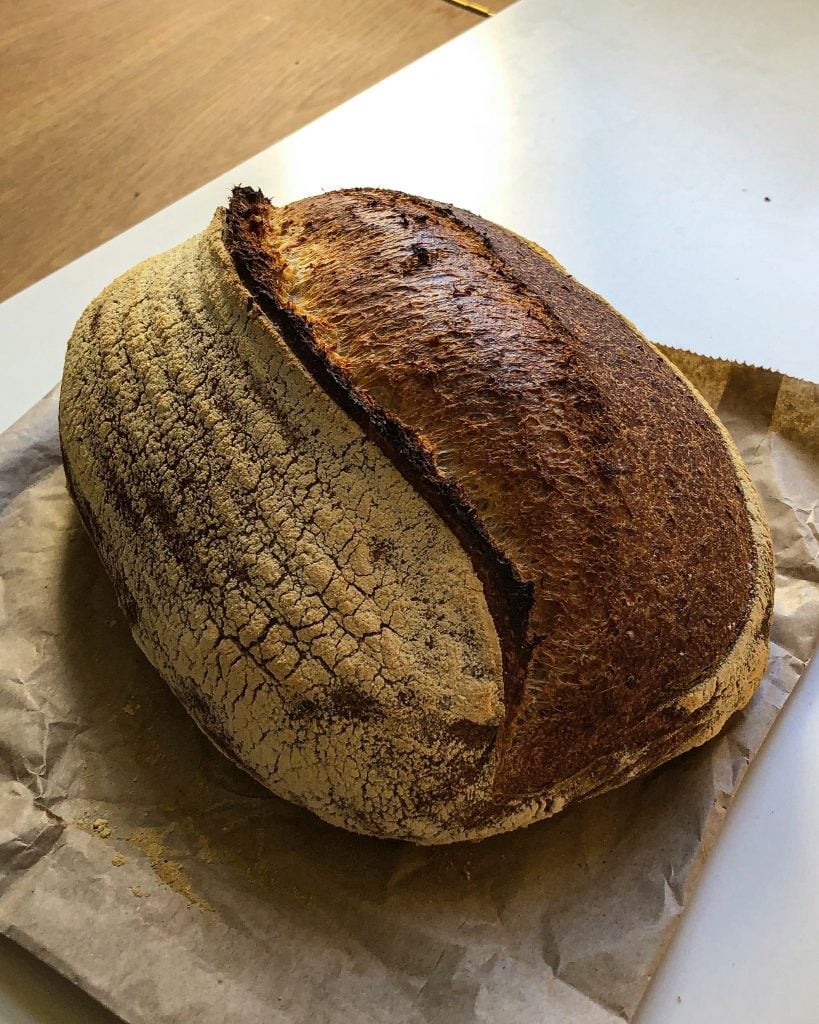
A beginners guide to baking delicious sourdough bread from scratch. Heavy on the flavour - easy on the jargon!
I'm eager for this sourdough for beginners blog post to be the opposite of intimidating. As such I'm going to start with this: HIYAAAAAAA!
This is a little break from my usual kind of recipe post because I know just how many of you have taken interest in sourdough over the last few months. I think that's awesome and I FULLY ENCOURAGE your new-found carby joy.
So let me help you. This post is all about how to put that gorgeous little yeasty pet starter of yours to good use and make you feel more confident baking sourdough bread.
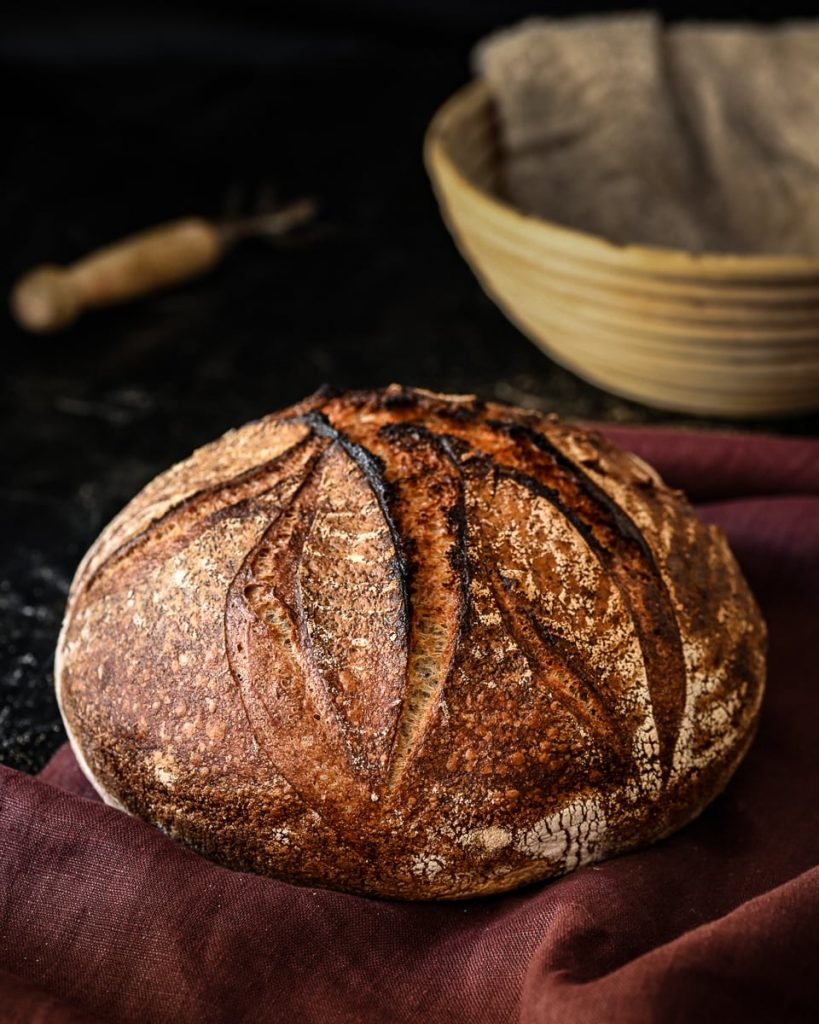
Now for a little disclaimer - I am NOT a sourdough expert, I'm a sourdough STUDENT! This post is not a "masterclass" or even an expert-level guide. It's more of a redux of everything I've learnt so far (as a sourdough student) and a log of all the stuff/techniques/ingredients I've personally found success with.
If you're comfortable with big words and percentages and complicated hydration equations, then great! You go Glen CoCo! You won't find any of that stuff here. There are plenty of super in-depth guides out there which I'd thoroughly recommend reading alongside this blog post. My two favourites are from The Boy Who Bakes and The Perfect Loaf.
Before We Start
For this recipe I’m assuming a few important things.
- Firstly, I'm assuming you already have an “active” sourdough starter. Jargon alert: by “active” I mean that your starter is rising and falling after each feeding. It doesn’t mean a starter which has been in the refrigerator for ten days and is all separated and funky. I guess by comparison we could call this a “dormant” starter.
If you don't have a starter, like, at all I'm going to recommend you check out this guide by The Perfect Loaf. This guy's a genius and is super clear with all of his instructions. Follow this guide and you'll have a starter in just 7 days!
If you already have a starter but it's currently dormant, my recommendation is to feed your starter (as outlined in step 1 of the "Baking Process") every 12 hours for two days before baking with it. So, for instance, if I’ve been away and retired my starter to the fridge for a week or so, I’ll take it out at 8am and feed it. I’ll then leave it on the counter until I feed it again at 8pm and then return it to the counter. Once I’ve repeated this process twice more, making a total of 4 feedings and 48 hours, the starter will be back to its regular rise and fall - ready to bake with.
- I'm also assuming that you've read this entire explainer. This isn't a recipe you can start on a whim and fart your way through. Sourdough, believe it or not, takes some planning, so make sure you read this explainer through (when you've got 10 spare minutes) before you start baking. Sorry (not sorry) to sound like teacher.
- Finally, I'm assuming some technical stuff. You're gonna need a working oven for this recipe obvs, but just make sure it's an oven which goes up to 250c (482f). You're also going to need a fridge (try to make sure it's set to around 3c (37f) if you have control over that sort of thing, but don't worry if not.
Other than those three things - I reckon you're good to go!
Sourdough Ingredients
Technically there are only three ingredients in sourdough, so this shouldn't take long. Here's a bit of info on each of them.
Flour
Obvs you're gonna need some flour. I'm pretty specific about the kind of flour you should use in the recipe below, but bread works with a whole host of different flours, so don't worry if you don't have the exact kinds I call for. For this recipe you're going to need the following types of flour:
Plain White Flour (aka All Purpose Flour)
Wholewheat Flour
Rye Flour
Strong White Bread Flour
Strong Wholewheat Bread Flour
It's important to distinguish between bread flour and other flours because bread flours are much higher in gluten content. This is what makes bread BREADY. However, there are recipes all over the internet for sourdough made only with plain white flour. This isn't something I've attempted yet, so won't advise upon, but rest assured it can be done.
Water
Sounds obvious, but a few notes on water. I've read a lot about the adverse effects chlorinated water can have on yeasts and therefore sourdough. I've also read a lot about temperature of water and how it can affect yeast and therefore sourdough. Nerds seem to suggest using either filtered or bottled water at around 22c (71f) for optimal sourdough action.
Personally, I've only ever made sourdough with tap water and have baked sourdough in over 5 different locations (cities and countryside) in the past few years. I've never noticed the water (chlorinated or not) make a dramatic effect on the activity of the yeasts. I have noticed huge differences, however, based on the temperature of the water. My compromise would be to recommend boiling your water and allowing it to cool to 22c before use. (Or just use it straight out of the tap like I do - who cares??)
Salt
Last but not least - salt. Bread, like most things, tastes meh without it. Do yourself a favour, buy a decent flaky sea salt rather than table salt. You will notice a difference. That's the only thing I insist on being snobby about. It is, after all, where the majority of the flavour is coming from.
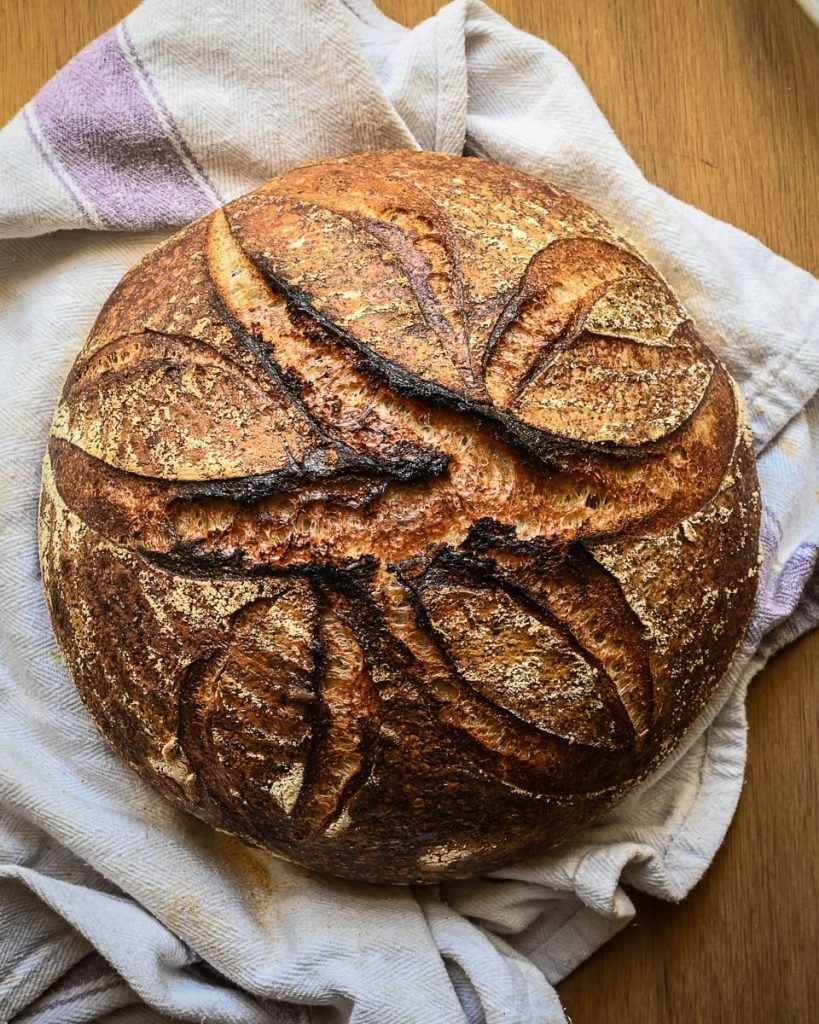
Sourdough Kit
As you can probably imagine, I've read a handful of sourdough explainers, books and blog posts over the last few years. One thing they all have in common (besides being TERRIFYINGLY detailed) is a comprehensive list of all the kit you MUST HAVE before you can even DREAM of starting baking.
I'm going to try to be a little less prescriptive. I've broken down the kit I use into three tiers of importance: Must-Have Kit, Helpful Kit and Fancy Schmancy Kit. This way, you can choose your level of financial commitment to this whole sourdough malarkey. Trust me - this is one of those hobbies you can throw £5 or £5000 at, depending on your level of existing impulse control issues, so be careful!
Must-Have Kit
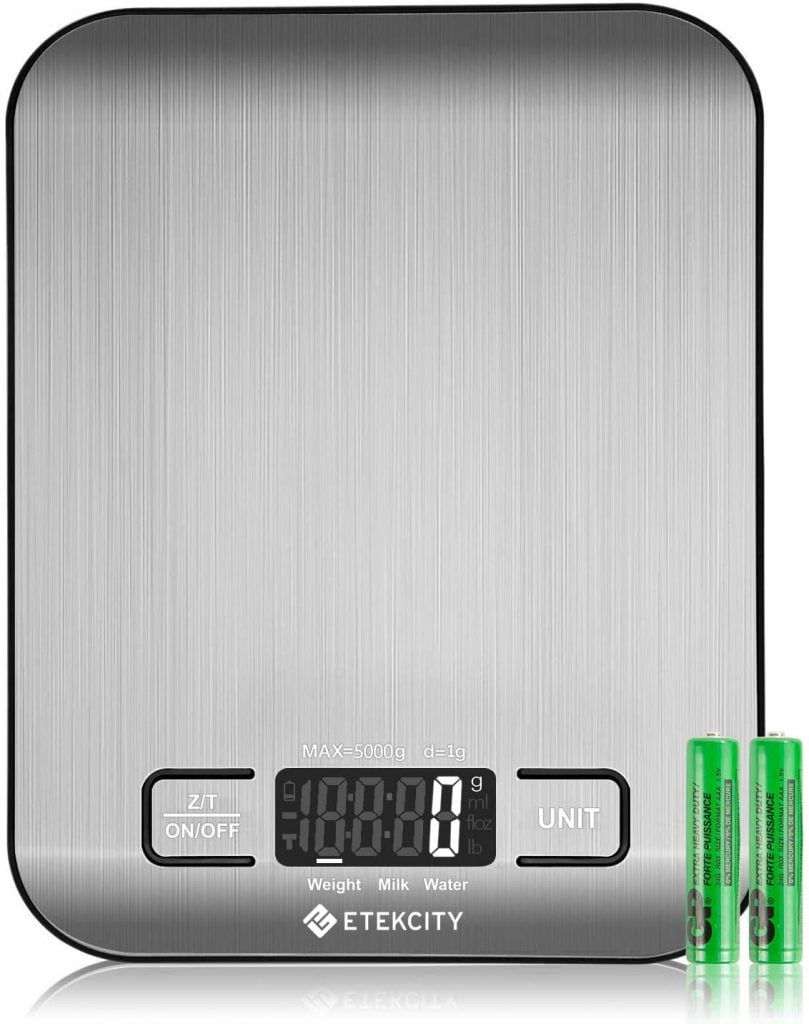
Digital Kitchen Scales
If you've been here a while you'll know I'm a PUSHER of kitchen scales. But seriously these are essential. Good sourdough really does require you to be accurate on your measurements and I'm afraid cup measures just don't cut it.
These scales aren't expensive and I recommend using them in every single one of my recipes - so they'll be put to good use!
Grab some Digital Kitchen Scales here!
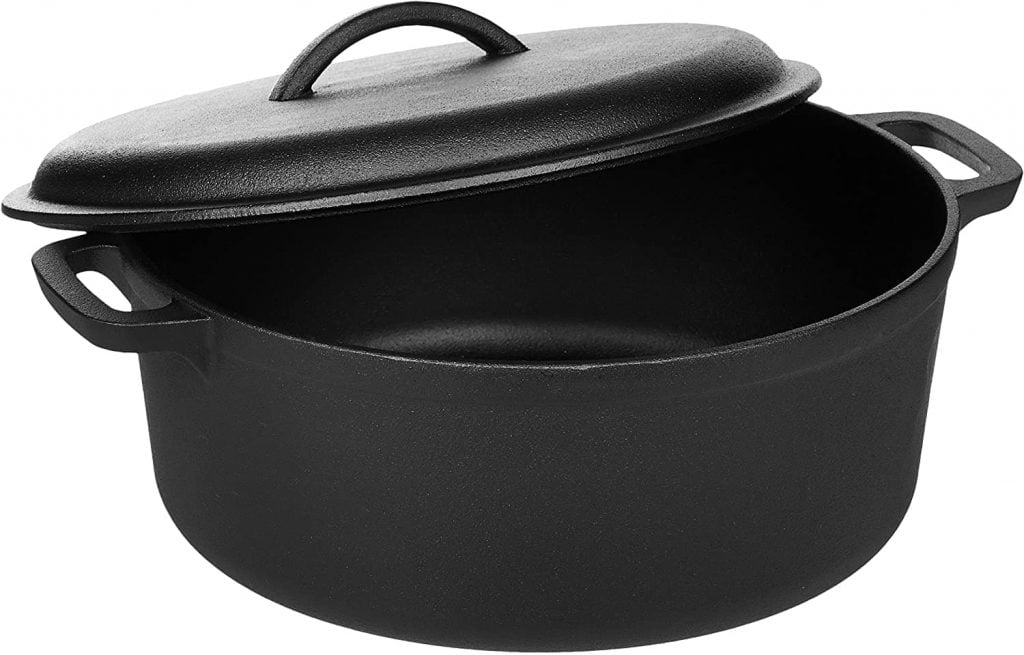
If you've tried to make my Basic White Bread recipe, you'll know how much a dutch oven transforms your bakes. When you bake in a cloche or dutch oven, you trap so much more heat which means your bread gets a real spring as soon as it hits the oven. Also, because it's enclosed, the cloche/dutch oven catches the steam which leaves your bread while baking and uses it to keep the dough moist. This allows the bread to grow and rise to its full potential before the crust forms.
Helpful Kit
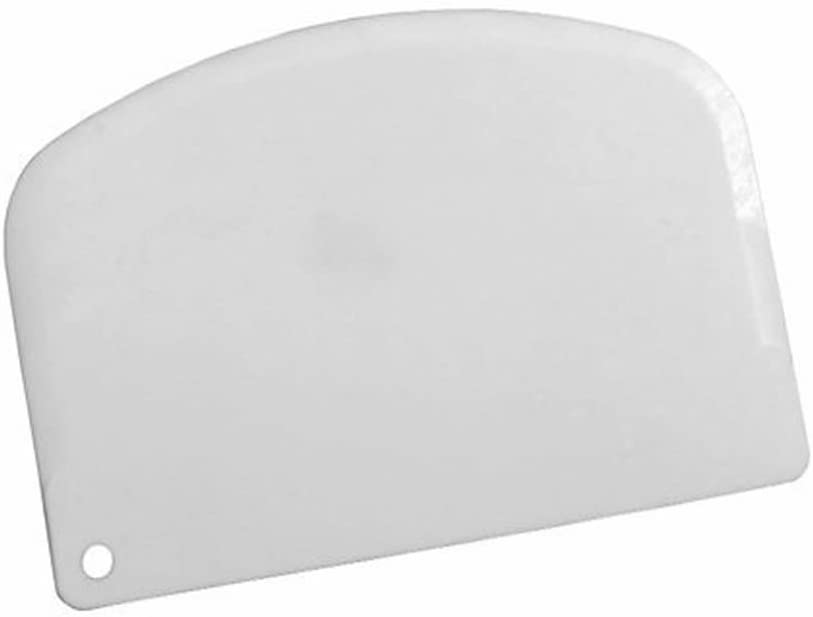
Once you've had a couple of attempts at making sourdough, you'll understand the need for a dough scraper. I put off buying one of these for ages (which is bonkers because they're not pricey!) and wish I'd bought one much earlier.
A dough scraper so important for moving dough around without it sticking to your hands. It's also super useful for shaping your dough before baking - with the right technique it can help you get a super tight ball which means great rise and overall dough structure.
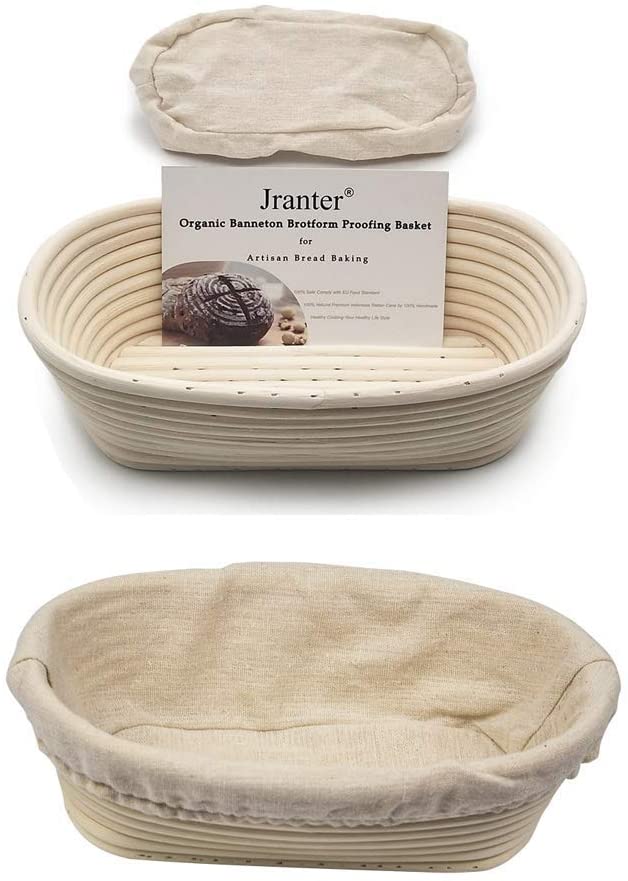
Banneton baskets are designed to hold your bread dough in shape while it proofs or rises. They are mega useful for sourdough recipes because sour-doughs are usually quite wet doughs and tend to sag or lose shape while proofing.
I'd recommend starting with an oval banneton, because in my opinion a batarde is the best shaped bread out there! It's also the easiest to shape!
Fancy Schmancy Kit
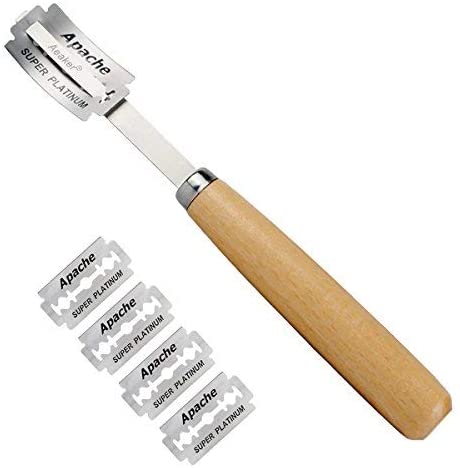
Bread Lame
As far as I'm aware, this is pronounced "Laahm" - as in, rhymes with "Parm" (but who cares?). It's essentially just a razor sharp cutter for scoring your loaf before baking. Scoring the loaf allows it to rise and expand in a semi-predictable way so you don't end up with "blow-outs" where the crust rips in unusual ugly ways.
I use my lame every time I bake bread, but I've put this under fancy-schmancy kit because you can also just use (with extreme caution) a razor blade. A lame makes things safer and easer and some even bend the blade slightly which changes the way it cuts and somehow makes your scoring more effective. If you don't have a razor blade, and don't want to buy a lame, spend a few minutes sharpening your SHARPEST knife and use that instead - but I believe you'll find this rather tricky.
Grab a bread lame here.

Digital Chef's Thermometer
I've recommended using one of these guys many times on my blog. They're so versatile and I use mine when deep frying, calibrating my fridge and checking the temperature of my sourdough!
A step which really upped my sourdough game was taking control of the temperature of the water I used to feed my starter and levain. Yeast operates best at a very specific temperature window, so it's best to feed your starter water at around 22c. This thermometer can also tell you whether you're fermenting your starter at the right room temp or not.
Grab a digital chef's thermometer here!
Baking Process
You've got all the kit you need, you've got your super active bubbly starter - so let's get down to it! Here's the process I follow (along with measurements and quantities) when making sourdough bread!
Keep in mind that this recipe makes two decent sized loaves. It might seem like a lot of flour but you'll come out of this process two loaves happier!
Also keep in mind that I've given suggested timings for each of these steps below. This is just a suggestion to give you an idea of how long things take. By all means start at 10pm or 1am, I don't care. The schedule below fits in with when I go to bed etc, so feel free to tailor.
Step 1 - Feed Your Starter
(Day 1 - 8am)
The first step in baking an amazing sourdough loaf is feeding your starter. As far as I'm aware, this is best practice because it ensures that your starter is at peak activity. By peak activity I mean, your starter is having a blast, living its best life when you put it to use, rather than sleepy and depressed. It's like giving your kids a nice healthy breakfast before sending them off for a busy day at school.
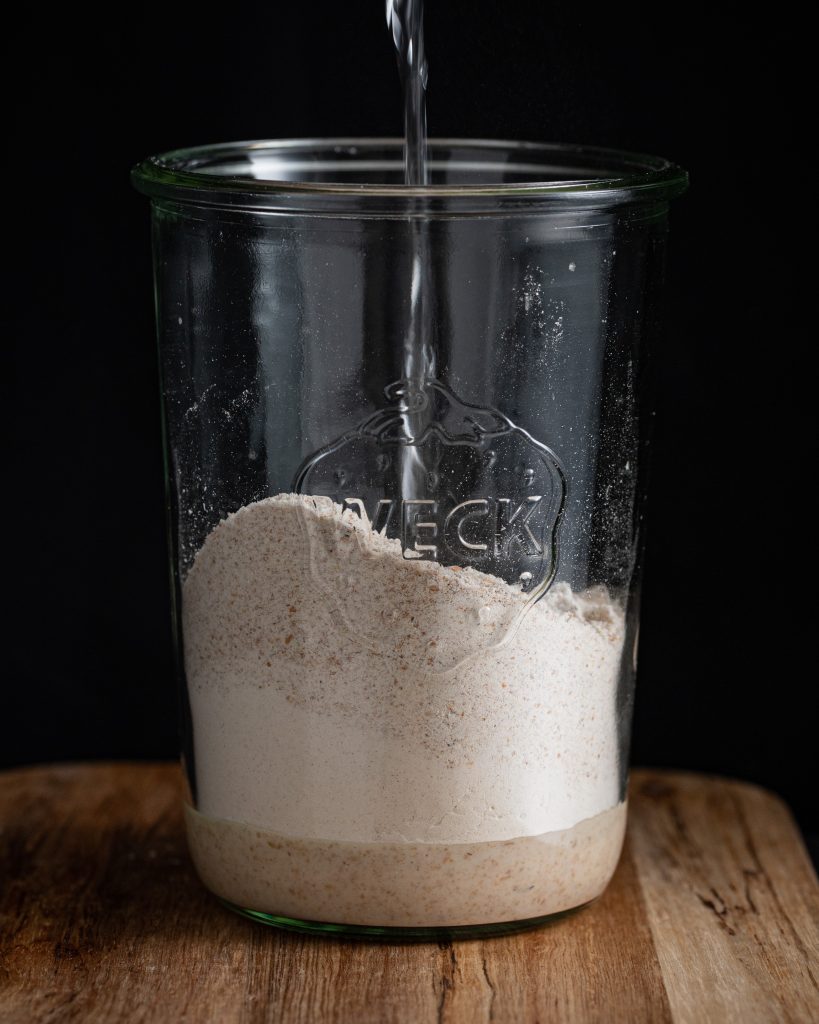
Below is a break-down of what/how I feed my sourdough starter. I’ve played with the flour ratios over the last year or so and this one seems to get the best rise and fall out of my starter, without the need for too much fancy, expensive flour. All starters are different, so you may find better results with other flours - feel free to play around and find what works for you. In general though, a bit of rye flour makes most starters SUPER happy - so start there.
80g active starter
50g plain white flour
30g rye flour
20g wholewheat flour
100g water (at around 22c/72f)
You’ll need two large glass jars - one to hold your old starter and one to mix your new starter in.
- Take the jar holding your active starter and mix it well with a spoon or spatula.
- Place the empty jar on a set of kitchen scales and press “tare” so that the register reads zero.
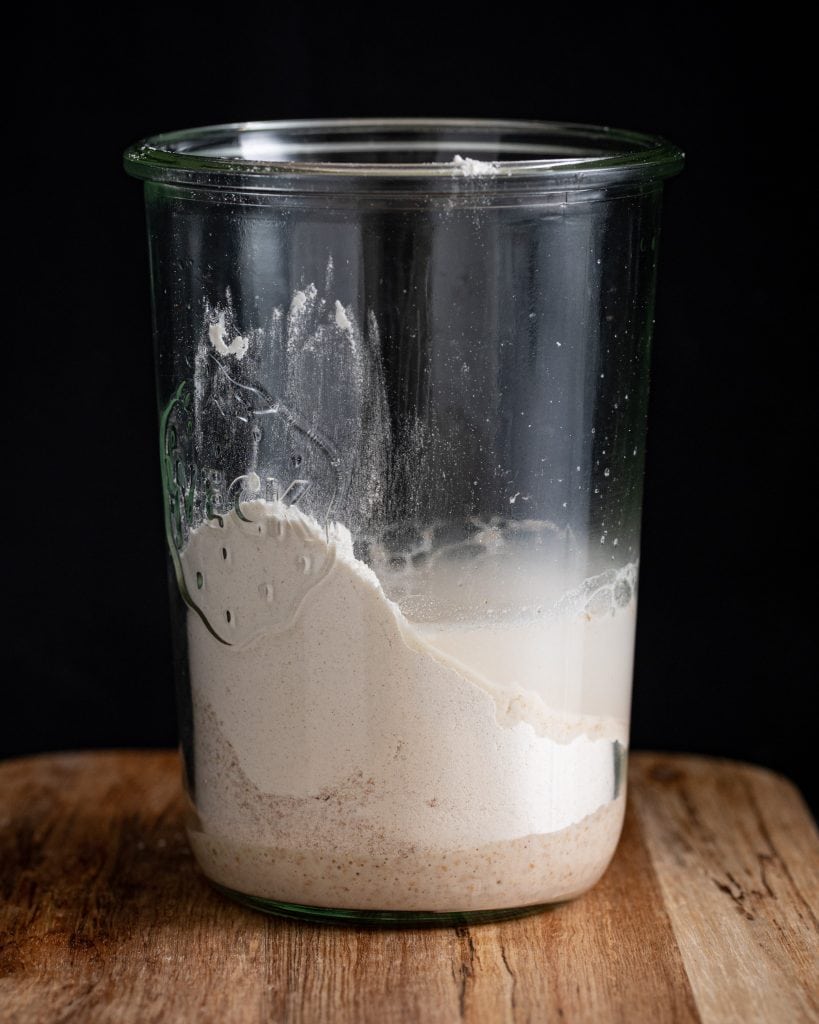
- Add 80g of your existing starter to the jar on the scales followed by the flours and water. Mix well.
- Cover the jar with a loose fitting lid (a tight fitting one will cause gas build-up and might cause the jar to explode).
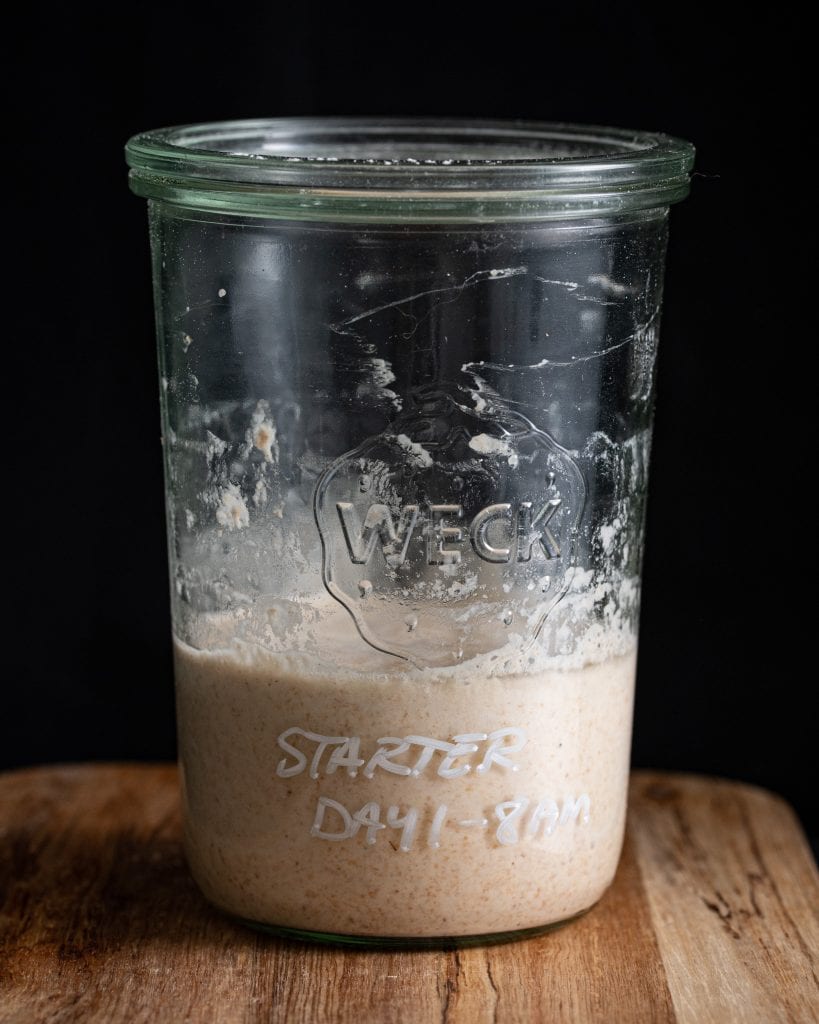
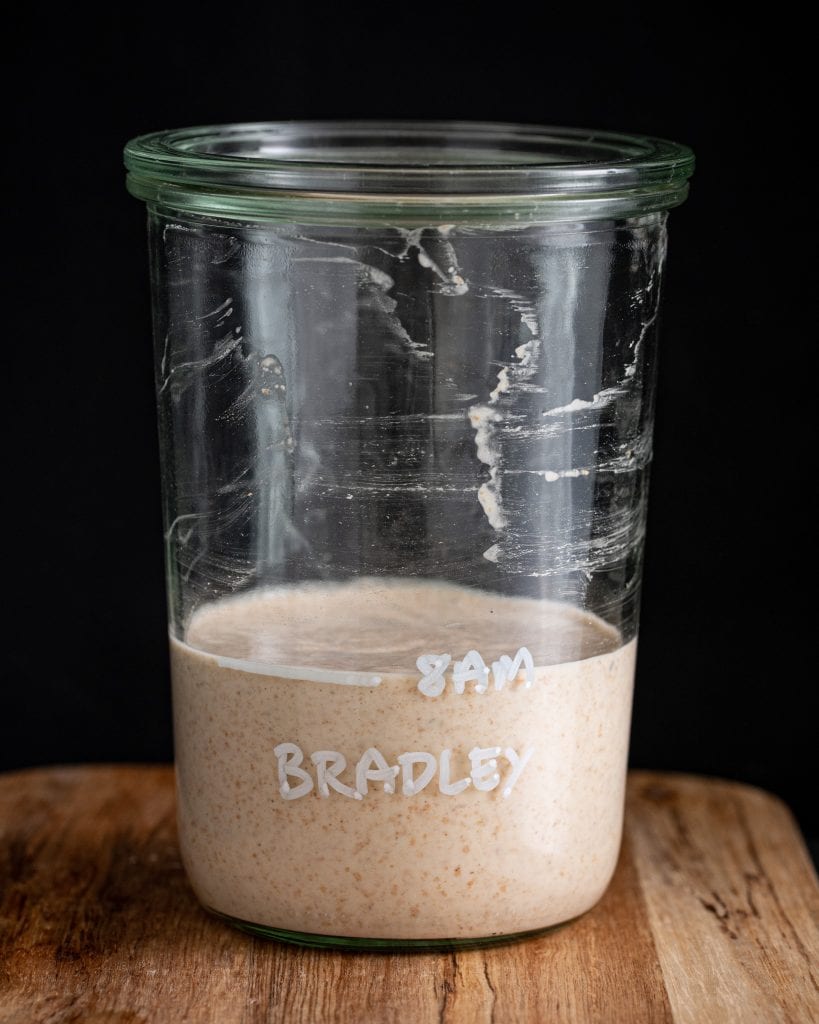
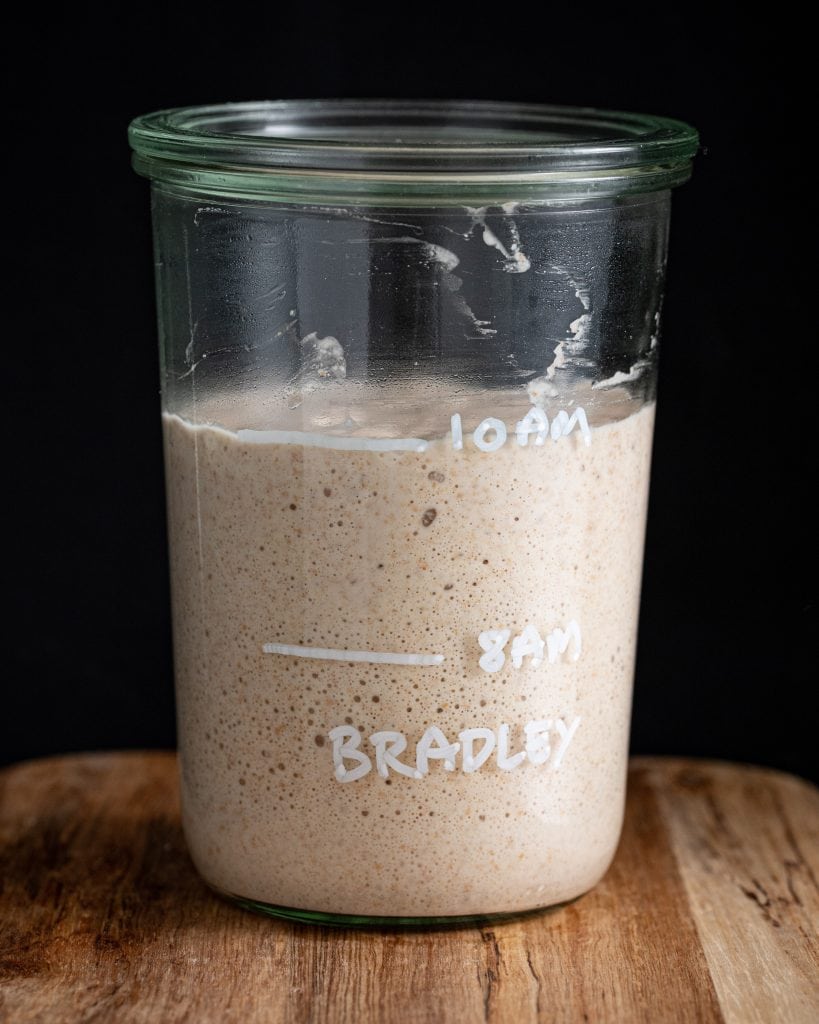
- Mark the side of the jar with either a chalk pen or an elastic band to help you keep track of how far your starter has risen. Leave the jar in a warm area (between 21c/70f and 26c/80f) like the oven with just the light on.
- Once the starter has at least doubled in size, ideally within 2-3 hours of feeding, you’re ready to start.
My starter waiting to be fed! Feeding my starter. The fed and mixed starter (named Bradley!)
Step 2 - Build Your Levain
(Day 1 - 10am)
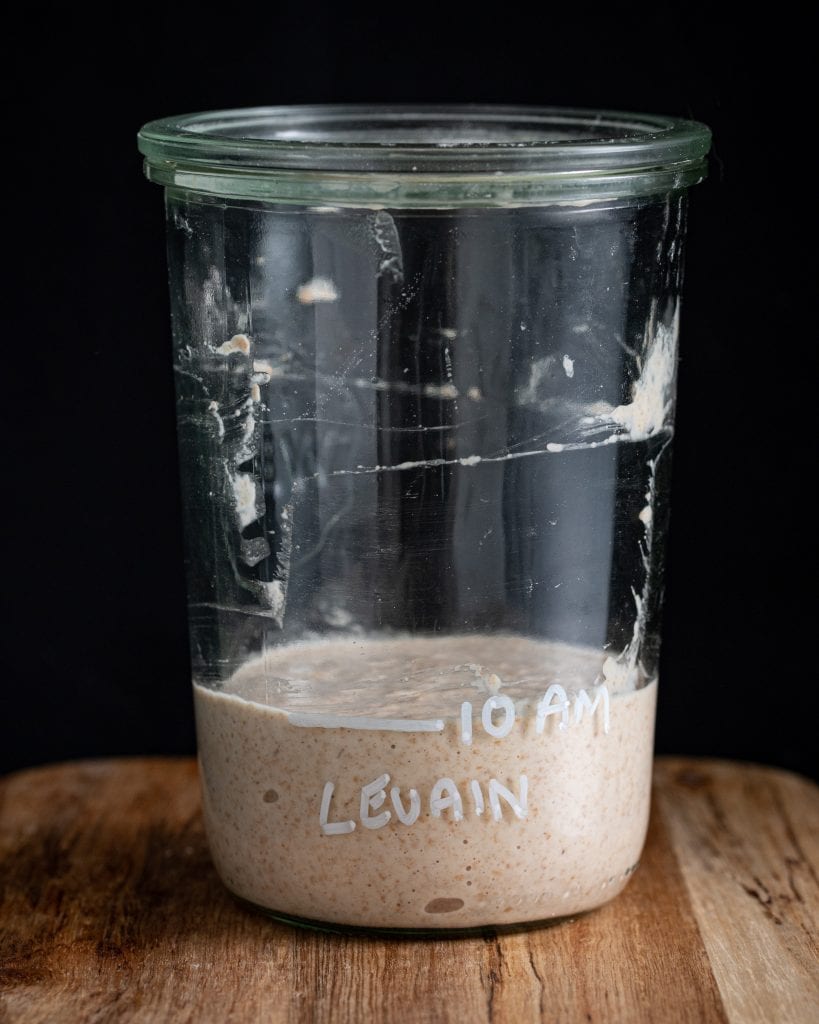
Let's bust that jargon shall we? People call this stage all sorts of different names, but for the sake of clarity, I’ll be calling it a levain. Put simply, it's a way of copying and pasting all that amazing bread-making power which you've developed in your starter, without using it all up on your first loaf of bread. It's essentially the same process as the feeding, outlined in Step 1, except you won't discard the excess starter. Instead you'll end up with two jars - one containing your starter (which you'll carry on feeding and using as necessary) and the other containing your levain (which will be used to make bread).
45g active sourdough starter (from step 1)
45g wholewheat flour
45g plain white flour
90g water (at around 22c/72f)
- Just like when feeding your starter, you’ll want to transfer 45g of active starter to a new jar.
- Into that new jar add the same amount of wholewheat flour (45g) and the same amount of all purpose flour (45g).
- Finally you’ll add 90g of water (at around 22c/72f) and mix everything up.
- Cover the jar with a loose fitting lid.
- Mark the side of the jar with either a chalk pen or an elastic band to help you keep track of how far your levain has risen. Leave the jar in a warm area (between 21c/70f and 26c/80f) for 5.5 hours.
Quick Note:
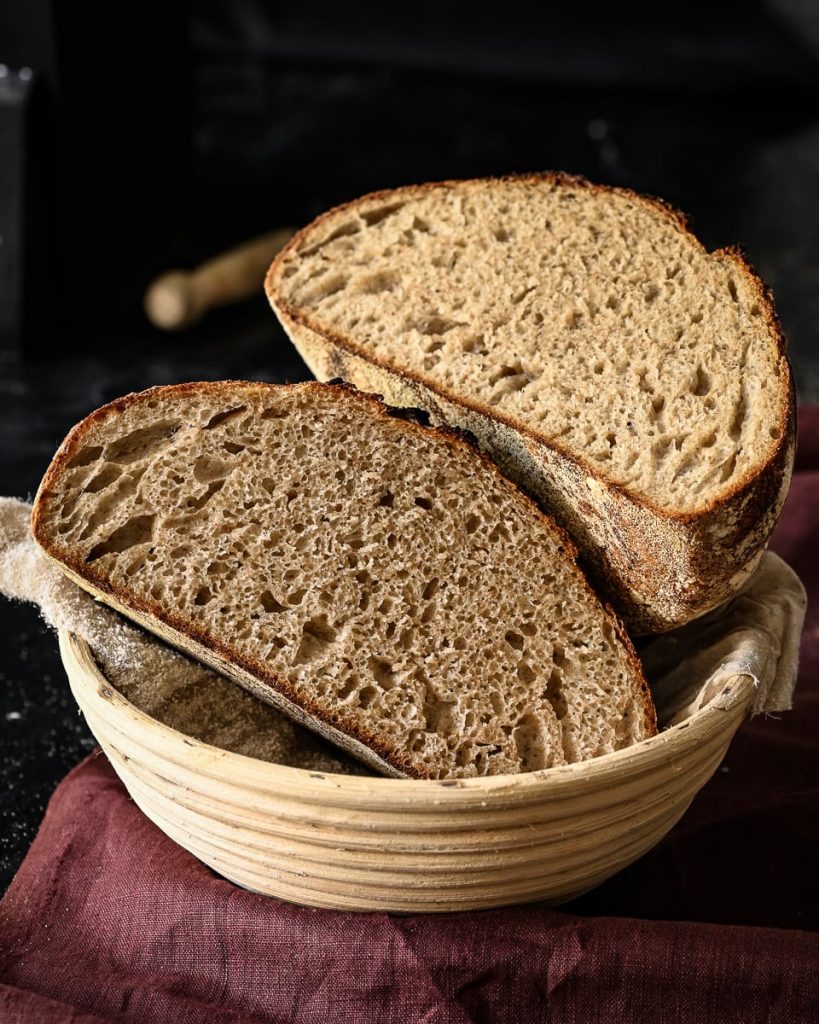
You’ll notice that the total amount of flour we've added to the 45g of starter in this stage is equal to the amount of water we've added. It took me an embarrassingly long amount of time to figure out that this is what people mean when they refer to a “100% hydration levain”. People play with hydration levels to create different textures in the final loaf, but I’m not that clever yet. All I know is that a nice, high hydration dough results in a nice, open crumb - like the sourdough you get from fancy bakeries with those beautiful irregular little holes in the middle and a nice chewy texture. So if your mixture at the moment looks very loose and more like a batter than a dough - don't worry - wetter is better!
Active starter, ready for the levain! Ingredients for the levain. Mixed levain.
Step 3 - Mix Your Autolyse
(Day 1 - 3.30pm)
Wait, don't be intimidated by the name! I swear "Autolyse" is just a name to make people feel like they're in some exclusive bread guild. It's not scary. Let me explain.
An autolyse, so I've come to understand, is just the bulk of your bread dough. So far (in steps 1 & 2) all we've done is create the raising agent - the weird sloppy batter which contains all the busy active yeasts and bacteria which are going to make the bread rise and taste great. In THIS step, we'll basically be mixing together the REST of the bread ingredients so they're ready to be introduced to the levain, once it's finished rising. We're deliberately doing this half an hour before the levain is ready because we want to give the autolyse time to fully hydrate (soak up all the water) before we combine the two.
Oh and remember - this is the dough for TWO loaves. If you're worried it looks like a lot, don't fret - we've doubled up.
630g strong white bread flour
150g plain white flour
300g strong wholewheat bread flour
740g water (at around 22c/72f)
-
In a large bowl, thoroughly combine the flours then add the water. Mix well either with your hands or a strong wooden spoon until you have a big, sticky, shaggy mess. Cover with a damp tea-towel and leave to hydrate for 30 mins.
Quick Note: I'll probably be punished severely for this, but I generally use my stand mixer (with the dough hook fitted) to mix the autolyse. I find sticky doughs intensely stressful to work with and decided I'd ask a robot to do it instead. I've read some stuff about not wanting to encourage gluten development at this stage (which stand mixers tend to do) however my loaves improved drastically after I STARTED doing it this way - so go figure. If you have a stand mixer and want to do it this way, make sure you mix the ingredients together in short, low-speed bursts. The idea is not to knead it too much at this stage - just to mix everything together.
Step 4 - Salt and Combine
(Day 1 - 4.00pm)
Here's where we introduce our levain to our autolyse. It's also the point where we add our final essential ingredient: SALT!
- Weigh out 22g of flaky sea salt and sprinkle it over the top of the autolyse.
- Remove your levain from its little warm spot and pour/spread it over the top of the salted autolyse.
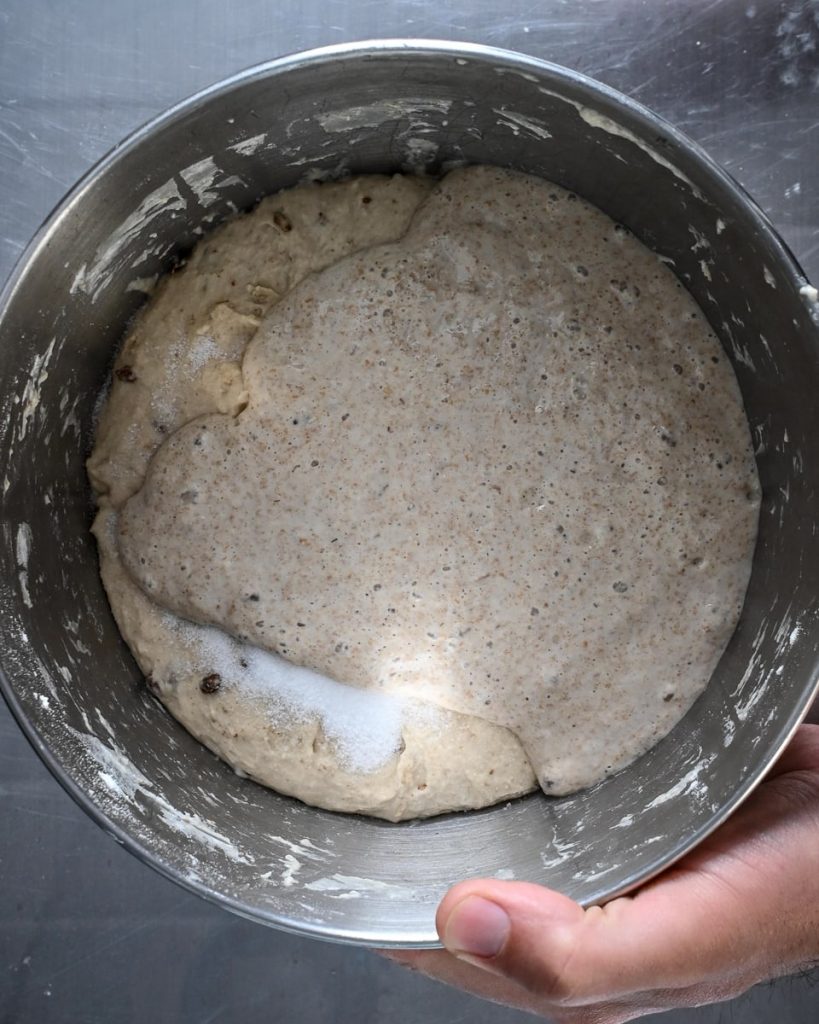
- Fill a bowl with water and dunk your fingers in to make sure they're nice and wet - this will stop your hands getting too sticky. push your finger tips into the autolyse, dimpling the surface all over and pushing the levain into the autolyse.
- Dip your hands in the water again and start to pinch the autolyse and levain together. The idea is to blend the two without kneading and building up too much gluten development. When you're satisfied everything is mixed together, move onto step 5.
Autolyse topped with salt and the sourdough levain
Step 5 - Mix Your Dough (Rubaud Method)
(Day 1 - 4.15pm)
By now, you should have a pretty big, rather bulky bowl of wet dough. We need to mix the dough in order to properly distribute all the ingredients AND to start to develop the gluten.
The mixing method I like to use is part of a much larger bread-making process developed by an absolute artisan bread LEGEND named Gérard Rubaud. I haven't studied the method because I'm a terrible self-learner and prefer to pick bits and bobs from all over the place a glue them together into a bastardised patchwork quilt of techniques. I try to describe the Rubaud Mixing Method below, but if you're a visual learner, feel free to watch this video instead!
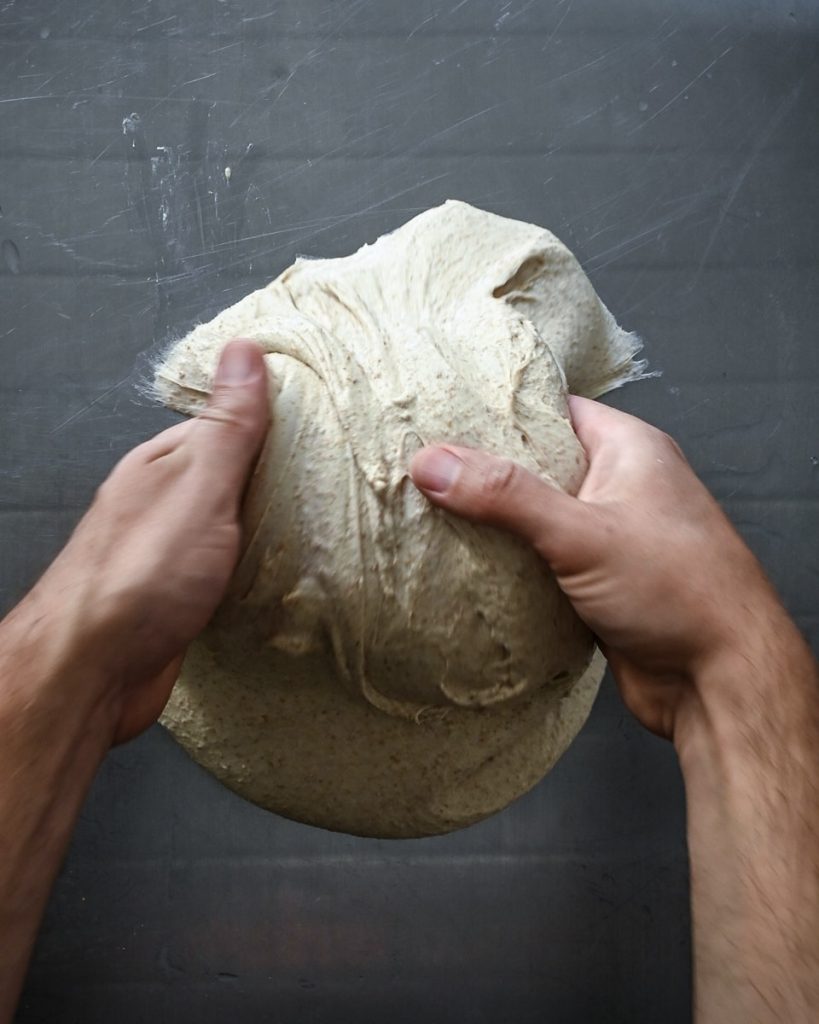
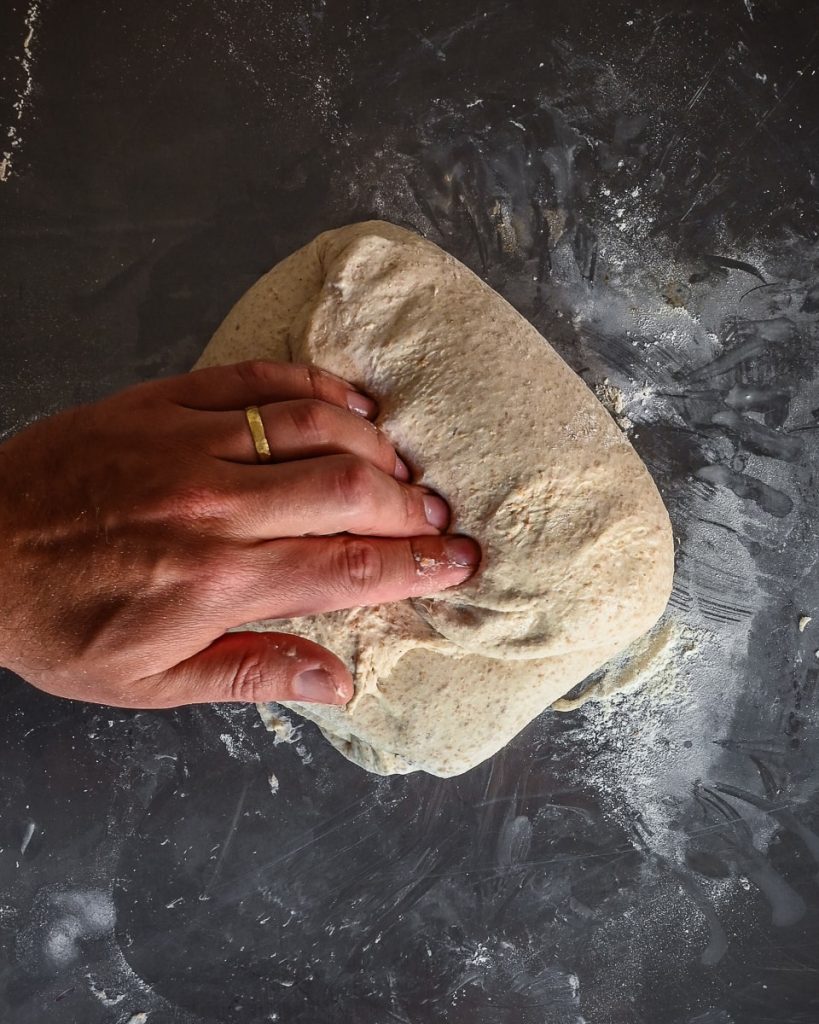
- Wet your hand slightly and scoop it under the ball of dough. Moving your hand in a circular motion, scoop and slap the dough back into the bowl, stretching it slightly with each repetition.
- Repeat this process for roughly 5 minutes. You'll hopefully notice a slight change in the dough texture. It should be come smoother and slightly more elastic.
Step 6 - Bulk Ferment and Folding
(Day 1 - 4.20pm)
Another meaningless name for a process we don't understand yet!! YEEY! But hang tight, I'll do my best to explain it for you.
The bulk ferment is essentially just another word for the "first rise" of the dough. Like when you use dried, commercial yeast to make bread, sourdough usually requires two rises or "ferments". The word bulk ferment comes from the baking industry where the dough is allowed to rise literally in bulk, before the dough is split into portions, shaped and left to rise a second time. So really, bulk ferment just means your big rise - see, not too spooky.
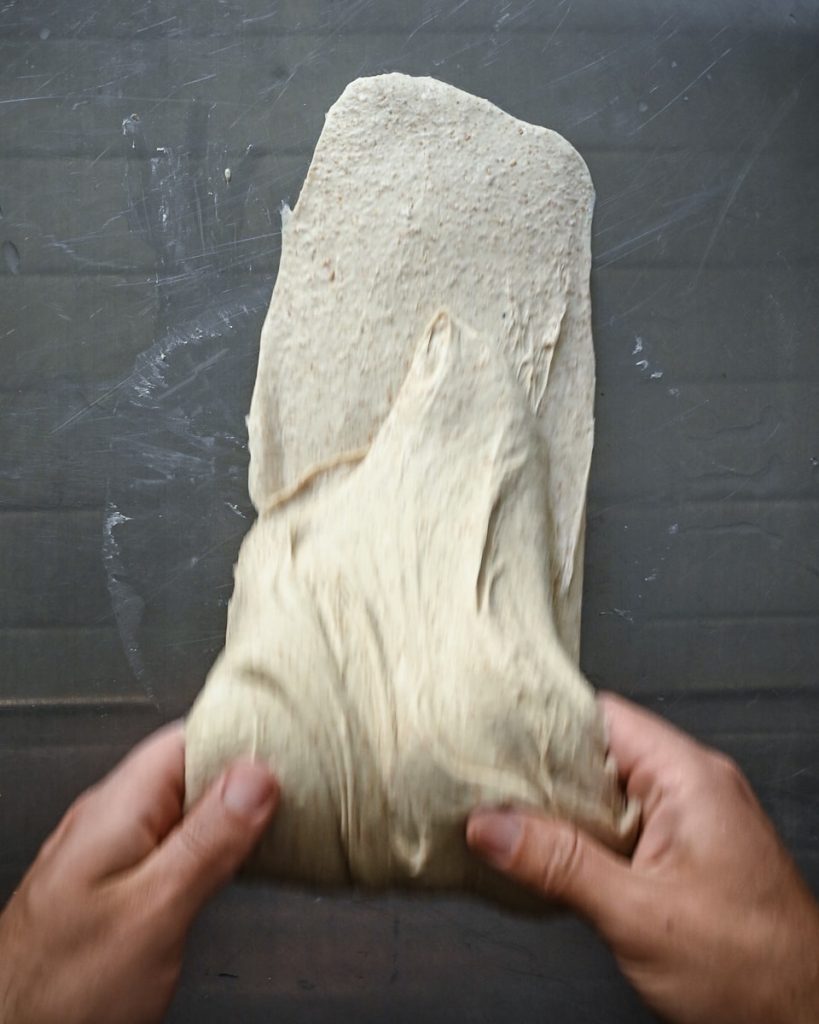
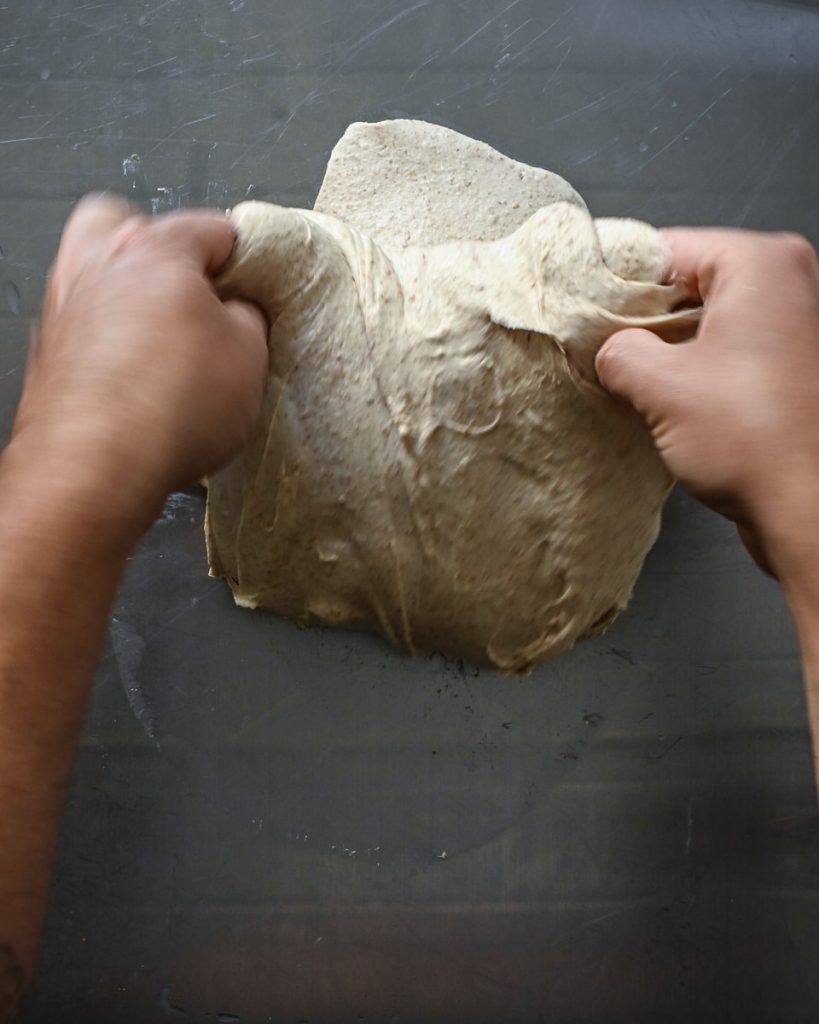
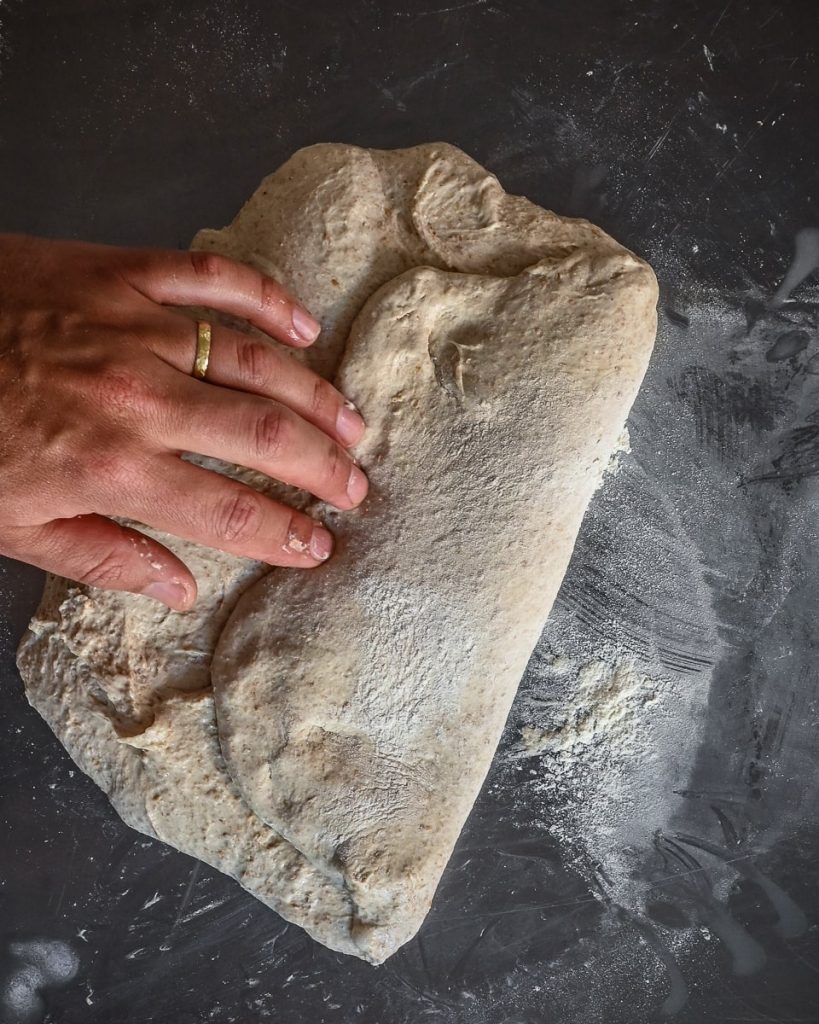
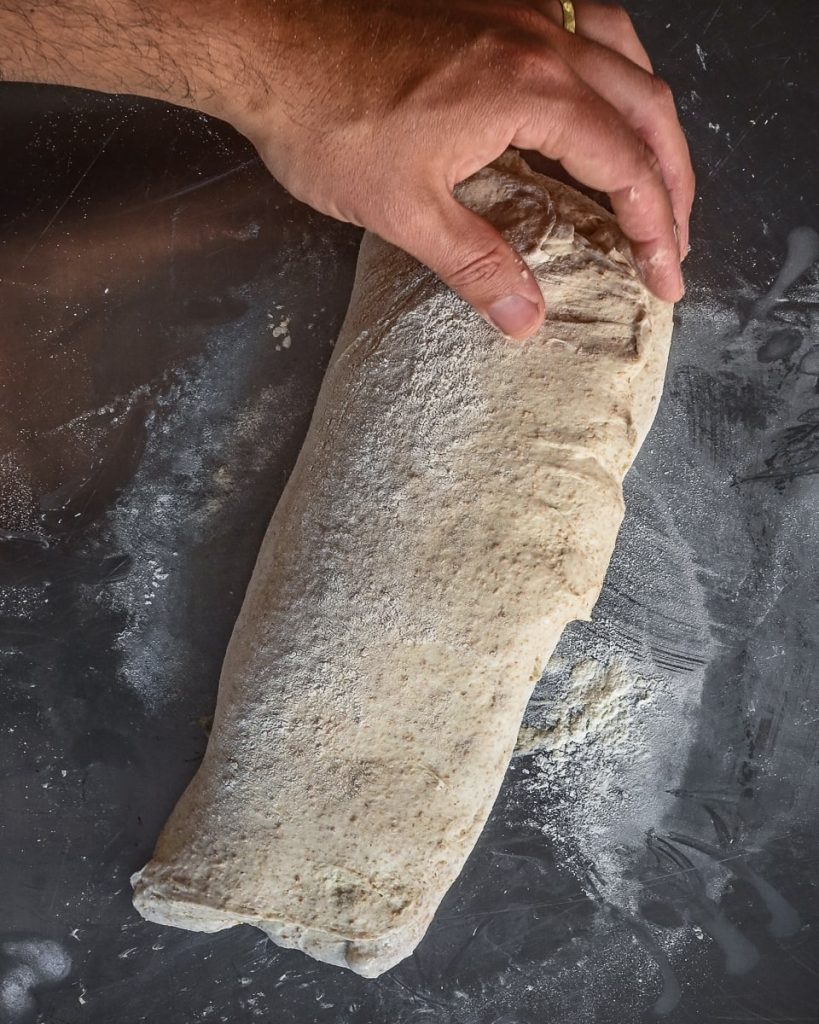
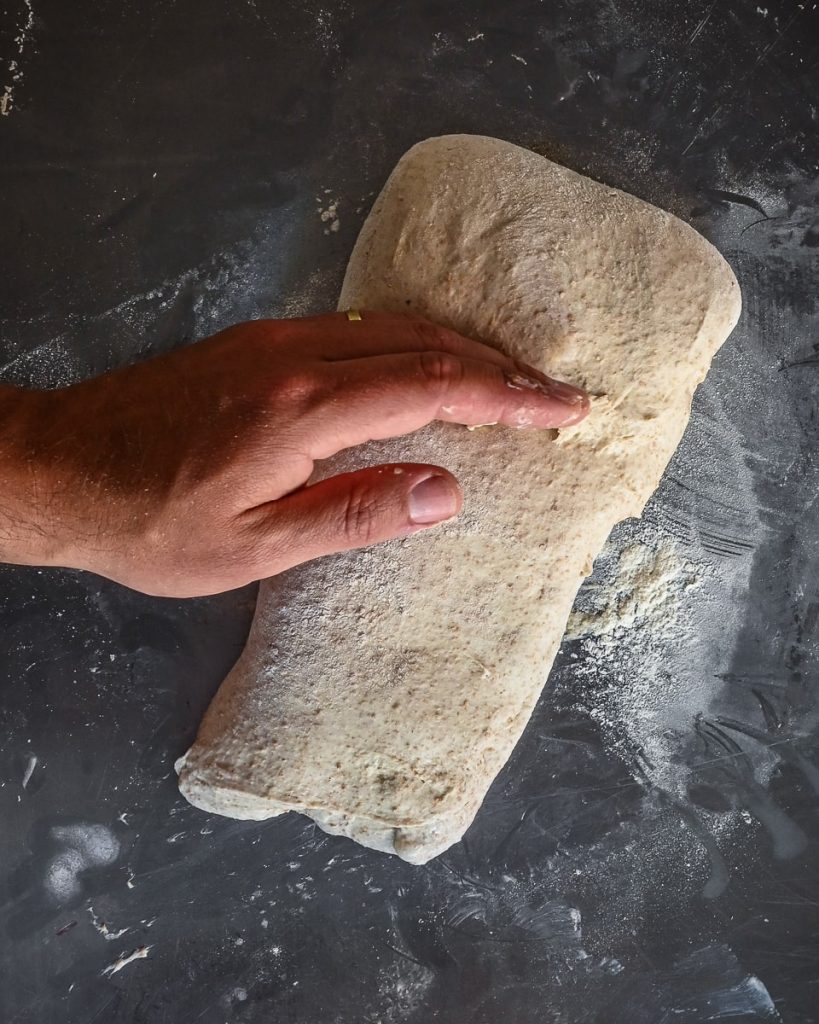
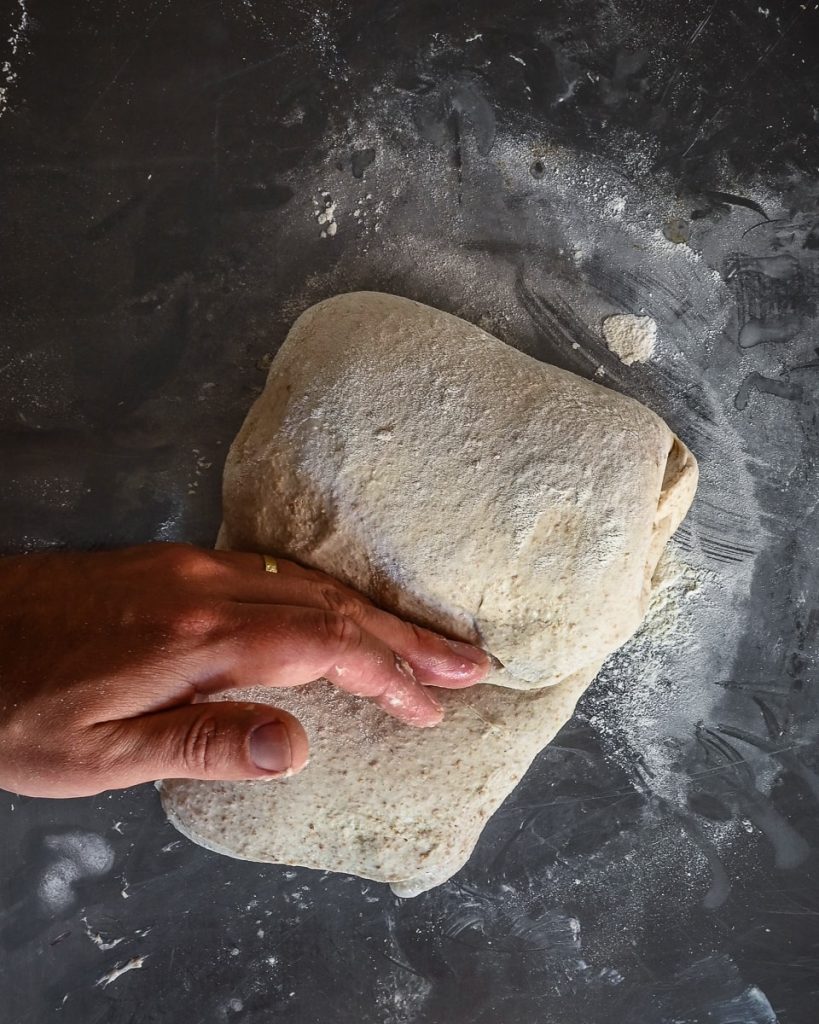
The folding bit is also pretty simple. In this step, we're going to be folding our dough a handful of times to help (you guessed it) develop gluten! The idea behind the folding is that your dough is likely far too wet to be kneaded by hand. Folding is much less messy. I also read some stuff about the fact that folding ORGANISES your gluten strands, at the same time as developing them. Kneading helps to develop gluten strands but doesn't really give them any direction. Folding does both.
- Find a nice large plastic tub (capacity should be above 4 litres) with a lid and grease the inside with a tiny bit of olive oil.
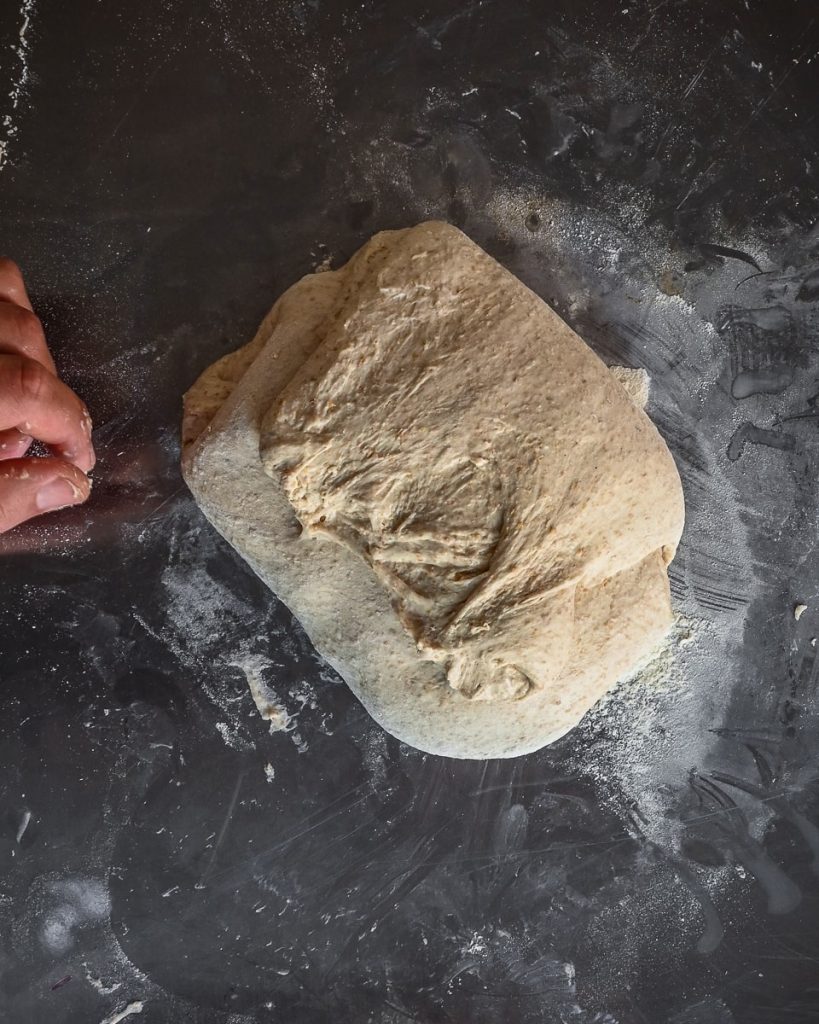
- Place the dough onto the counter. With a hand on either side, scoop your fingers under the dough.
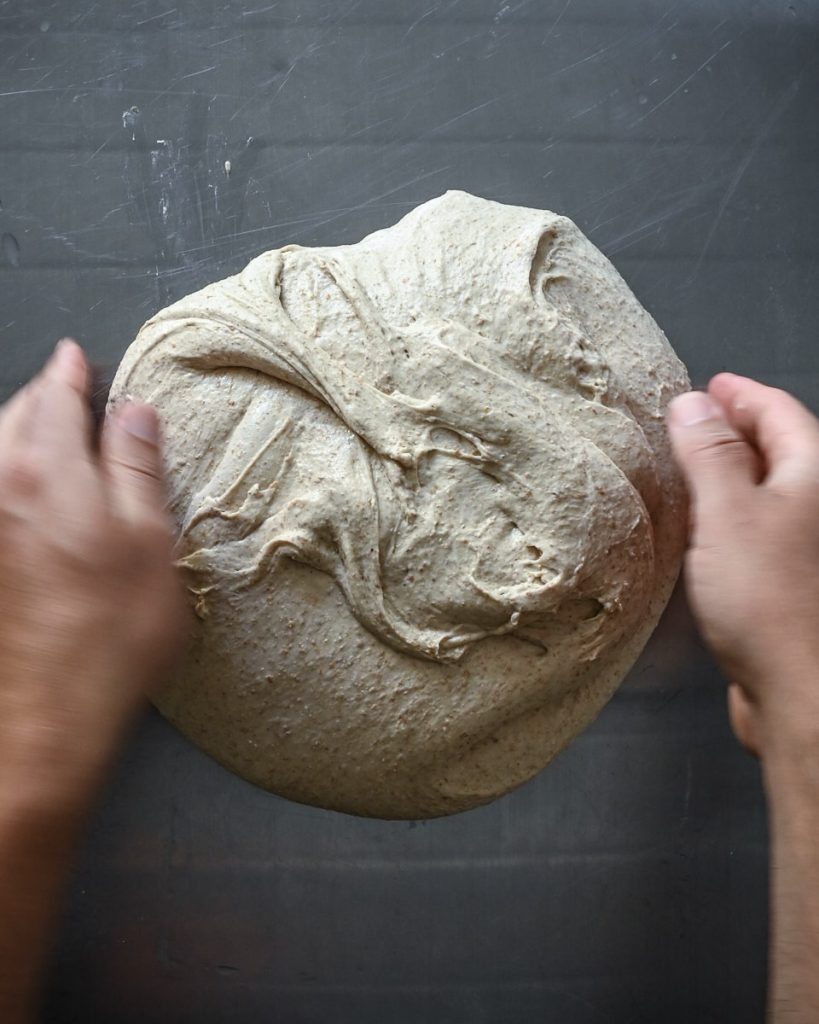
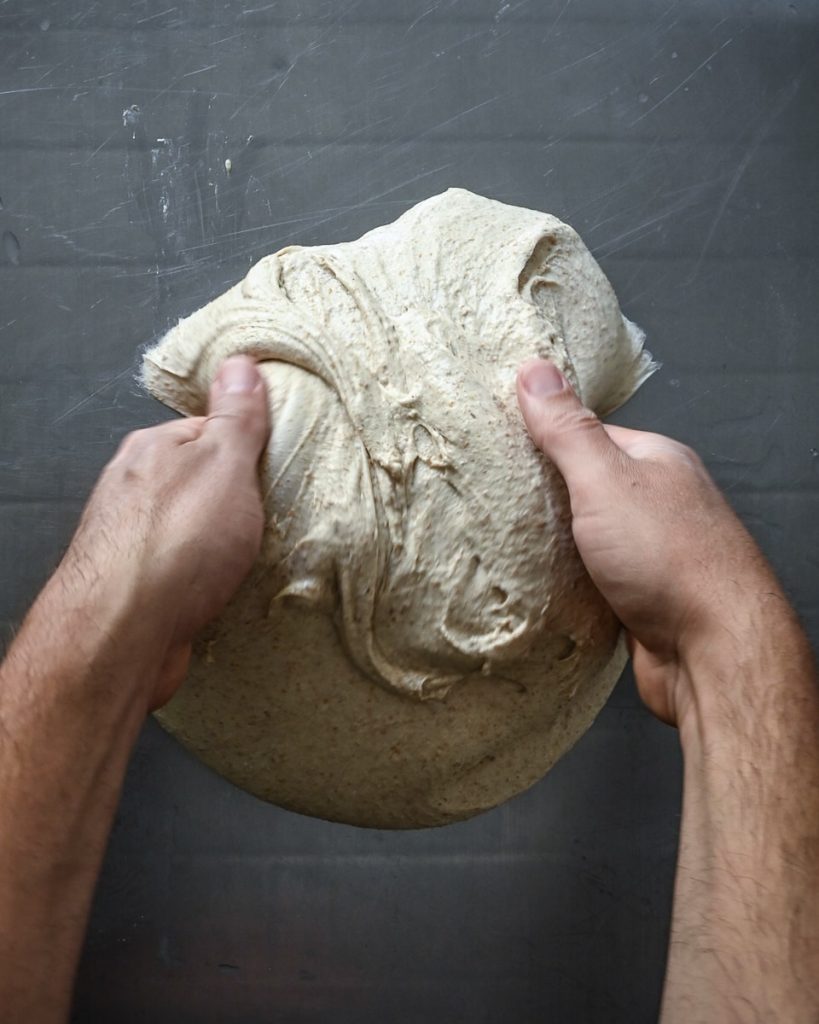
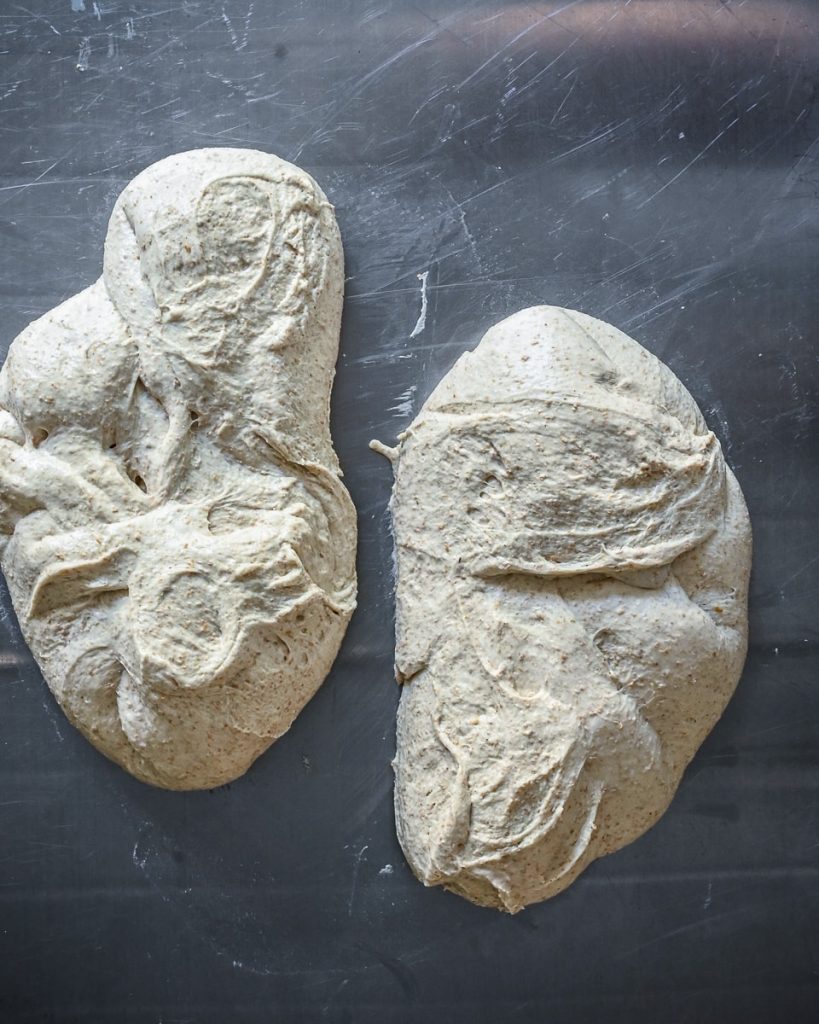
- Lift the dough up and allow it to stretch down towards the bench. Fold the dough over itself. Rotate the dough 90 degrees and repeat the process before transferring the dough to the tub. (look at the pictures below if this doesn't make sense).
- Cover the tub with its lid and place in your warm spot.
- You'll now leave the dough to ferment for 3 hours in total, but for the first hour of fermenting you'll be repeating the stretch and fold process 3 more times, so you'll want to set some alarms on your phone. Here's when you'll be doing the stretch/folds:
- 15 minutes in
- 30 minutes in
- 1 hour in
- After you've carried out all the folds, return the dough to your warm spot and allow it to ferment for the remaining 2 hours uninterrupted.
1. Turn the dough out 2. Scoop the dough 3. Stretch the dough upwards 4. Slap the dough back onto the counter 5. Fold the dough over itself
Step 7 - Pre-shaping
(Day 1 - 7.20pm)
So your bulk ferment is done - HOORAY! You're one step closer to some dang good bread. This step is all about preparing our dough to be shaped. This recipe makes two loaves so we're going to start by cutting the dough in half. If you care, you can weigh the dough to make sure you've got two equal portions, but I usually eyeball it. Keep in mind that it's ok to knock some of the larger gas bubbles out of the dough at this stage, but still, try to handle it as little as possible, within reason!
Again, if you're a visual learner, here's a video example of how I like to pre-shape my dough.
- On a clean, unfloured surface, turn out the dough. Use a sharp knife or bench scraper to cut the dough into two portions.
- Using a bench scraper, separate the two balls of dough and focus your attention on just one of them.
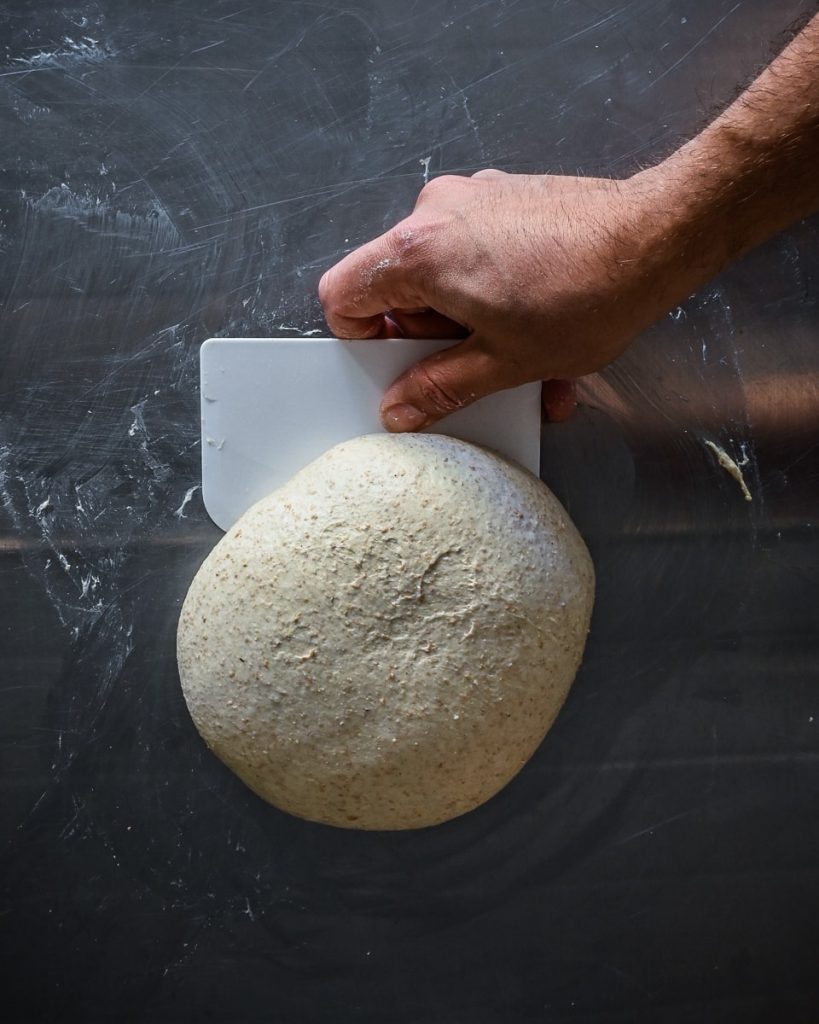
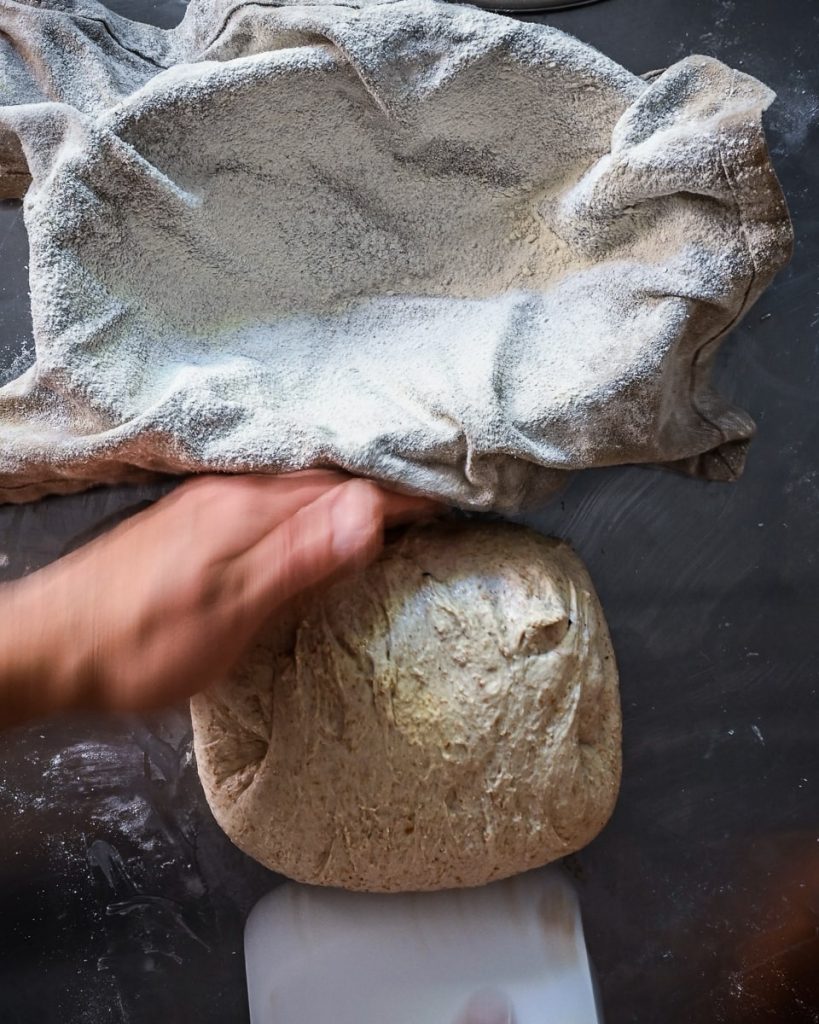
- Slide the bench scraper about half way under the ball of dough and rotate the scraper in a clockwise semi-circle (almost like you're trying to rotate the ball of dough). At the end of the clockwise motion, give the ball of dough a rapid little shove with the scraper and pull the scraper away. Repeat this process around 10-15 times until you have a nice, circular ball of dough with a smooth, tight surface on top.
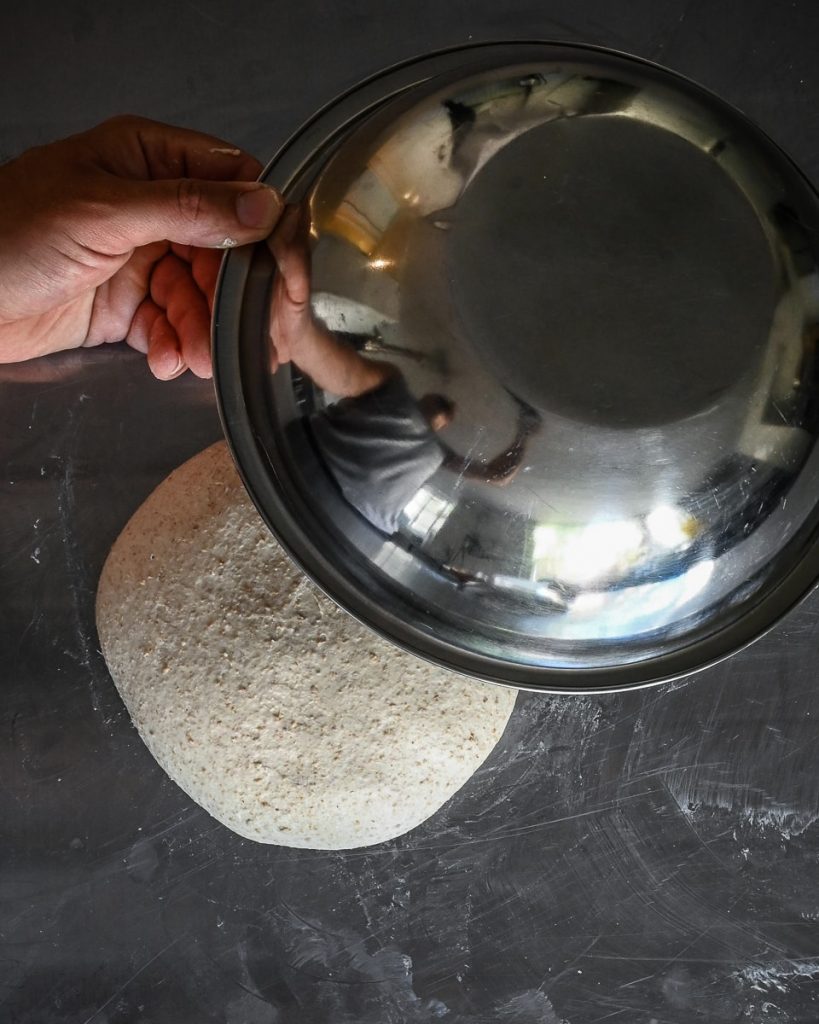
- Repeat this process with the second ball of dough. Cover each of the pre-shaped balls of dough with an up-turned bowl and leave to rest for 30 minutes.
1. Slice the dough in half 2. Scrape the dough in a circular motion 3. Cover the dough and rest
Step 8 - Shaping
(Day 1 - 7.50pm)
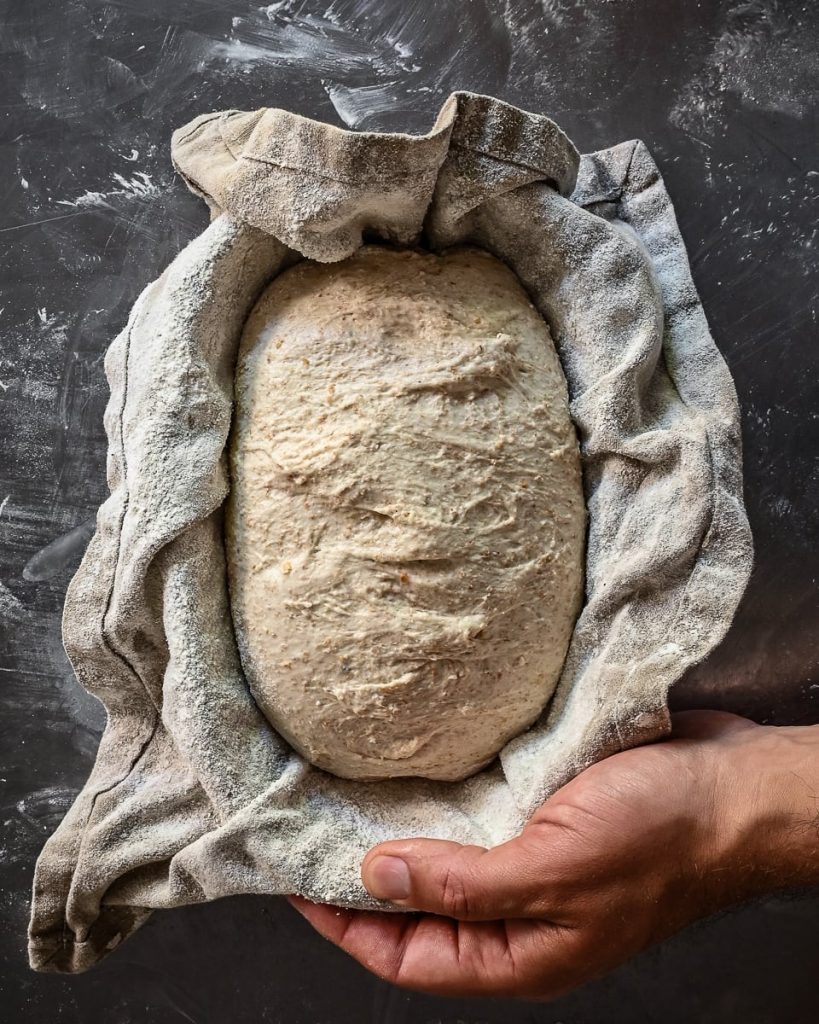
While the dough is resting, it's a good idea to prepare your bannetons. Bannetons look a lot like reed bread baskets and are used to hold your dough in shape while it does its final ferment/rise. I really, REALLY advise getting at least two of these bad boys before you start making sourdough. For whatever reason, nothing else quite shapes your dough like a banneton.
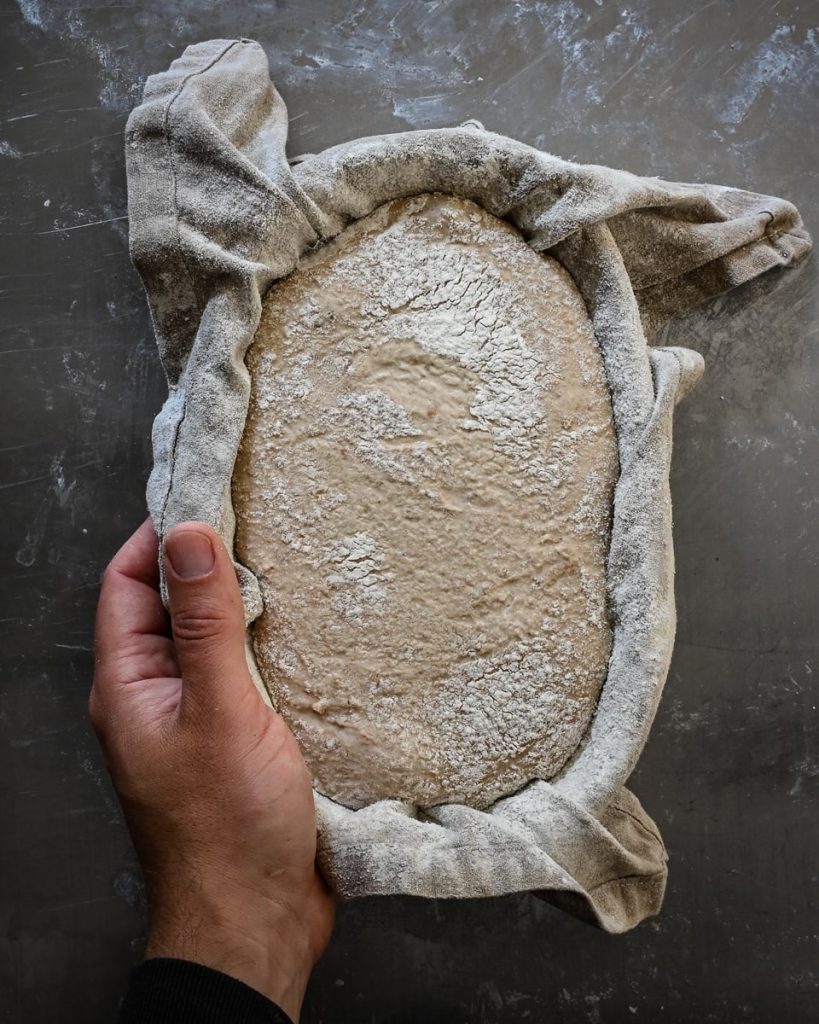
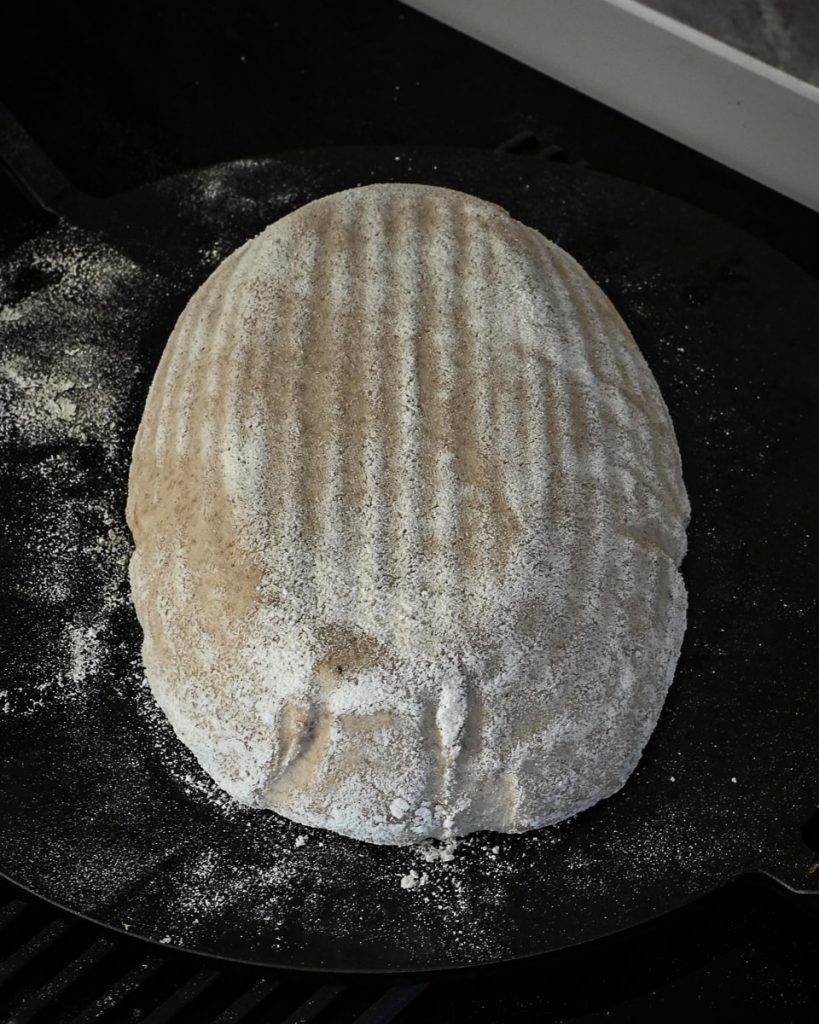
Take two clean cloth napkins or pieces of clean linen and place one each inside two reed bannetons - push the napkin right into the corners of the banneton. Spoon a little plain white flour into a sieve and generously dust the napkin so that every inch of it is coated with a fine layer of flour. Your bannetons are all set.
You should also now have two balls of dough which have been pre-shaped and left to rest for 30 mins. Don't worry if they've sagged a little when you lift the bowls off the dough balls - this is normal.
I like to bake bâtards which means I use bâtard shaped bannetons and follow this shaping method. I've done my best to describe it below.
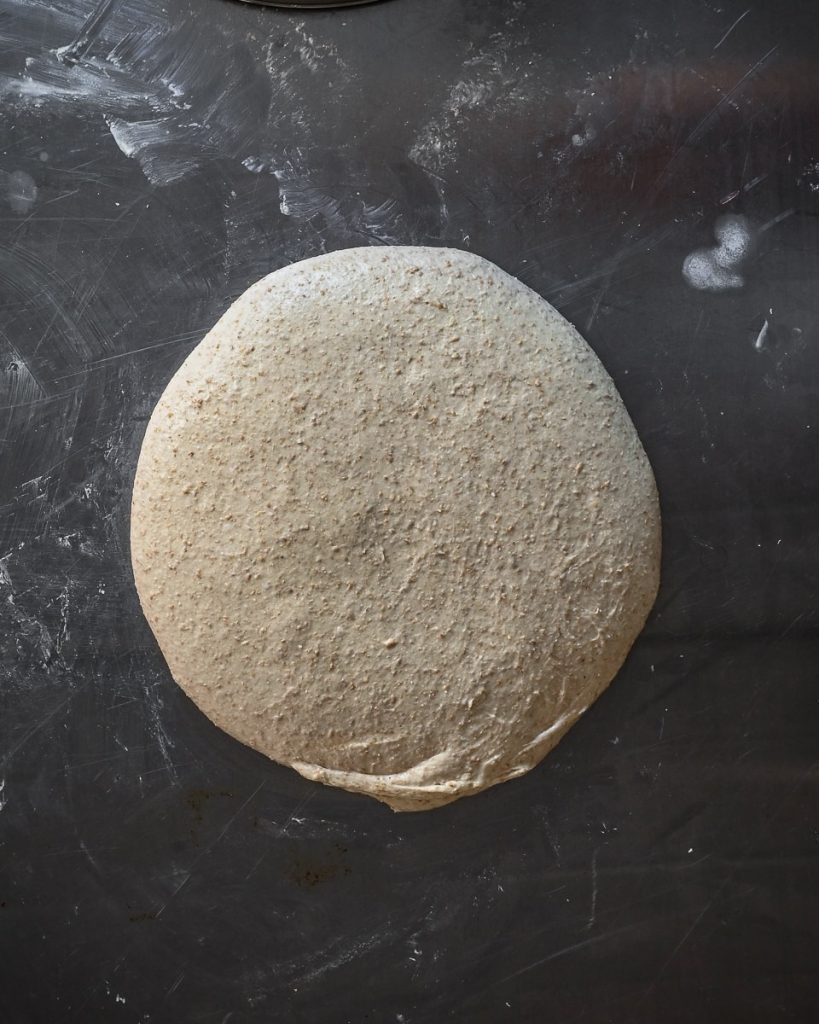
- Uncover one of your relaxed, pre-shaped dough balls and sieve a little plain white flour on the top.
- Slide the bench scraper under the ball of dough and flip it's now floured side down and in a loose circle shape.
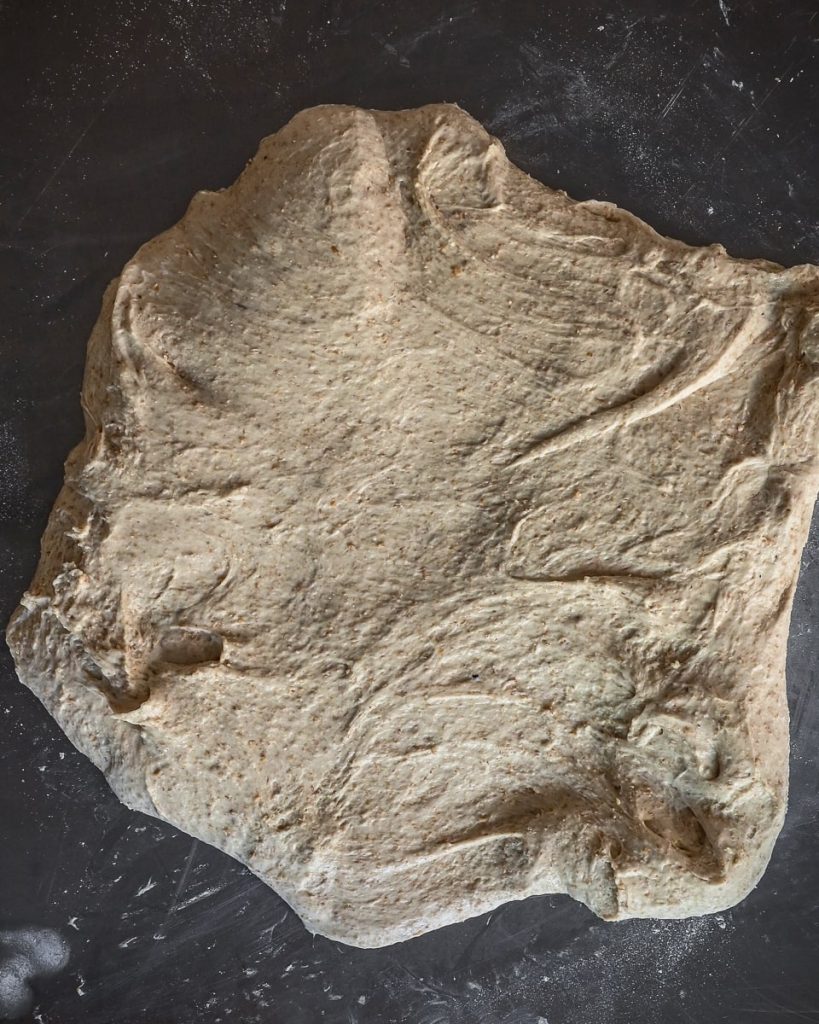
- Fold the left side of the circle over to the centre of the dough, then fold the right side over the centre too. You should now have a rough oblong of dough in front of you.
- Take the far, short end of the oblong and roll it over towards you, pushing the dough down with your thumbs as you go. You should end up with a tightly rolled rough cylinder of dough.
- Use your bench scraper to lift up the cylinder and place it seam-side-up into your prepared banneton (the smooth top of the dough should be facing down, in contact with the floured napkin).
- Repeat the process with the second ball of dough and the second banneton. Dust the exposed tops of dough with a little flour and place both bannetons into a plastic carrier bag. Carefully place them into the fridge for their second ferment.
1. Uncover the pre-shaped dough 2. Push out the dough 3. Fold one half over to the centre 4. Repeat with the other side 5. Fold the top third over and press 7. Fold the final third over and press 8. Lift the dough into the prepared banneton
Step 9 - Second Ferment
(Day 1 - 8.00pm)
Your dough is now shaped and snuggled inside your bannetons, inside a plastic bag and in the fridge. Your second ferment is going to be a nice, long chill for your dough. The reduced temperature of the fridge means that your dough will ferment much slower than in the first bulk ferment. This is good. A long ferment means two things.
Firstly, the yeasts and bacteria will have longer to work on the bran in the flour. From what I've read, this makes the flour much more digestible. Also, there's a really interesting link between phytic acid and so-called "gluten sensitivity". Phytic acid appears in high levels in flour, but is hugely broken down by our yeasty pals during a long fermentation. This might explain why people with a gluten intolerance often struggle less with sourdough.
Secondly, the longer the ferment, the tastier the final product. I've found that the longer my second fermentation (within reason) the more sour and savoury my final bread is! All you need to do is:
- Leave your dough, covered by the plastic bag, in the fridge for 14 hours.
Which means that's it for day 1!
Step 10 - Heat the Oven
(Day 2 - 9.00am)
One hour before your bread has finished fermenting, you need to make sure your oven is good and hot. You also want to make sure your dutch oven or baking cloche is very hot too.
- Place your dutch oven or baking cloche in the oven.
- Turn you oven on and switch to 260c/500f.
- Leave to heat up for the last hour of your dough's second ferment.
Step 11 - Transfer, Score and Bake
(Day 2 - 10.00am)
Once your oven and cloche/dutch oven are good and hot, it's time to get baking. Before you do, we want to score our bread with a lame or razor blade.
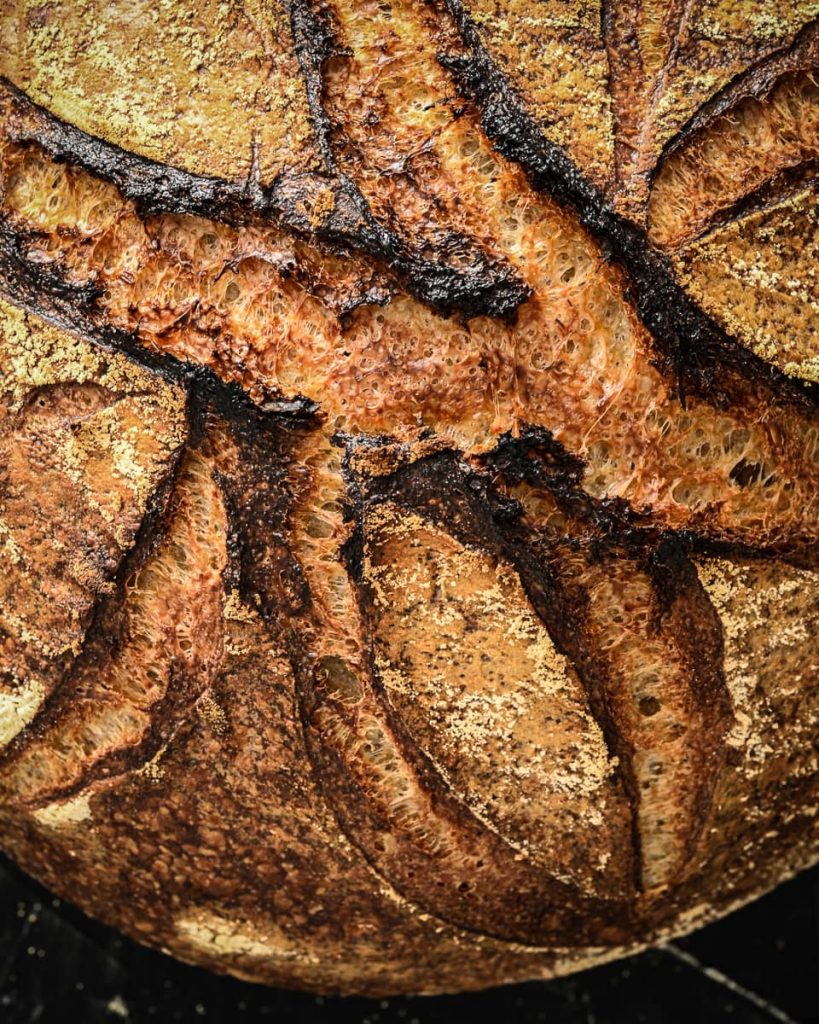
Scoring bread breaks through the surface layer of the dough and allows it to expand in a predictable way in the oven. If we don't score, you get what's called a "blow-out" which is where the bread dough just busts through its own surface in a weird, unusual way. To keep things nice and pretty, it's a good idea to score your bread before baking. There are loads of different ways to score bread but I like to do a simple long line down the length of the bâtard.
- Remove your cloche/dutch oven from the hot oven. Remove the top/lid and sprinkle some polenta or rice flour onto the hot baking surface.
- Take one of your bannetons and carefully but quickly turn it out directly onto the hot baking surface. If you feel more comfortable, you can turn it out onto baking parchment and then transfer to the baking surface.
- Using your lame, held at a flat angle, score the dough with one, long cut down the length (see video linked above).
- Cover with the lid and place back in the oven. Bake at 260c for 20 minutes.
- After 20 minutes have passed, remove the lid from the dutch oven/cloche and bake uncovered for a further 20 minutes.
- Remove from the oven once baked and allow to cool for at least an hour before slicing. If you don't allow it to cool fully, the texture of the bread will be compromised.

Some Sourdough FAQs
In this final section of this (very) long blog (sorry) I'll try to answer some of your most common questions about sourdough. Reminder: I'm not an expert, so I won't always have the answers, but I'll use what I know to help you wherever possible! I'll be updating this list as more questions come in, so do check back!
"How do I know if my starter is alive?"
The advice I was given about this was "when you know, you know" - which is total bull. All starters look and smell different and until you've been doing this a while, your intuition is probably rather unreliable. Instead, look out for the following things:
- Your starter should be bubbly and frothy. Obviously this doesn't mean immediately after feeding, but once it's doing its thing, it should have nice lil bubbles all up in it!
- Each time you feed your starter it should rise and fall. Ideally it will double or even triple in volume within 3 hours of feeding, but this is just a guideline. Be sure to make a mark on the side of the jar when you've fed your starter so you always know how much it's grown.
- Your starter should smell yeasty and sharp. If it smells alcoholic then you may be leaving it too long between feedings or perhaps using the wrong flour (or even feeding it sugar - which is a bad idea).
"How do I know if my starter is ready to bake with?"
In the guide above I recommend feeding your starter before making your levain. I suggest mixing up the levain around 2-3 hours after feeding the starter, but I've also read about these methods for identifying the PERFECT time to use your starter.
- The float test! This is where you drop a ¼ teaspoon of your starter into some water in a glass. If it floats, it's ready to bake with. If it sinks, it's either too soon, or too long after feeding.
- The ideal time to feed your starter is JUST as it's hit the peak of its rise and is about to start dropping back down. Watch your starter for a few days and mark on the glass where its peak rise is. This way you'll know when it has reached the max height and is about to drop again.
"What do I do with my starter after I've used it to bake"
This is where the magic of a levain comes in. This recipe only calls for around 50g of your starter, which means you should have plenty left in the jar after you've baked. As such, you can do one of two things:
- Return your starter to its usual feeding schedule. For me, this is once per day since my starter lives on the counter. If you feel like it, you can give it an extra feed, to make sure it's happy, but there's really no need.
- Pop it in the fridge if you don't plan on using it for a while. You'll have just fed it at the start of the process so it should be happy to hang out in there for a days, or until it's ready to use again!
"Why is my dough so sticky??"
Because that's what happens to flour when you wet it. CHEEEEKY.
But seriously, don't fret about sticky flour. This dough is rather high hydration, meaning the dough is rather wet compared to many other recipes, but it's worth it! The crumb will be just perfect, I promise. In the meantime:
- Don't add extra flour or over-dust your surfaces/hands. This will change the ratios of the bread dough and, depending on when you add the extra flour, could throw off the fermentation stages. Just keep a bowl of water handy, dip your fingers when things are getting sticky.
- Use a dough scraper. Sticky dough has been an issue for SO LONG that people actually developed a THING to stop you having to get sticky hands. Buy one! You won't regret it.
- Be sure that you've left your dough to hydrate properly. Sticky dough can sometimes mean you've rushed the process. The reason we leave the autolyse for half an hour before handling it is so that the moisture can soak into the flour properly. Don't skip this step okaaay?
"Can I feed my starter different flours than the blend you recommend?"
Sure! Knock yourself out! Just remember these bits:
- White flour is food, but it's junk food. You technically CAN sustain a starter on just white flour, but it won't produce a healthy reliable starter. The best four for starters is rye, followed by wholewheat - hence why I use a blend of all three!
- Try to match your starter to the flour you tend to bake with. If you tend to bake spelt flour loaves, for instance, add some spelt flour to your feeding regimen.
- Don't feed your starter sugar. It might temporarily increase the activity of the yeast, but it's not sustainable and won't add anything to the final flavour of the bread. It can also encourage your starter to begin producing alcohol which is undesirable.





Cy Kirshner
This is the best sourdough recipe ever. I’ve tried all sorts including reading through Tartine’s book, but this is so approachable and you get the BEST bread from it!!