Publised on 29/09/2022. Last Updated on 06/12/2024 by Richard
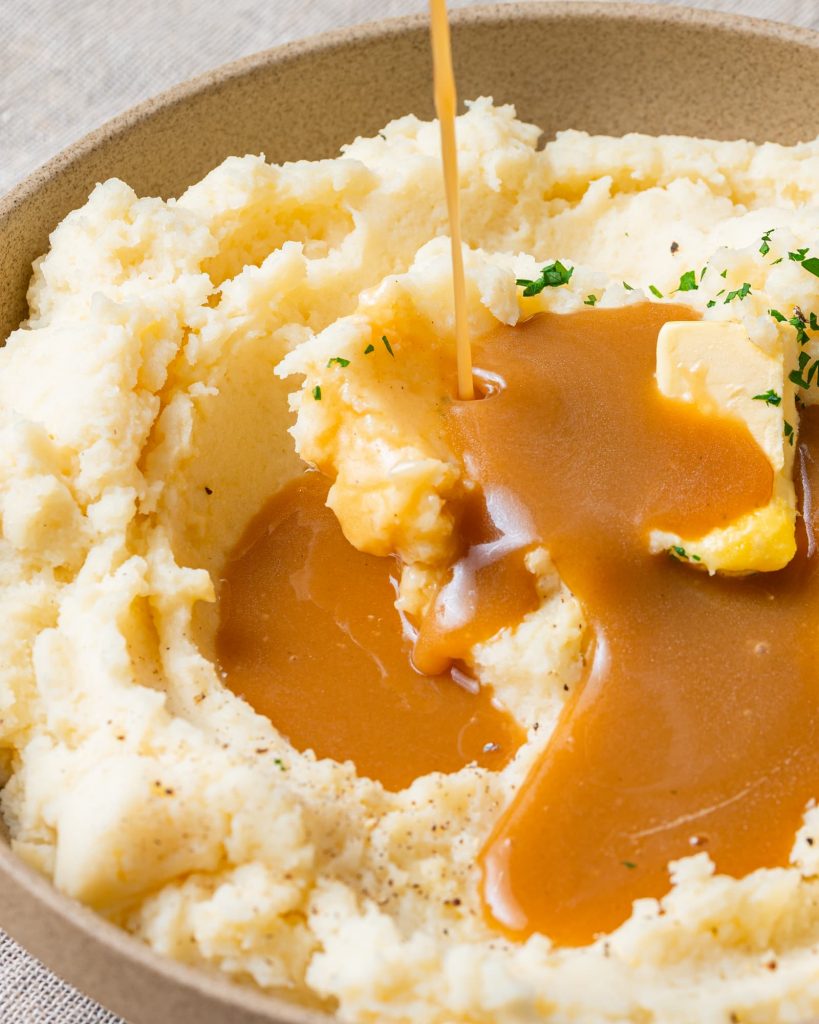
Super easy vegan gravy - made from scratch and packed full of flavour. An ideal addition to any vegan thanksgiving dinner, vegan Christmas dinner or even a vegan Sunday lunch!
You're planning a vegan thanksgiving without homemade vegan gravy?! OK, go to jail immediately! There's no vegan thanksgiving dinner OR vegan Christmas dinner without deliciously smooth vegan gravy! And I'm sure that's a law somewhere! (Same goes for Vegan Dinner Rolls and Vegan Stuffing - sorry! I don't make the rules!)
Even if you're just making a Sunday roast, were you REALLY gonna make my Vegan Yorkshire Puddings without this gravy?? And just in case you were thinking about talking your way out of jail time, this vegan gravy is SUPER EASY so there's really zero excuse! So it's time to get making! Oh and if you're looking for more thanksgiving recipes, check this out!
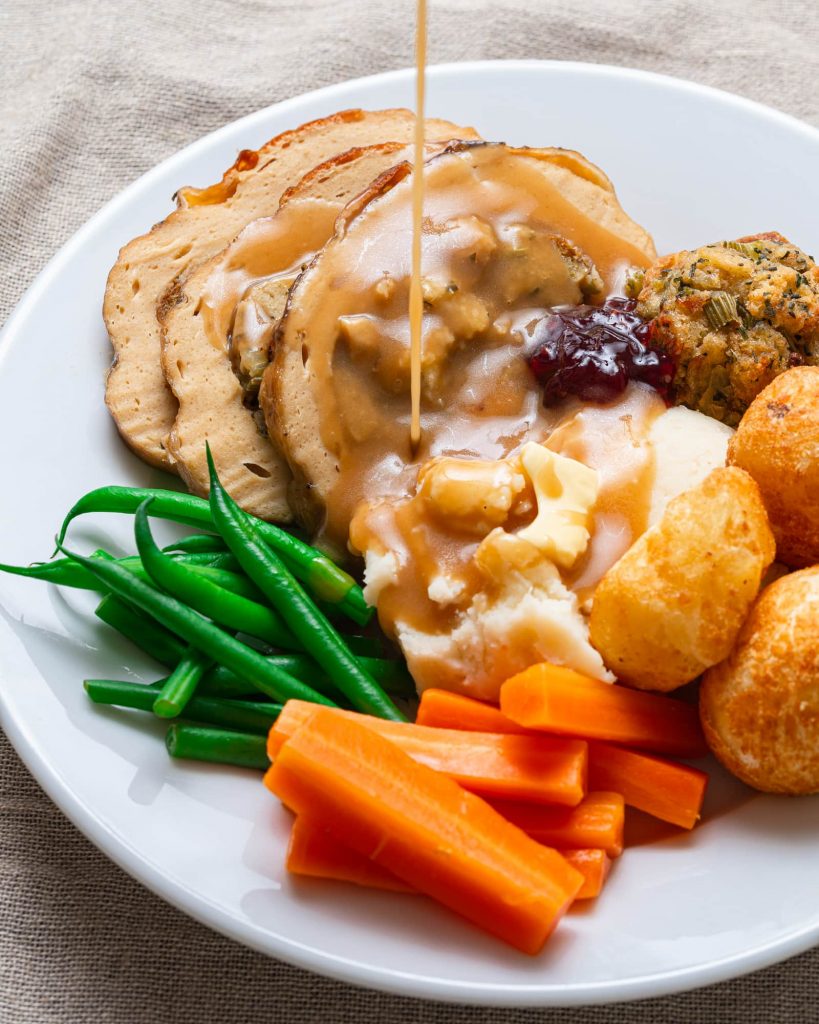
This vegan gravy is the MAGIC that holds together a full roast dinner, vegan Christmas dinner or vegan thanksgiving. This means it simply must be paired with my vegan chicken , vegan turkey or vegan beef roasts! That sweet, salty, umami flavour really binds together the entire meal - but I mean you already knew that.
And if you're reading this outside of holiday season, why not grab some delicious store bought bangers, whip up some vegan mashed potatoes and cover them both in this delicious vegan gravy! Heck, you could even use my vegan mozzarella to make some mean poutine!
How do I make vegan gravy?
FULL RECIPE lives right down at the bottom of the page so if you're in a rush to get started on your vegan thanksgiving dinner, scroll on down there. Alternatively, here's a step by step breakdown!
Gravy usually contains a bunch of meat juices and butter, so is basically a vegan's worst nightmare. UNTIL NOW! Here's how to get a gorgeous VEGAN gravy without any weird or specialist ingredients.
1. Fry your onions
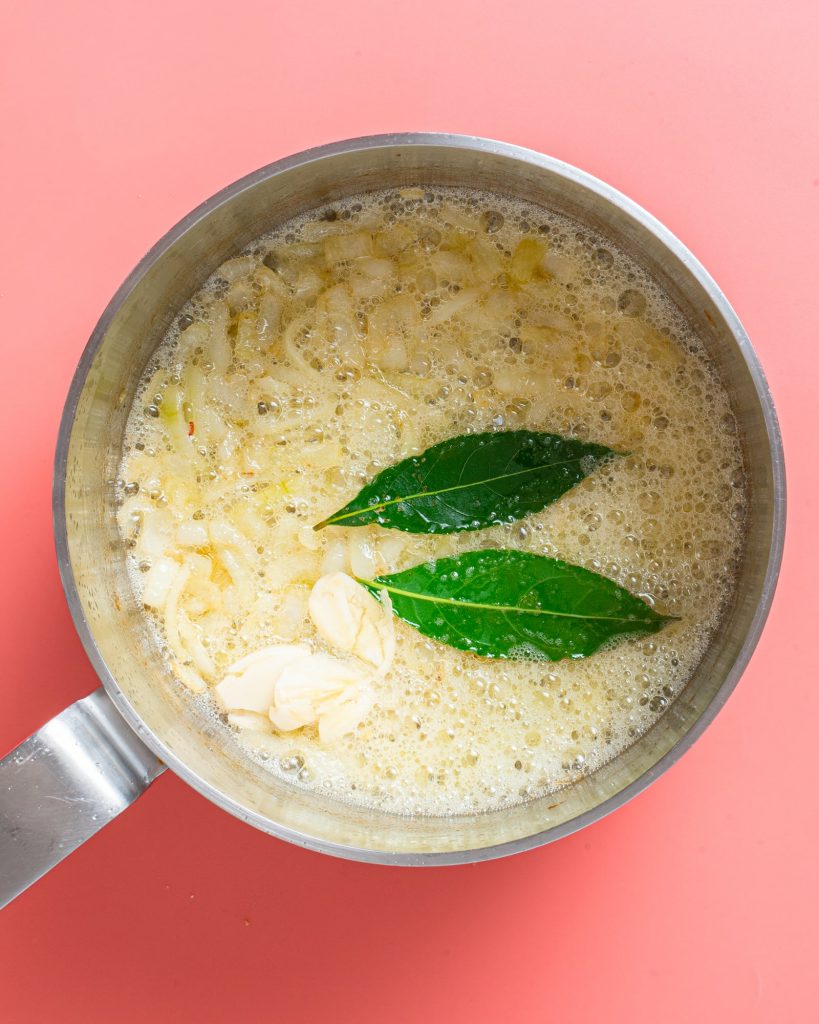
Step one in making vegan gravy is all about onions! These are going to be providing the bulk of your flavour in your gravy, so we need to cook them properly. And by properly, I mean in vegan butter AND for a while! We want some nice colour on these onions before we add our stock, which will help to make our gravy a lovely colour AND flavour.
I also like to fry bay leaves and garlic at this stage if possible as it infuses the vegan butter with a ton of flavour from square one.
2. Add flour
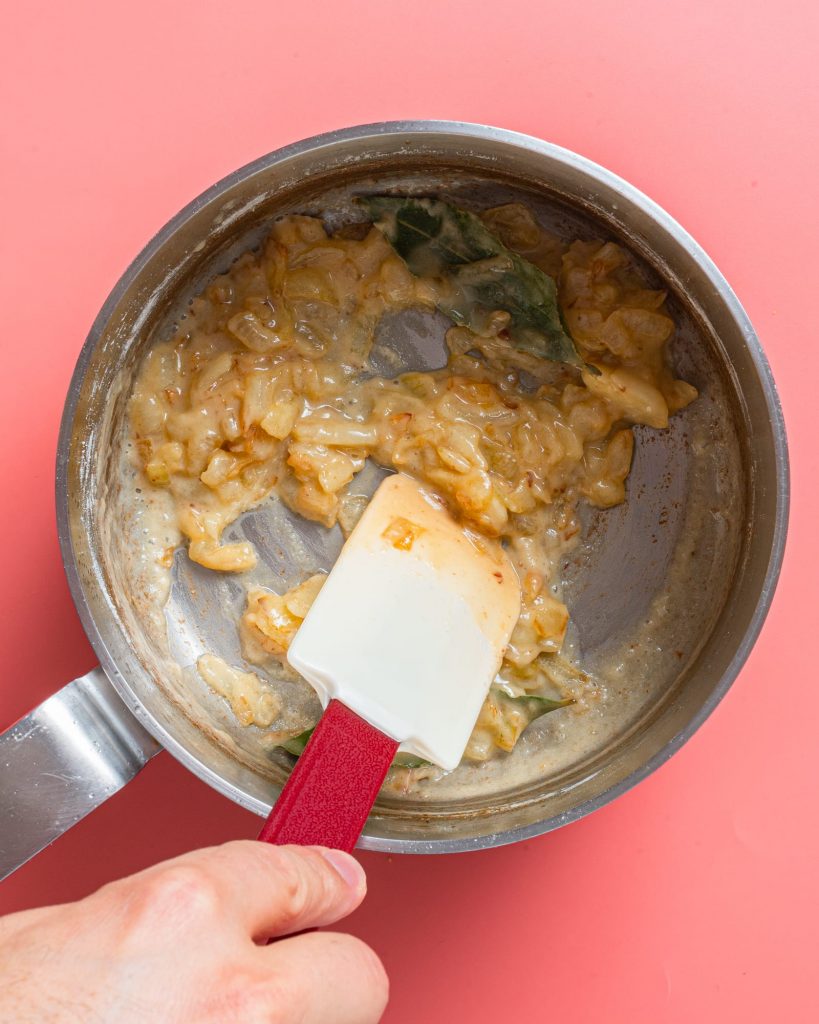
Now we need to essentially make a roux! This is where we mix flour with the fats in the pan and cook for a short period of time. The flour roux will eventually help to thicken the gravy, but to ensure we don't have a dry mouthfeel in our gravy, we need to cook off the flour first.
This stage also helps to add colour to our vegan gravy, so cook the roux until it picks up a light caramel brown colour.
3. Add veggie stock
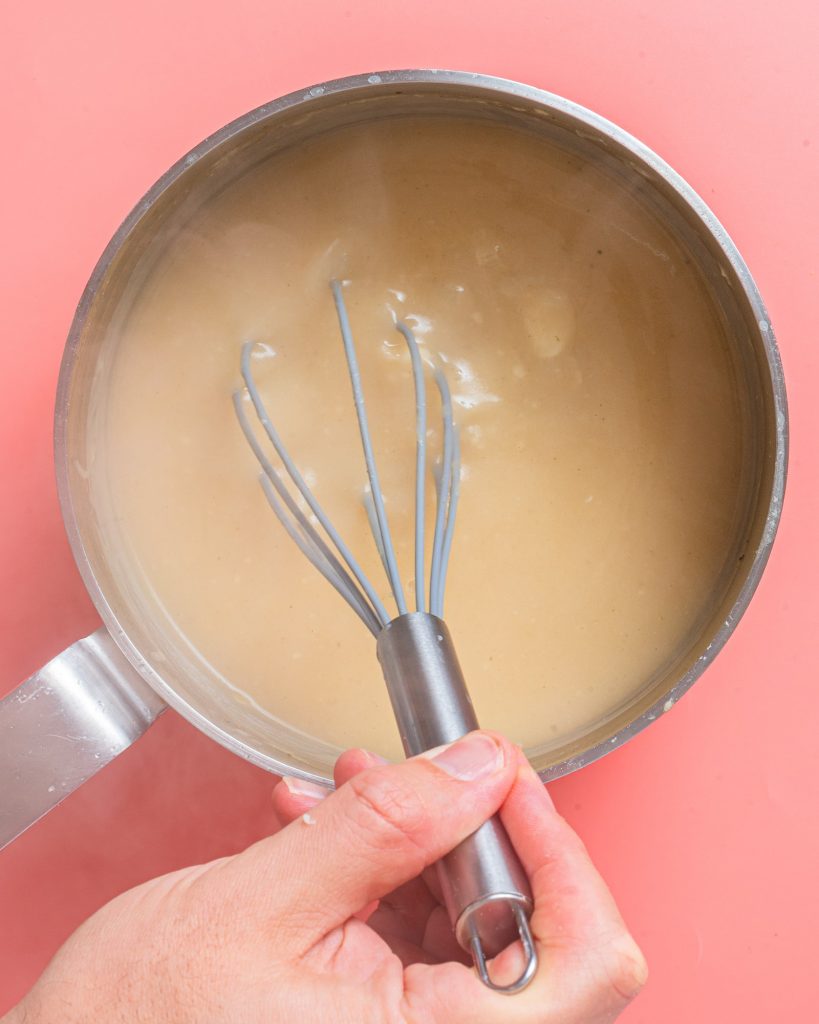
Little by little, you now need to add some hot veggie stock or broth. Use a nice bold flavoured stock if you can - I like to go for mushroom stock usually when making vegan gravy, as it also helps with colour.
It's important to add a little at a time and to whisk constantly. This stops the gravy from becoming lumpy, which would be a disaster.
4. Add dark soy sauce
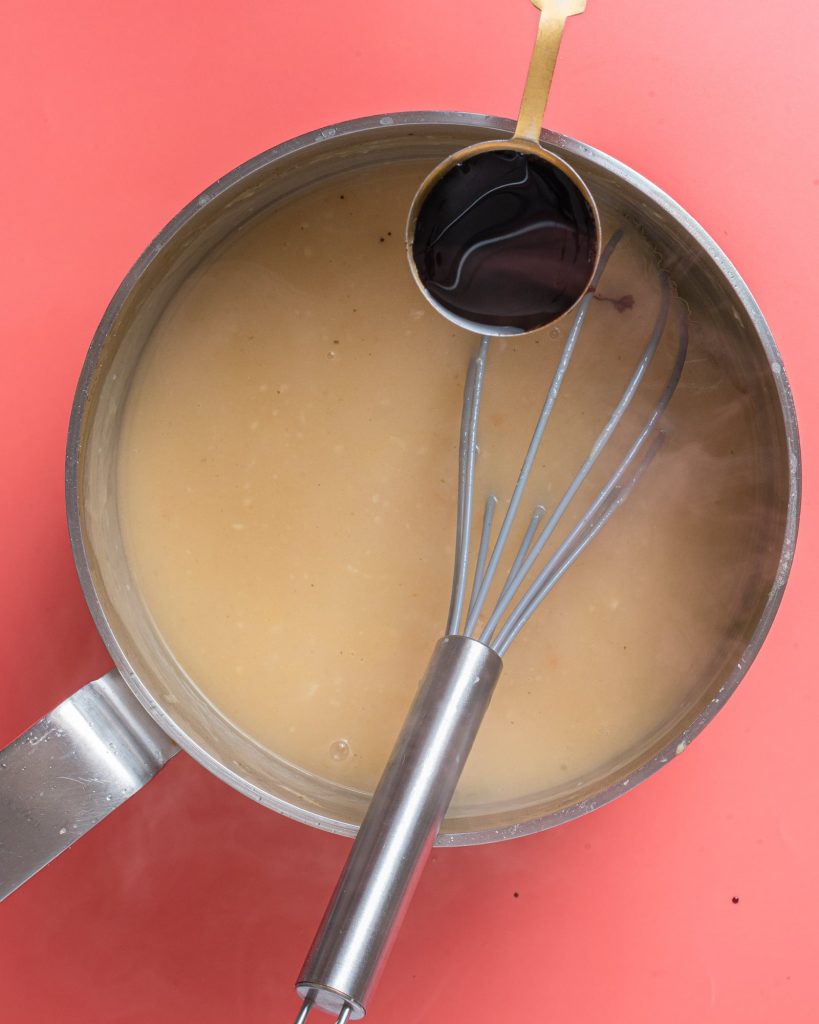
At this stage our vegan gravy is pale in colour, almost like a chicken stock gravy. To get a nice brown gravy colour, we're going to add a tablespoon of dark soy sauce. Dark soy has a great colour and just a tablespoon will make the sauce glossy and rich!
If you'd prefer your gravy much lighter in colour, you can season at this stage with salt instead of soy sauce.
5. Whisk vegan gravy until thickened
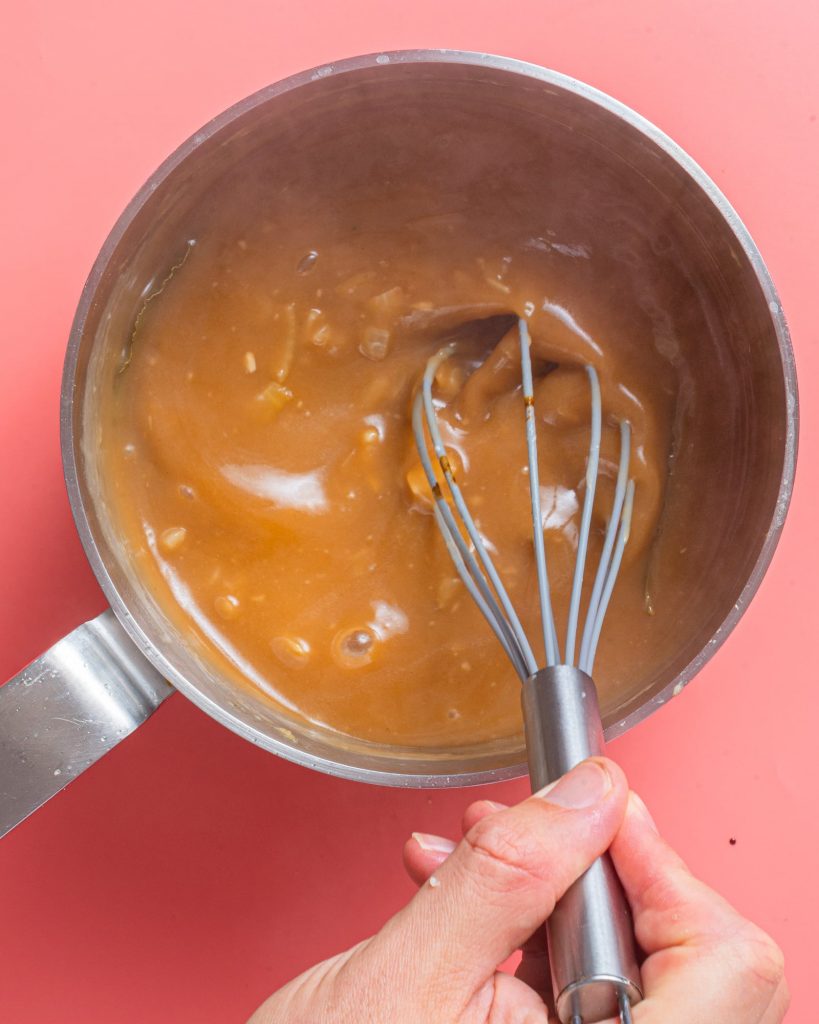
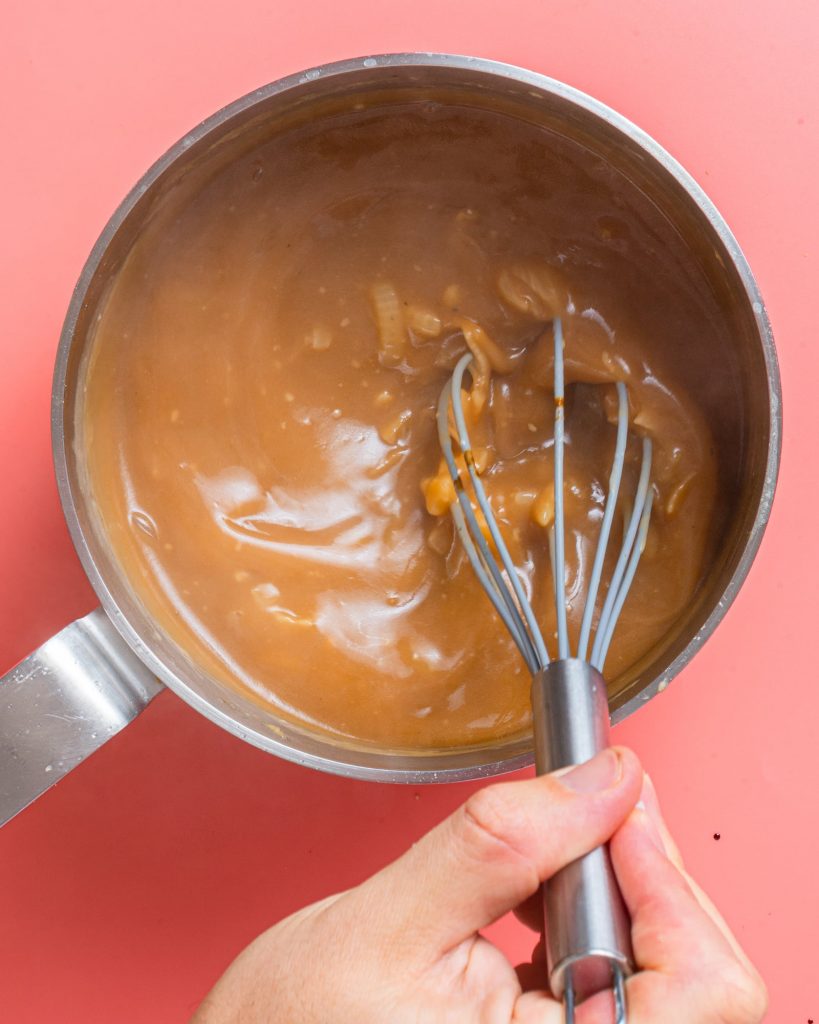
Everybody likes their vegan gravy a different thickness. As a northerner, I like it THICCQUE! So here you have the option to cook your gravy to your desired thickness.
Just one thing - don't stop whisking! If you do, the flour will catch on the bottom of the pan and burn or become lumpy.
6. Strain the vegan gravy and serve!
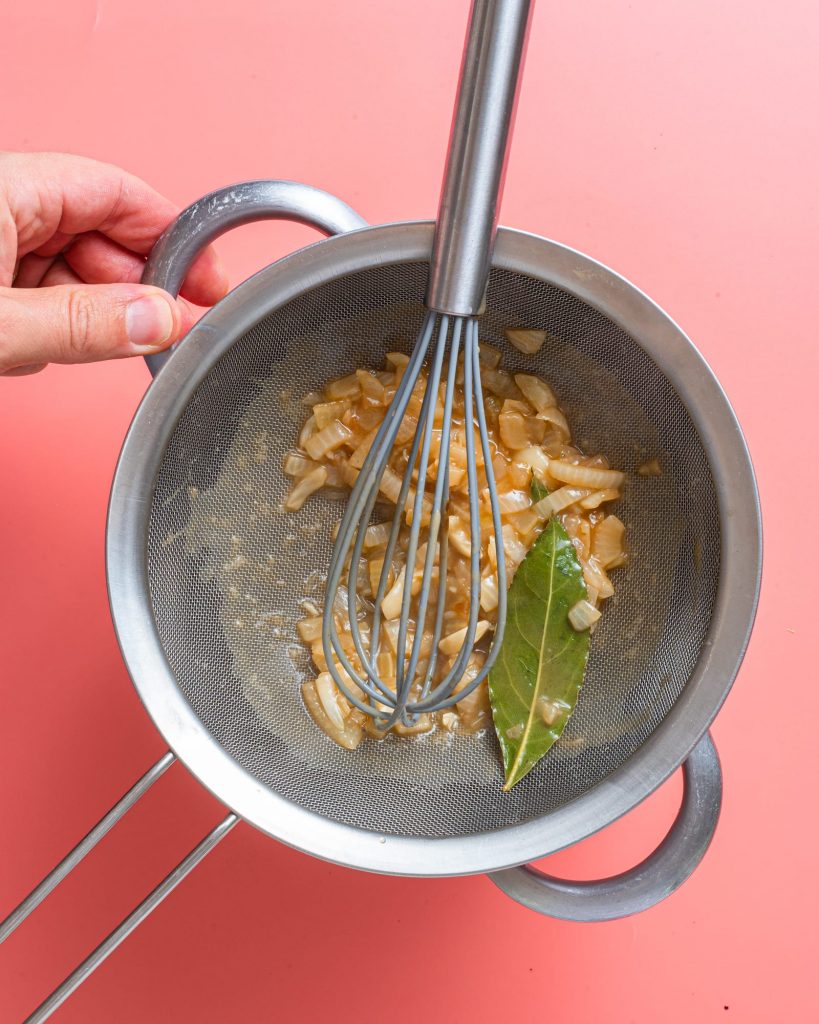
The vegan gravy is all but finished! you just need to make it smooth now! Easily done. Just pass the gravy through a sieve and catch all the bits of onion, garlic and bay leaves. It's a good idea to use a spatula to squeeze as much flavour out of the residual veggies as possible.
Keep your vegan gravy warm over a very low heat until you're ready to serve - and presto! You're a gravy genius!
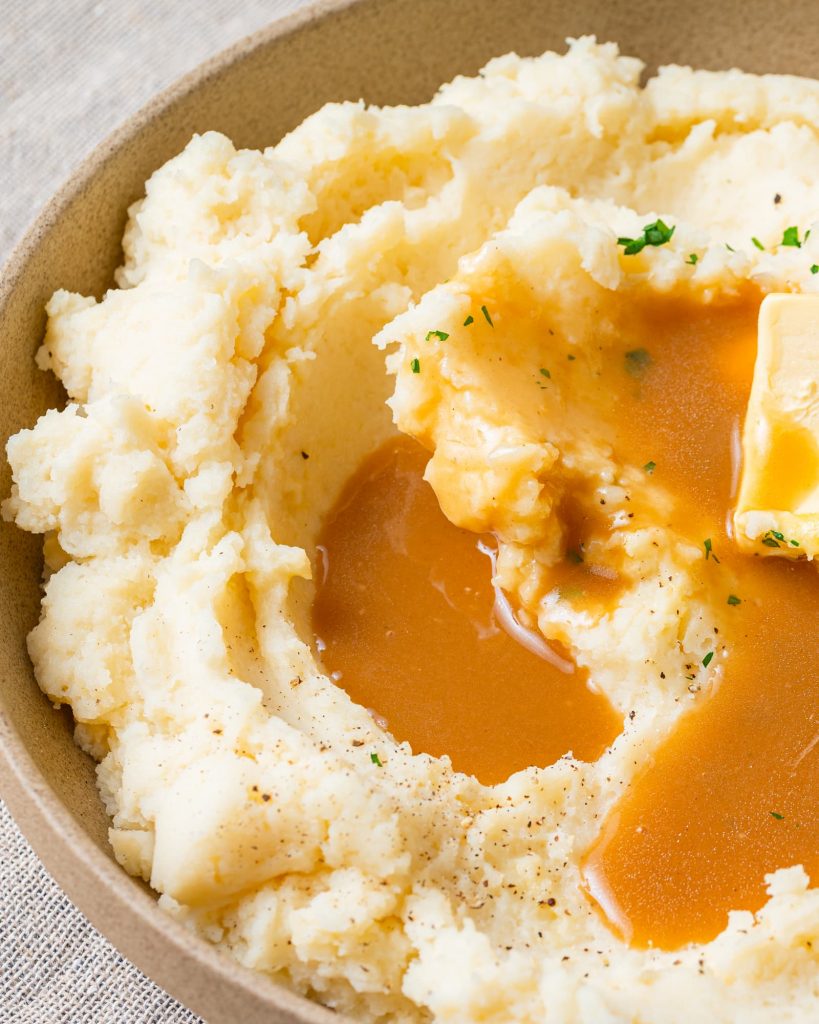
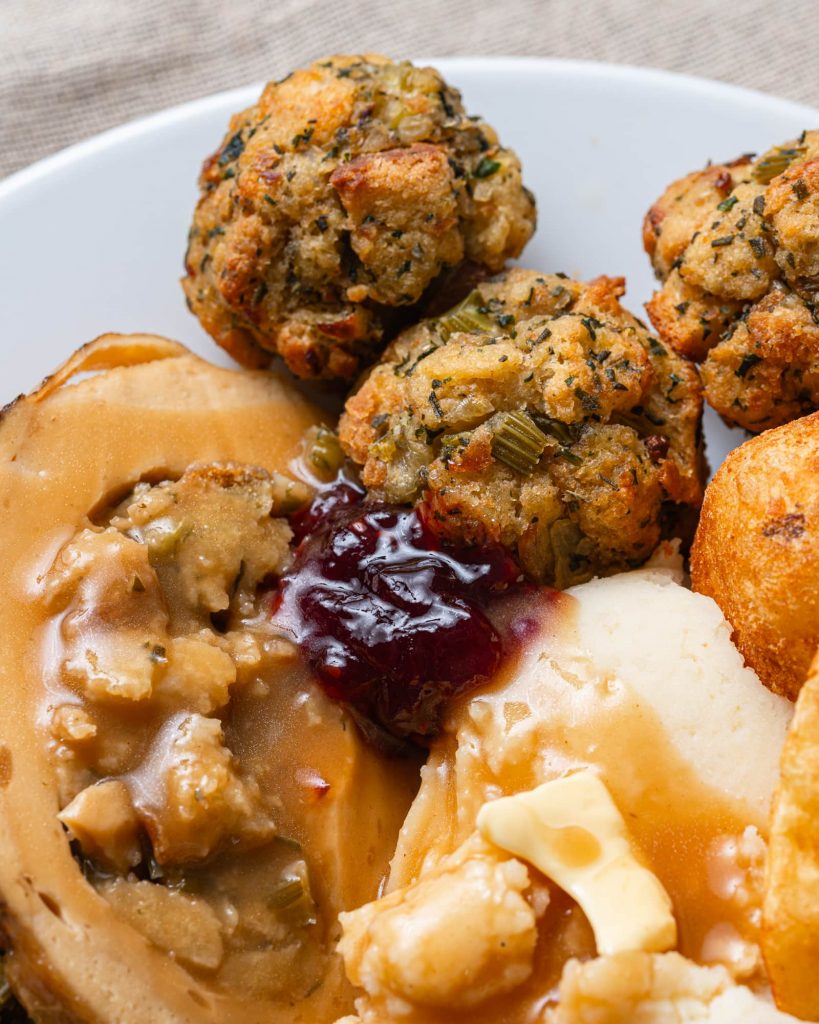
Now you just have to think about what you're gonna serve it with! Gravy has so many uses, it's sort of bonkers. I'd wash my hair with it if my husband would let me. I know, I know, everyone uses vegan gravy differently, but I like to serve mine with:
It helps me MASSIVELY if you can rate and review this recipe below. This blog is here because people like you actually use it and cook these recipes!
Alternatively, take a picture and pop it on instagram! You can follow me here if you don't already, or use the hashtag #schoolnightvegan when you post!
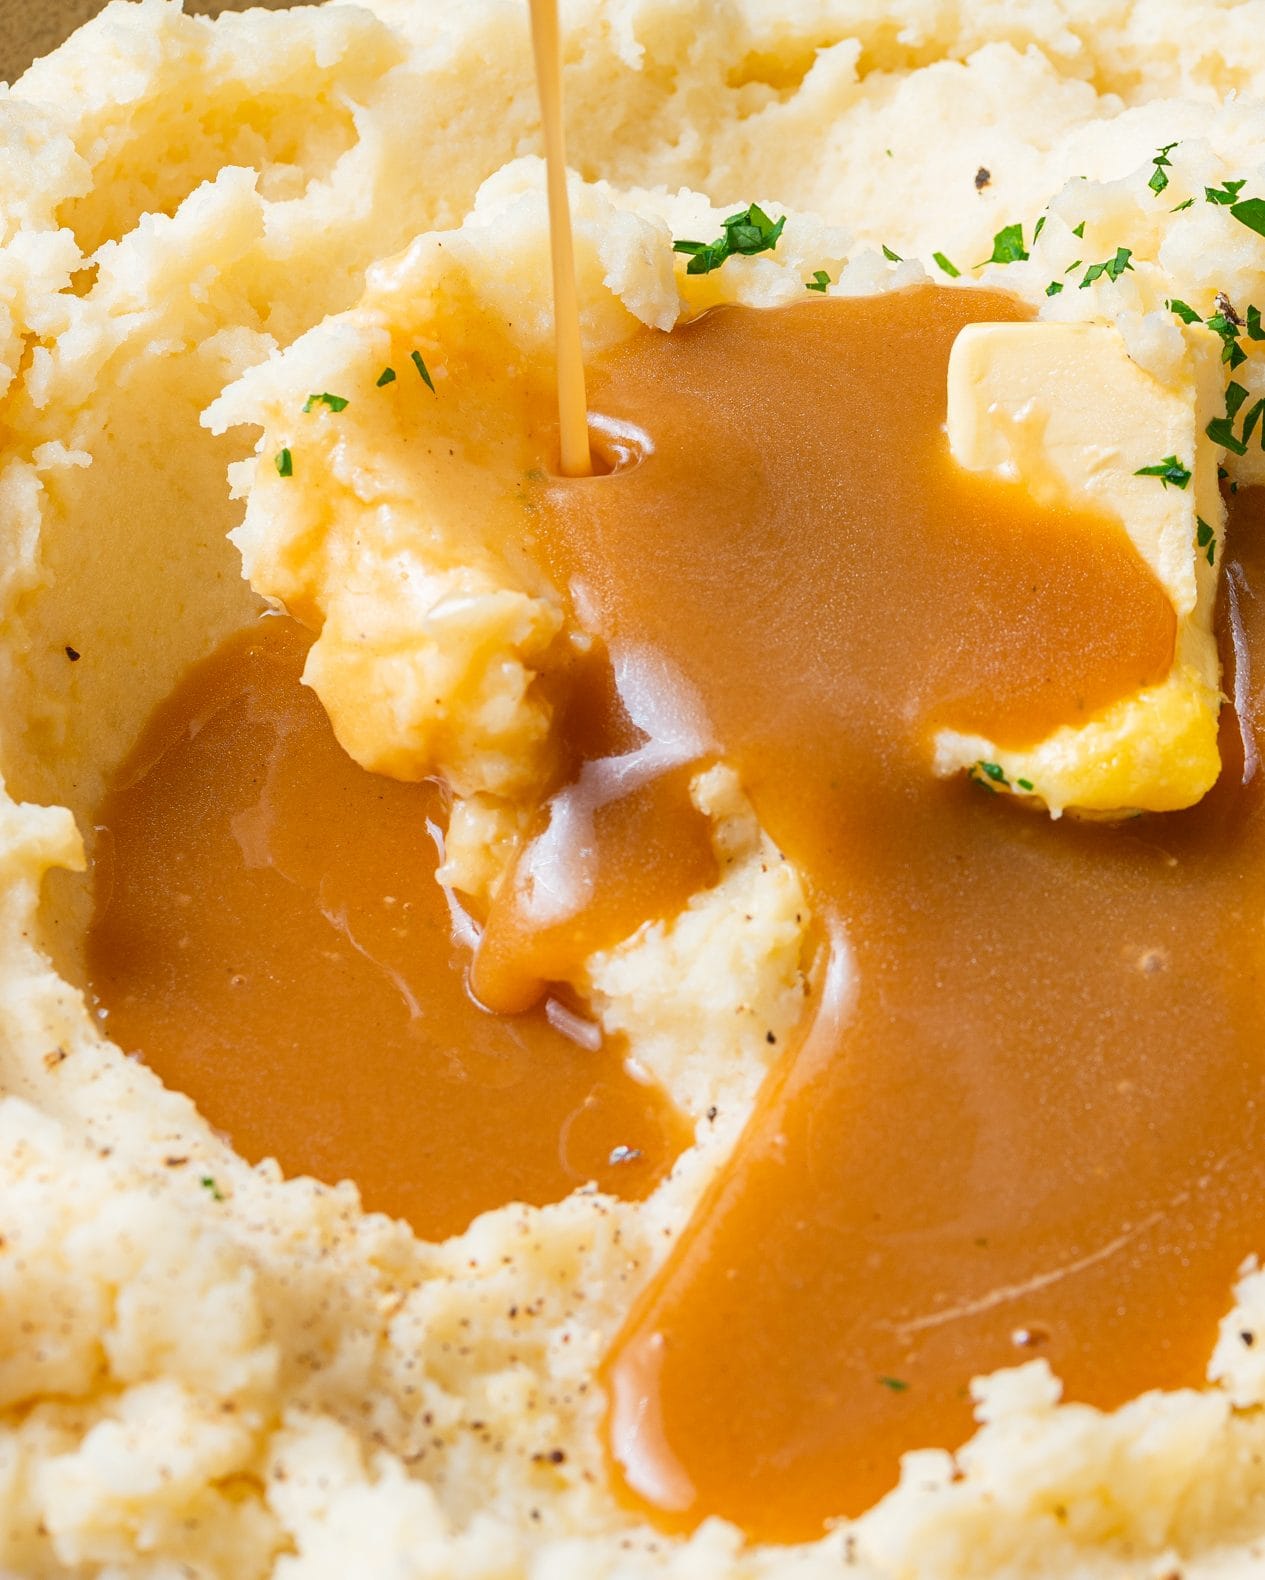
Vegan Gravy
Ingredients
- 2 tablespoon vegan butter
- 1 teaspoon vegetable oil
- 1 onion peeled and chopped roughly
- 2 cloves of garlic peeled and crushed roughly
- 2 bay leaves
- 4 tablespoon plain white flour
- 700 ml mushroom stock or vegetable stock
- 1 tablespoon dark soy sauce
- Sea salt and black pepper to taste
Instructions
- Place a large saucepan over medium heat and add the vegan butter and vegetable oil. Once the vegan butter is melted, add the onion. Fry for around 10 minutes, stirring often until the onion is beginning to brown.2 tablespoon vegan butter, 1 teaspoon vegetable oil, 1 onion
- Add the garlic and bay leaves and fry for a further 2 minutes, stirring often.2 cloves of garlic, 2 bay leaves
- Add the plain white flour and stir to make sure all the pieces of onion are coated. Add around 100ml of the stock and stir well until a thick paste forms. Keep adding the stock little by little, stirring constantly.4 tablespoon plain white flour, 700 ml mushroom stock
- Once all the stock is added, reduce the heat to low and cook the gravy for a further 5 minutes, stirring constantly, or until the gravy has thickened to the desired consistency. Add the soy sauce then season to taste with salt and black pepper.1 tablespoon dark soy sauce, Sea salt and black pepper to taste
- Remove from the heat, pass the gravy through a sieve and serve or keep over a very low heat, stirring occasionally to keep warm.

Helen
My go to gravy recipe
Sara
This is the best gravy I've ever had, and is my absolute go-to. It's better than any gravy I can remember from my pre-vegan years, too-- like, I *have* eaten way more of it by the spoonful than would be considered appropriate for just "taste-testing." Also, I've started tossing in a couple of dried porcini mushrooms while it cooks, and just... wow. It's perfect.
Avery
Great recipe. Love how you put the measurement of ingredients in each step made the recipe- made it super easy to read.
JD Young
Great recipe; It reminds me of my gramma's (without the meat sludge and giblets)I will happily pass it on and use it often...thanks; JD
Marge
I followed the instructions to the letter, I’m a decent home cook, and still I was standing in front of the saucepan after 20 minutes waiting for the mixture to thicken. It seems like way too much liquid is called for? I had to add a lot of corn starch slurry, bring to a boil, then lower back down to get it to thicken.
Jane
Perfect gravy, especially if not a fan of mushrooms.